1 PREPARATIONS - Back to top
PrestaShop is very easy to install. Once all the files are on your web server, you should be able to start configuring your shop in no more than 5 minutes in most cases: the installation process is very simple as the installer takes care of everything for you.
Note: Before you get started, make sure you have all the required software and hardware available: server space at a hosting provider, domain name, FTP client, text editor. Make sure to follow the instructions on the “What you need to get started” page.
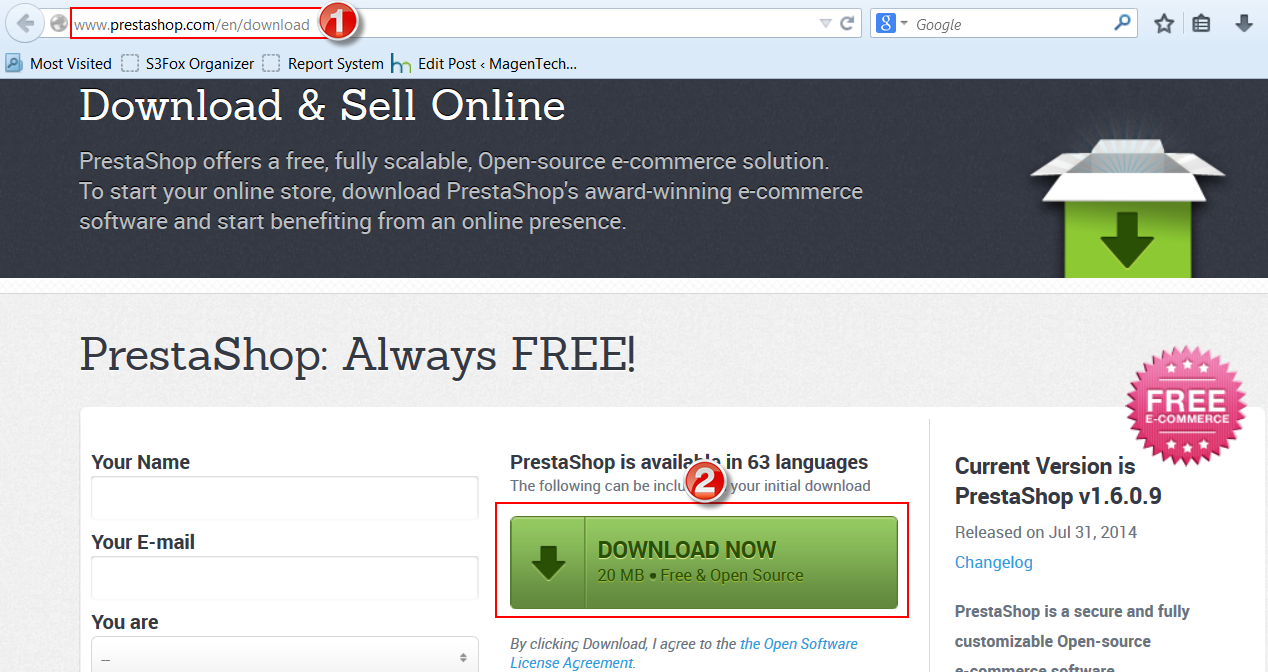
1. First of all, you need to download the PrestaShop engine from the official website.
2. Using a Zip tool (like WinZip for Windows OS or Stuffit Expander for MAC OS), extract the content of the archive to a known location on your hard drive (for example, the Desktop).
3. Zip the content of prestashop_1.6.x/prestashop folder into an archive.
4. Upload the new zipped file to your server, using File Manager of your hosting control panel or any FTP-client software (FileZilla or Total Commander, for instance).
5. Extract the file on your server. To launch the installer, simply browse to PrestaShop’s location on your web server: the script will automatically detect that PrestaShop is not yet installed, and will take you to the auto-installer. From there on, you just have to read and click. The installation contains 6 steps as following:
2 INSTALLATION - Back to top
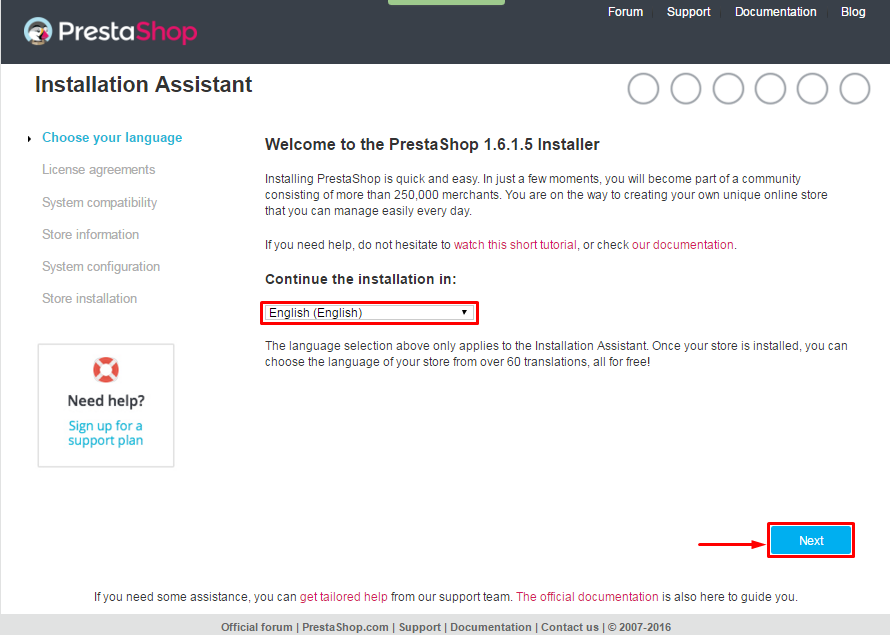
Step 1: Choose Language
This page is a quick intro into the installation process. Select the language for the installer, then click the “Next” button. This will also set the default language for your PrestaShop installation – but other languages will also be available for you to enable.
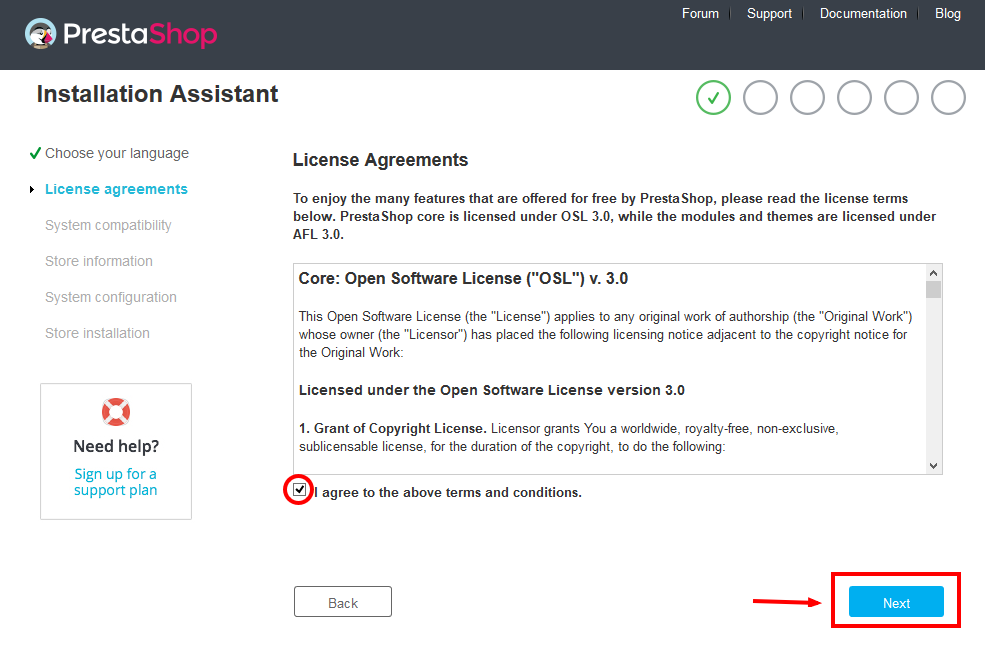
Step 2: PrestaShop’s licenses
PrestaShop is free and distributed under a certain set of open-source licenses. You simply cannot use this software if you disagree with the terms of the licenses, and this step requires you to explicitly acknowledge them. To access the next step, you must check the “I agree to the above terms and conditions” box, then click “Next”.
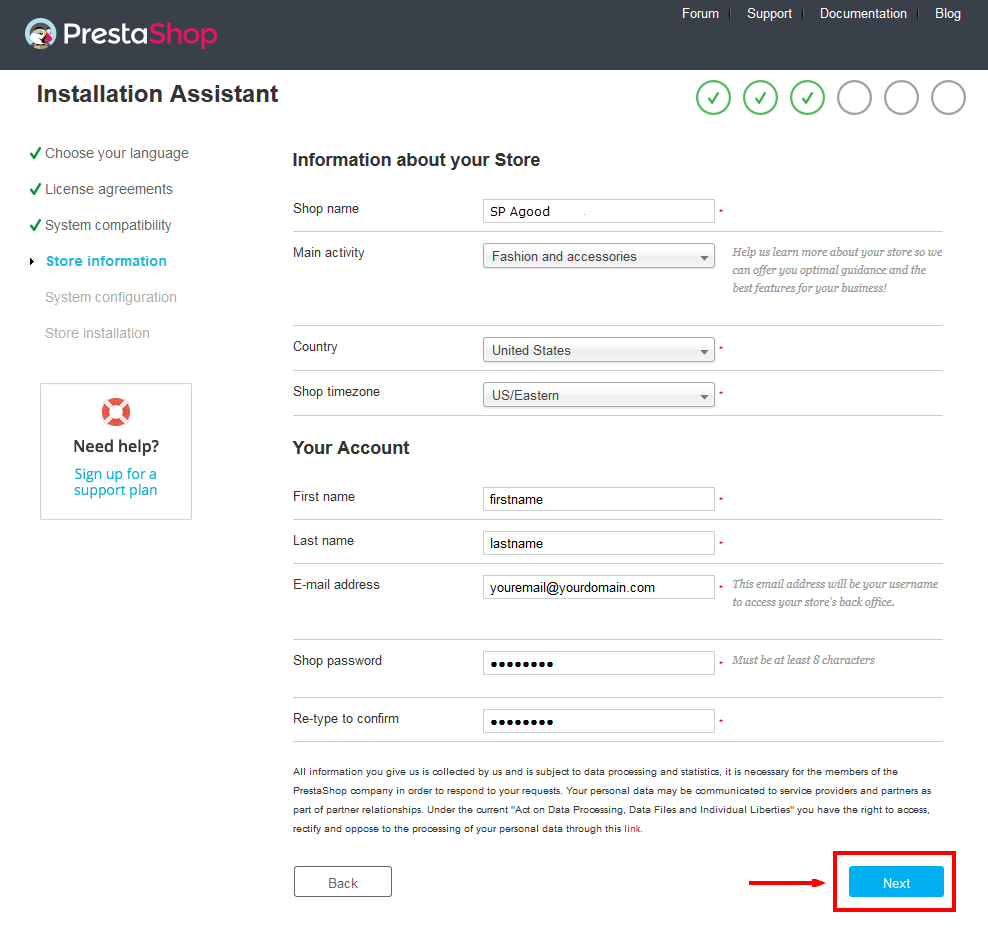
Step 3 & 4: System compatibility & Store information
The third page makes a quick check of all the server parameters on your host. If nothing wrong is found, you are taken directly to the fourth page, “Store information.” This is where you can start customizing your shop: give it a name, indicate its main activity and personal information of the shop owner.
Step 5: System configuration
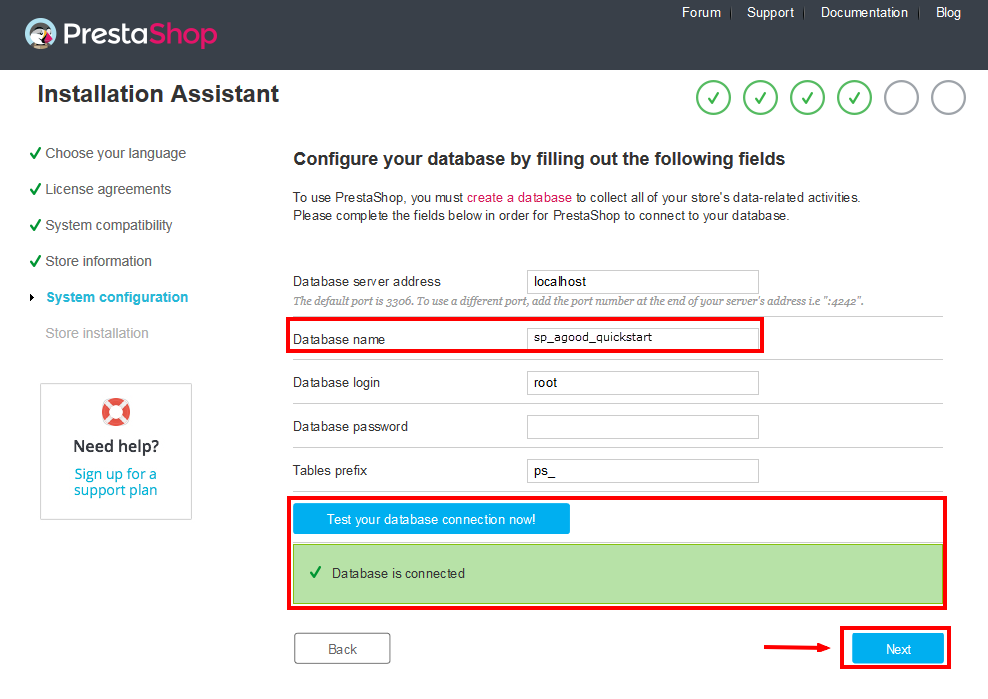
Here is the database configuration panel, we need to create database first.
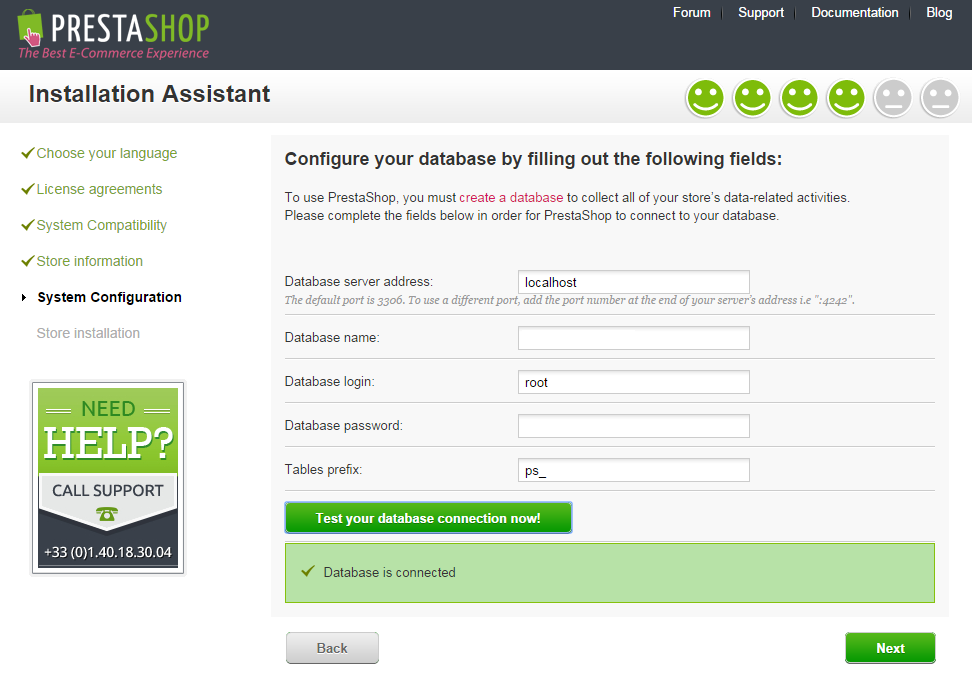
Access your database panel and create database for your site. Add database name and then hit “Create” button.

Database is created successfully, fill out all the required fields with the database connection information: “Database server address, Name, Login, Password, Engine, Tables prefix”. And then you can test to see if database configuration is correct or not. Database configuration is connected, click “Next” to move to next step.
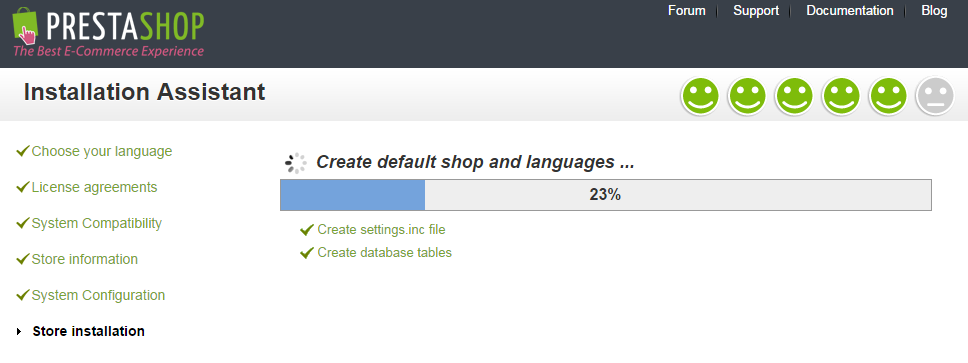
Step 6: Finish installation: This process could take you some time
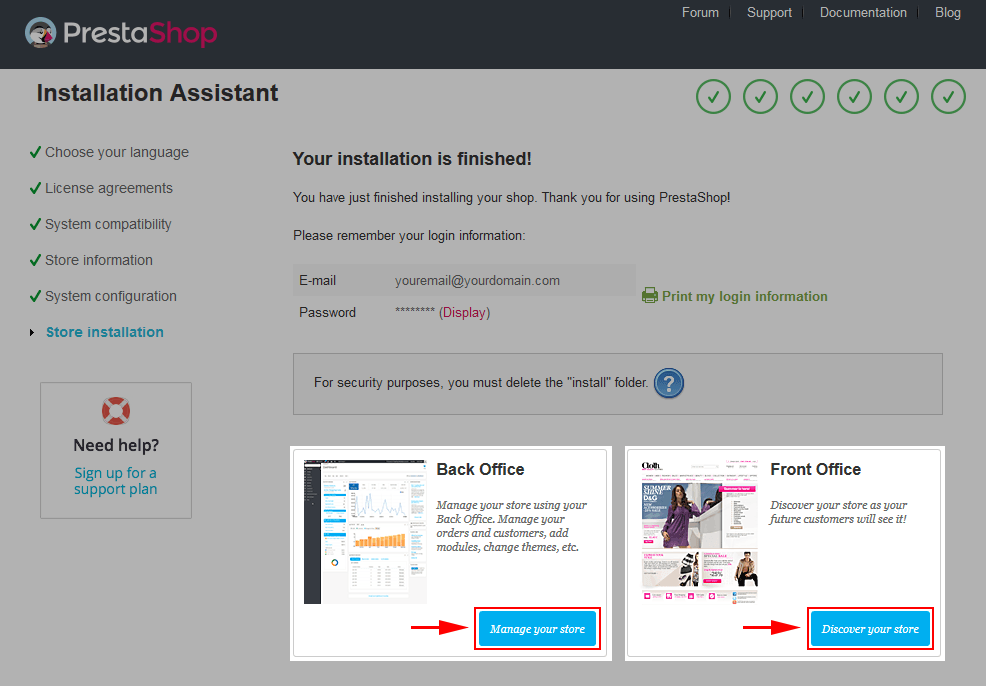
Once the installation is completed, you need to open the PrestaShop installation directory and delete the /install/ folder to improve your PrestaShop store security.
The Prestashop 1.6.x was successfully installed. Now you can log into the PrestaShop back-office by going to your newly-renamed “admin” folder, and start modifying your store. Now you are also able to install new themes.
3SUPPORT – Back to top
Thank you so much for reading this documentation. If you have any questions that are beyond the scope of this help file, please send us via: Support Tickets System
Thanks so much!