1. Log into your administrator and navigate to Modules >> Modules
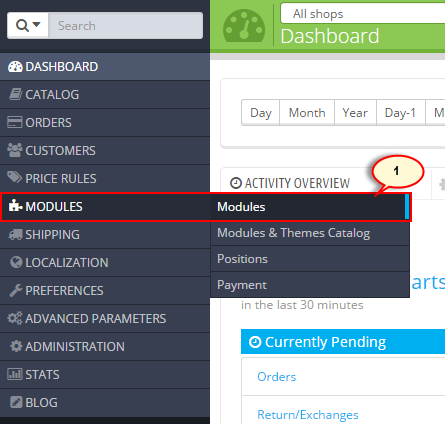
2. On the left side you can filter modules as you want and it will show up in this section. For example: “Image Slider for your homepage”.

3. On the right side you can see a list of buttons allowing to control the module.
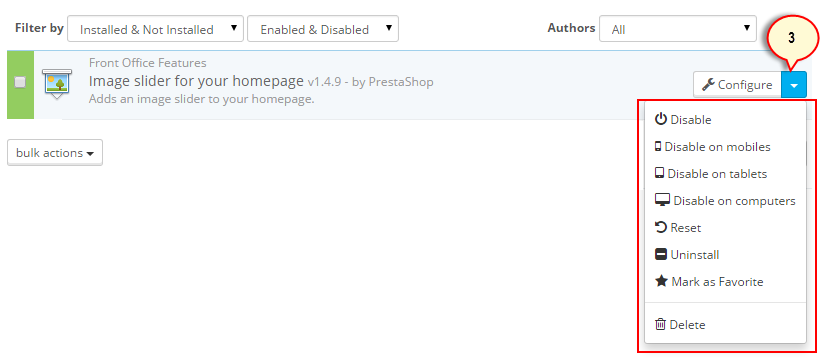
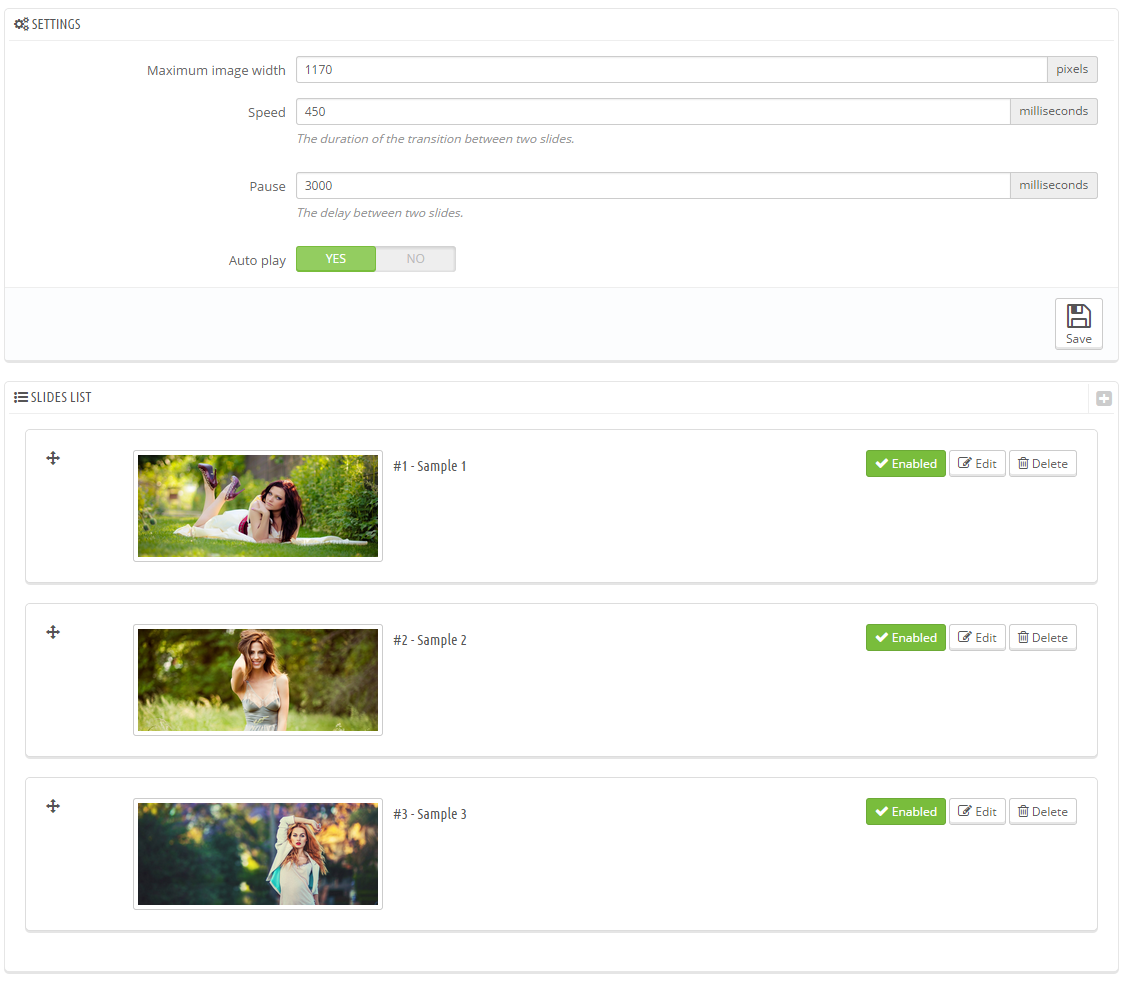
4. Please Click on the Configure button in order to change the module settings. We have opened a slider module. You can see its settings on the screenshot below.
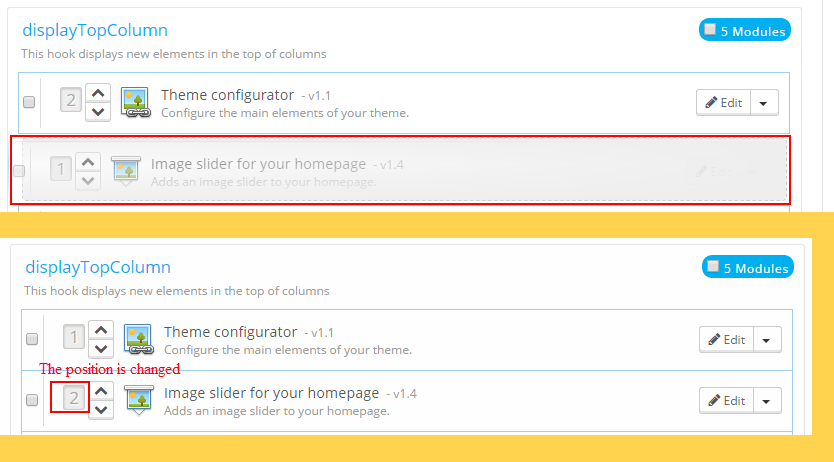
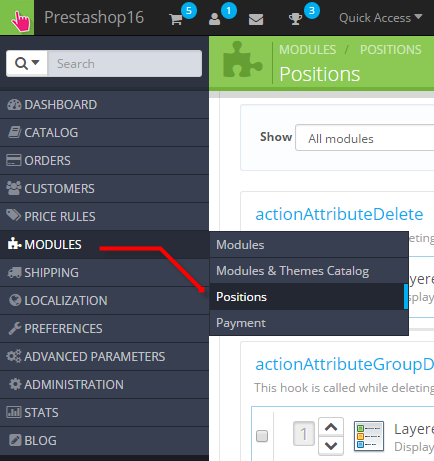
5. In order to change module positions, you should go to Modules -> Positions. You will see hooks (positions) there. We are going to change the “Image Slider for your homepage” module position from the first position drag down the second position by Just clicking on the arrow and drag the module down. The module position has been changed.
6. In order to transplant modules using Live Edit, please open admin section and go to Modules -> Positions. You will see hooks (positions) there: .
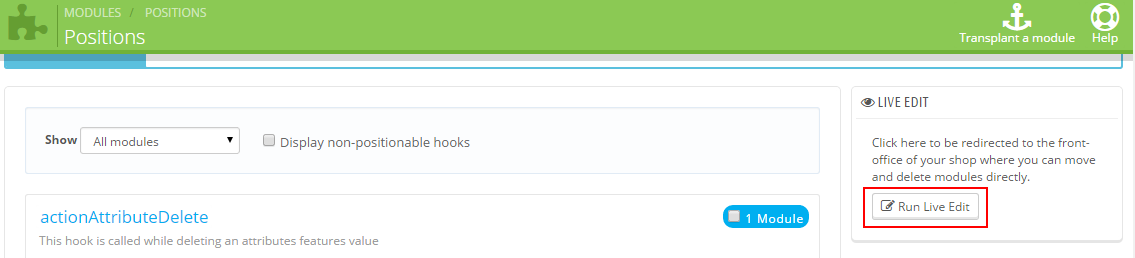
7. To move modules around on the store pages using Live Edit mode, click the “Run LiveEdit” button on the right:
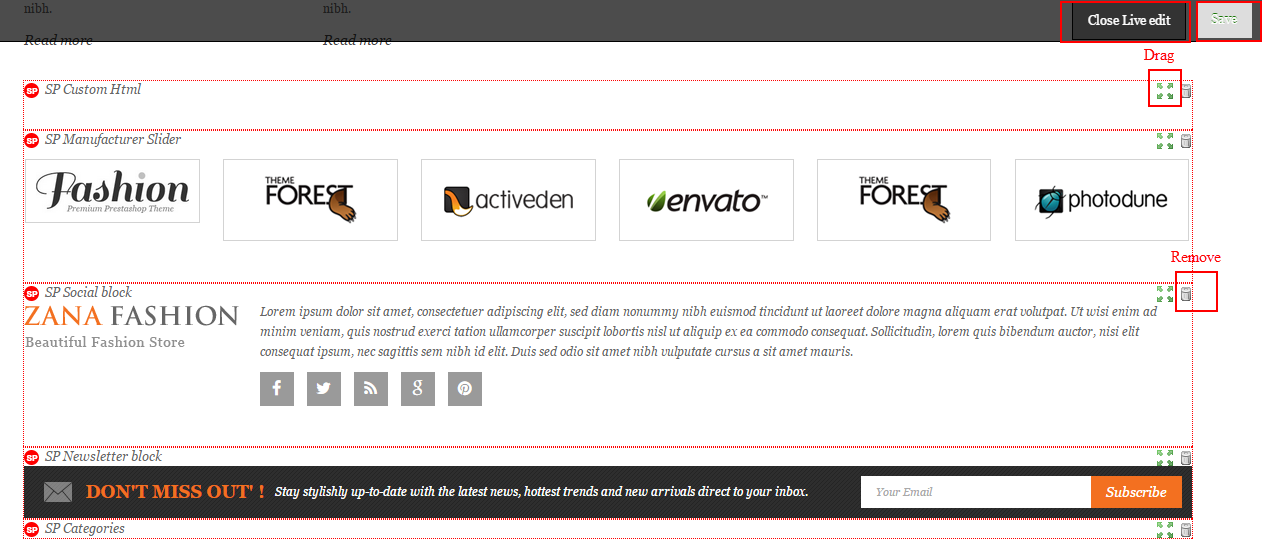
8. All module blocks have a dotted red border, enabling you to see which blocks you can move.
9. On their top left side a block-specific icon appears, along with the block name, enabling you to always find your way among blocks.
10. On their top right side, they have two icons:
- A “move” icon: click it to start moving the module around.
- A “trash” icon: click it to remove the block from the home.
11. Save the changes and close Live edit: for example with SP Zana Theme.
Let us change the SP Manufacturer Slider position with SP Social block position as image below:
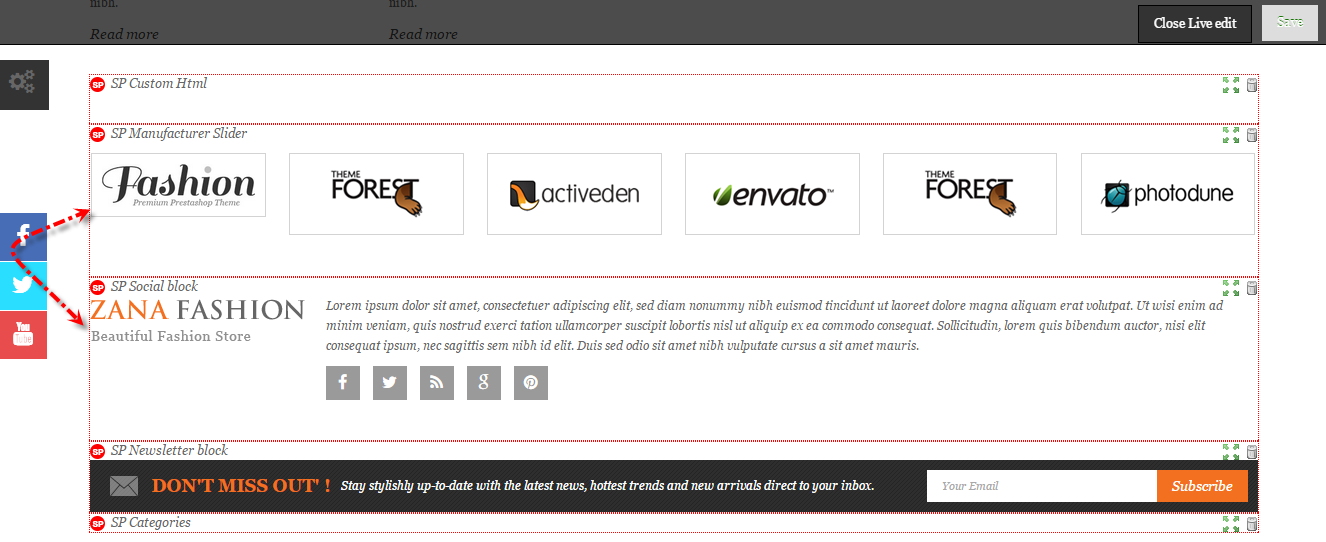
Here is how the page looks after modifications:
