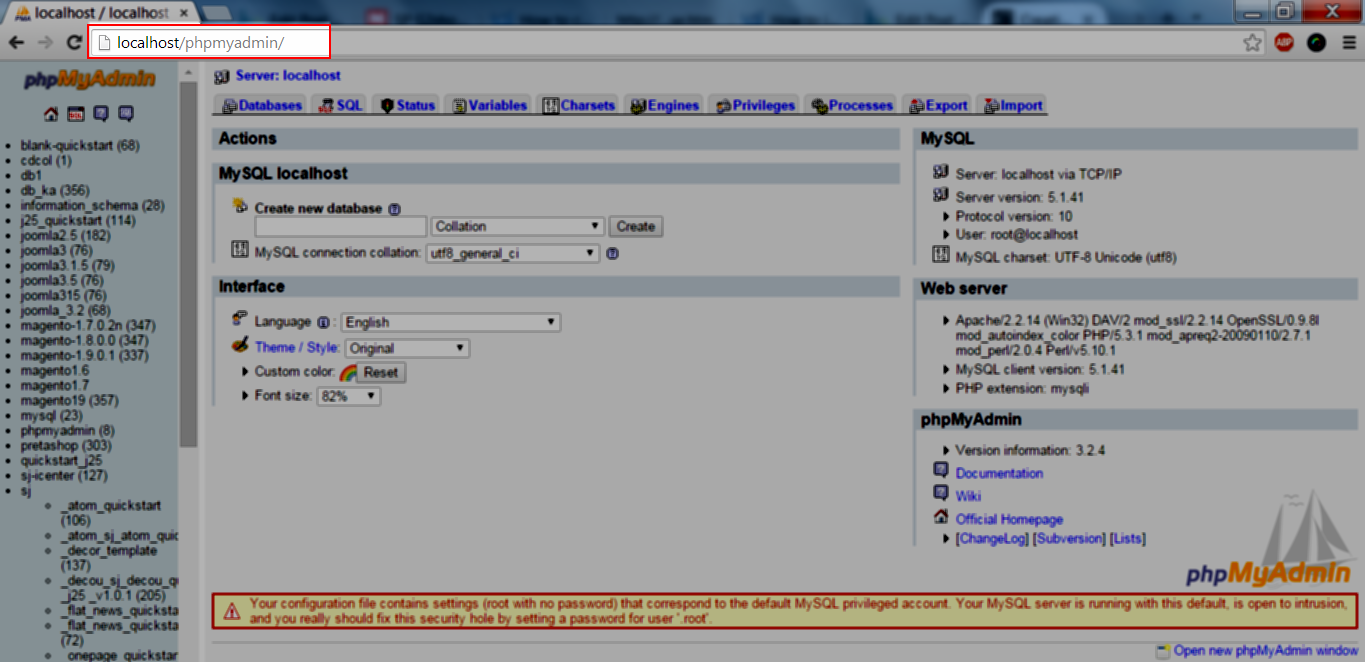
Step 1: Log into your PrestaShop 1.6 dashboard.
Step 2: Using the top menu bar, hover over the Preferences tab and select the General option.
Step 3: From here you will see the Enable Multistore option. It is disabled by default. To enable it, simply select the button “Yes” and press “Save”.
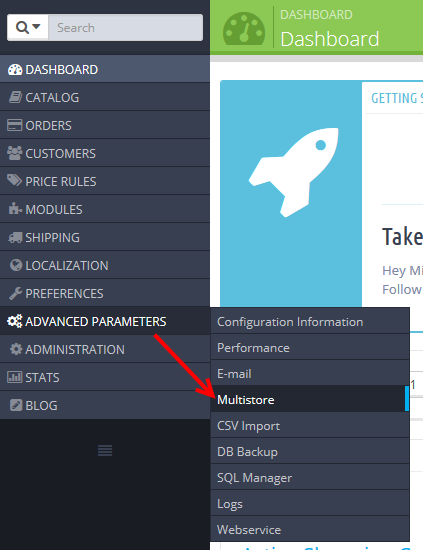
Step 4: When multiple shop mode is active, in advanced parameters choose multistore to set up a new shop.
Step 5: Click “Add a New Shop” button in the top right corner.

Step 6: On the next page you you need to specify a new Shop name.
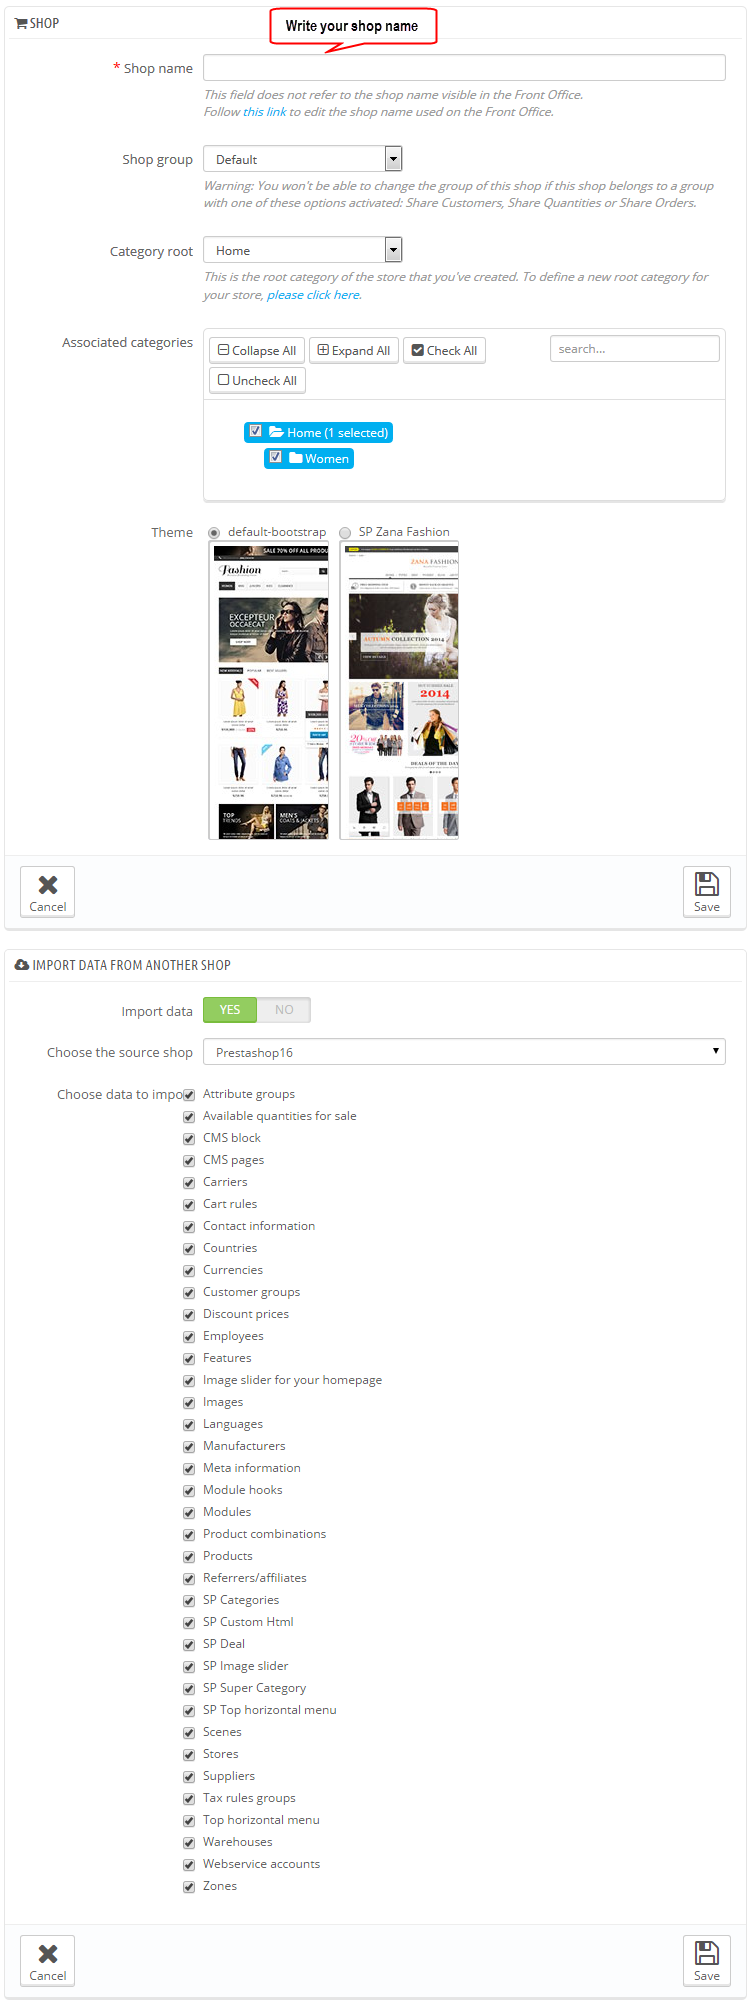
On the same page, here are other options available for you to enable.
-
Under the Shop tab:
- Group Shop allows you to set the Group shop.
- Category root allows you to to use the same root used for your main shop or any category of the catalog as its root.
- Associated categories allows you to make particular sub-categories of the main category available in the new shop.
- Theme allows you to select a theme from those available for this shop.
-
Under the “Import data from another shop” tab:
- Import data when enabled, allows you to pass over organizational and product data without having to duplicate data entry like carries, currencies or modules etc (when saved, cannot be changed)
- Choose the shop (source) allows you to indicate from which of the existing shops you want to import data from.
- Choose data to import allows you to select different kinds of the data to be imported to the new store from the main one.
When you are ready, click Save in the top right corner.
Step 7: When choose the name stores you save and edit link for your new shop.
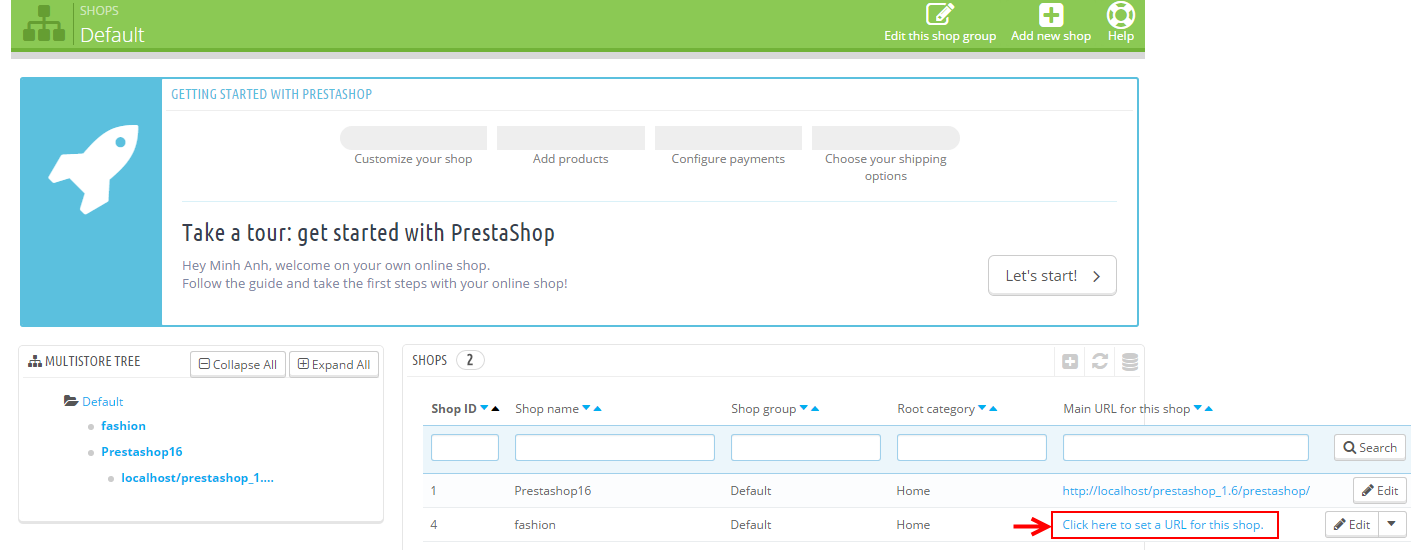
Step 8: Set Virtual URL for your shop.

-
URL options:
- Shop - A reminder of the shop to which you are adding a URL. You may also simply switch to another shop.
- Main URL - By enabling this, you indicate that you want all of this shop’s other URLs to redirect to this new main URL.
- Status - You can disable and enable a URL at any time.
-
Shop URL:
- Domain stands for your main domain or sub-domain.
- Domain SSL should be changed only if your SSL domain differs from the main domain, otherwise, leave it unchanged.
- Physical URL allows you to set the physical path to your shop on your server. If the shop is at the root, leave this field empty.
- Virtual URL allows you to create a virtual location that doesn’t physically, e.g “new_shop/”.
- Your final URL calculates the final url of your site according to the options filled in above.
When you are done, click Save in top right corner.
Step 9: Now click the URL to see the changes.
