Table of content as following:
1 SYSTEM REQUIREMENT - Back to top
At the basic level, this theme will require the following conditions:
- Compatible with Magento Community Edition 1.7.x and 1.8.x
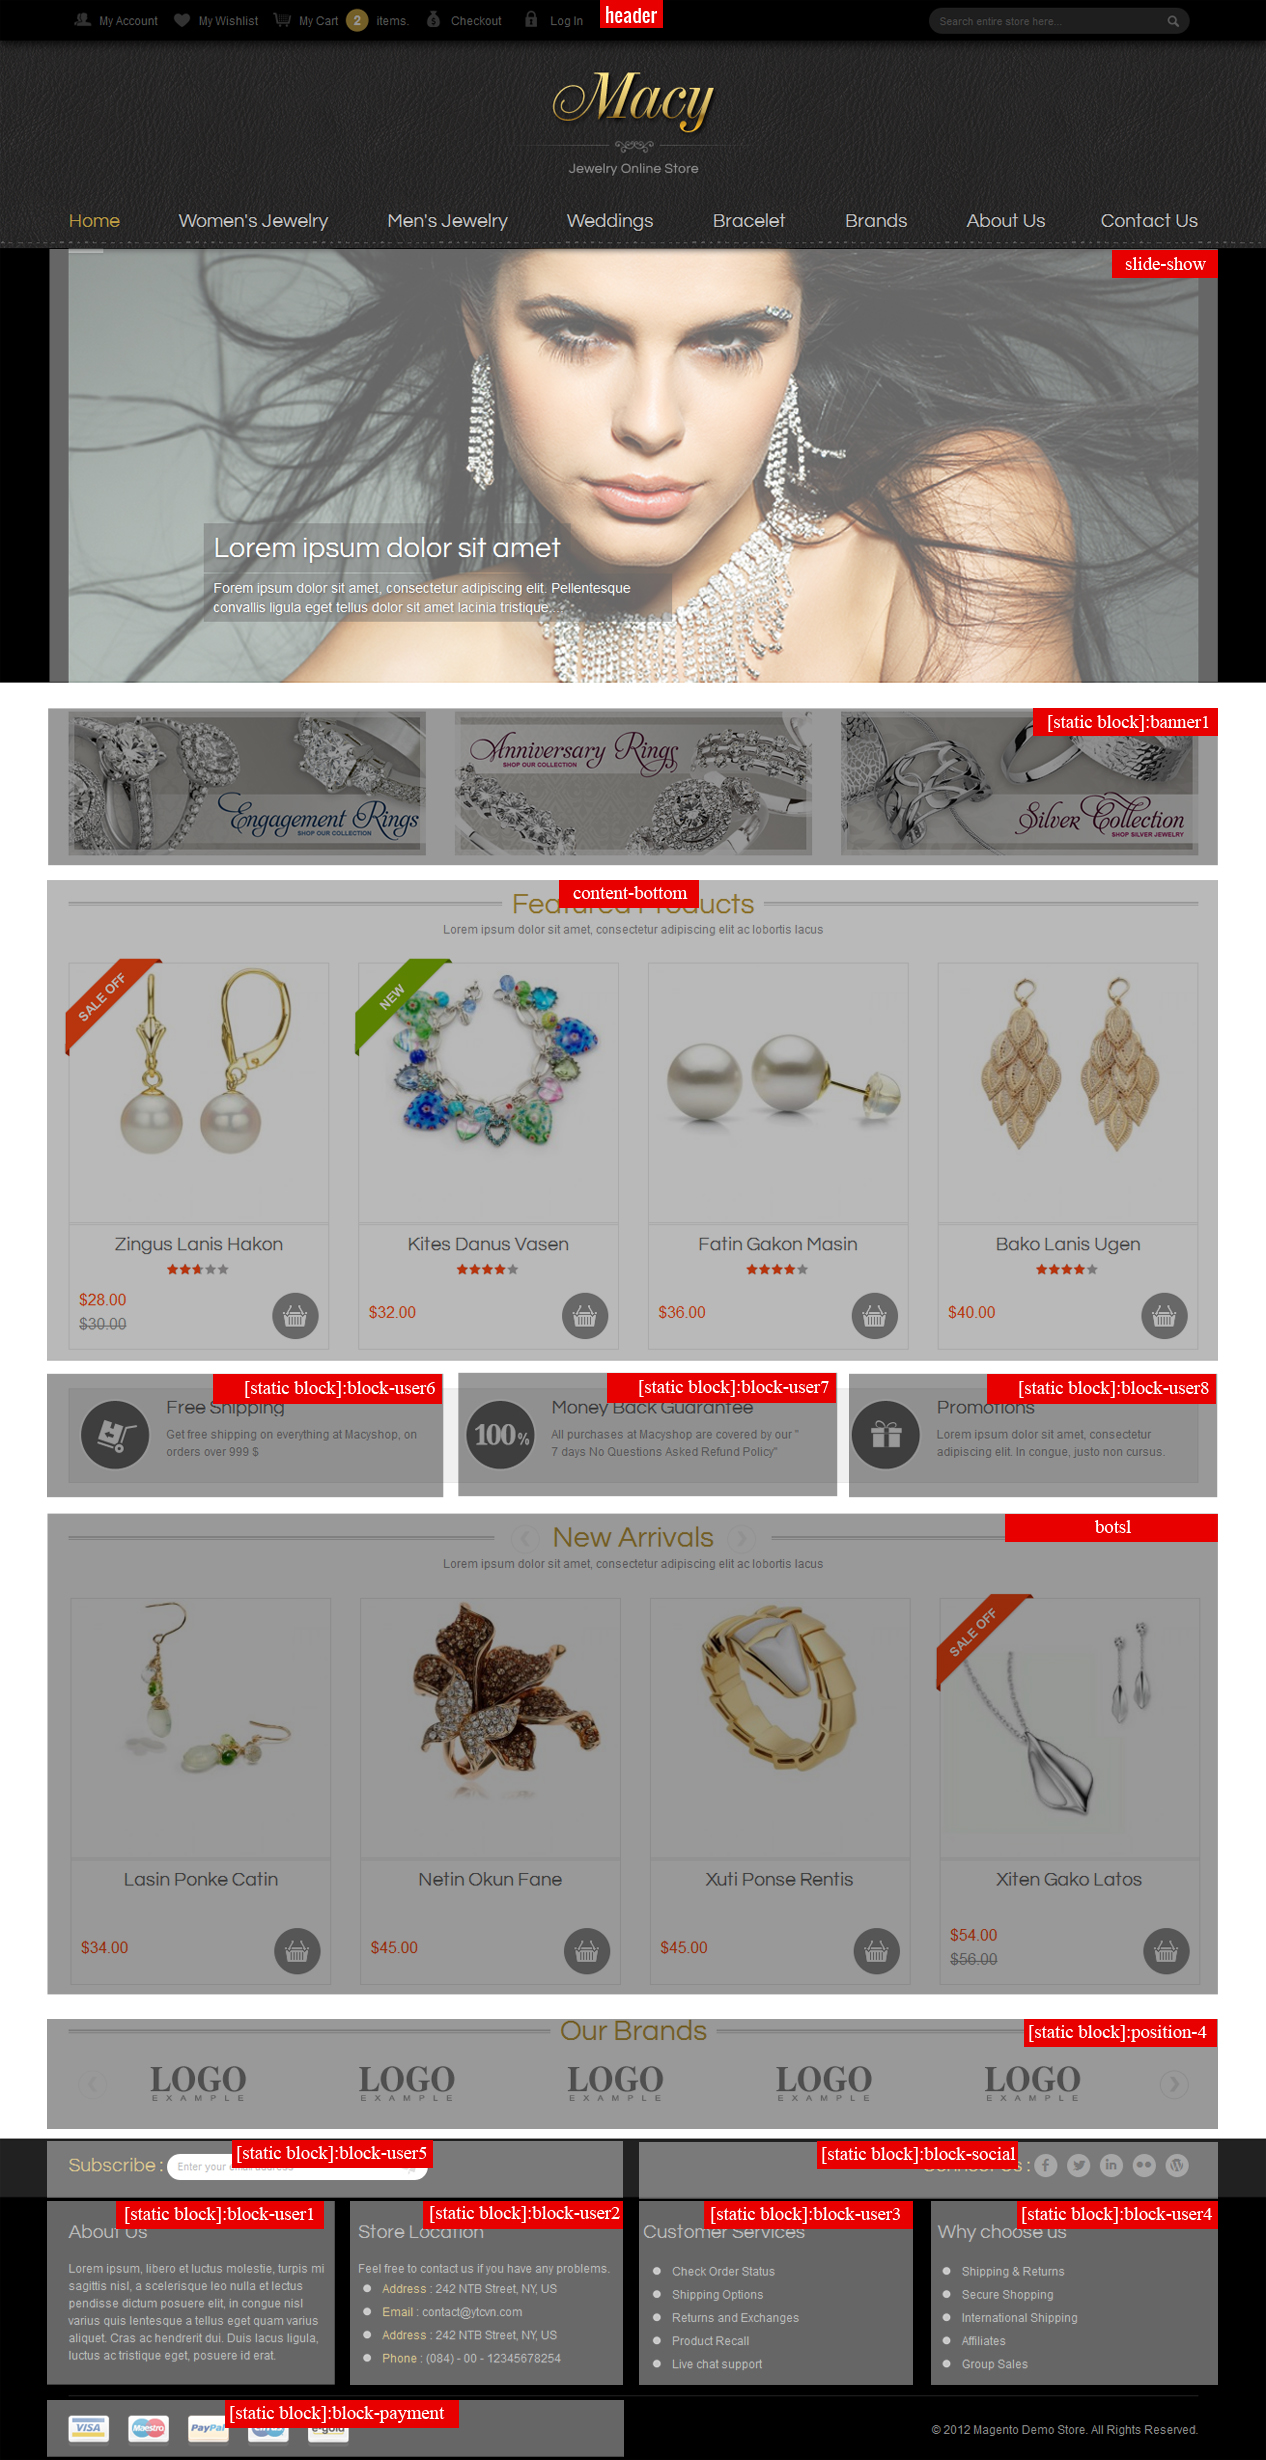
2LAYOUT POSITION - Back to top
3INSTALLATION - Back to top
There are two ways to install a Magento Theme:
- Install quickstart: By using this package, you will set the theme exactly as our Demo with sample data.
- Install Theme and Extensions: You will need only be using the zipped files in “Extensions” and “Theme” folders.
3.1 Install with Quickstart Package:
Magentech provides SM Quickstart package for each theme which aims to ease the installation for users. It will help you save much time of installing and configuring if you plan to start your site from the beginning.
Please following steps below:
- Step 1: Download the quickstart package
- Step 2: Extract and Upload the whole Quickstart package to your server. In Quickstart folder you will see the extracted folder that include all sample data
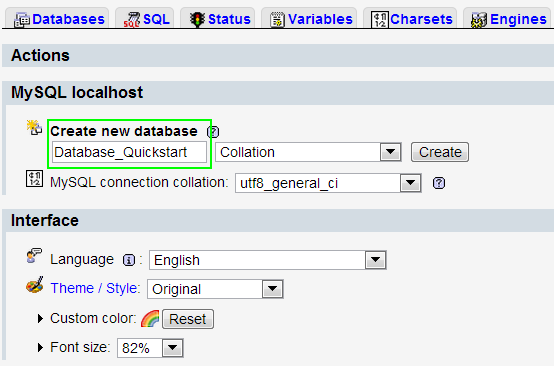
- Step 3: Create a database for your Magento
- Step 4: Start installation by opening browser and navigate to your url (where the quickstart uploaded) to load default Magento installer.
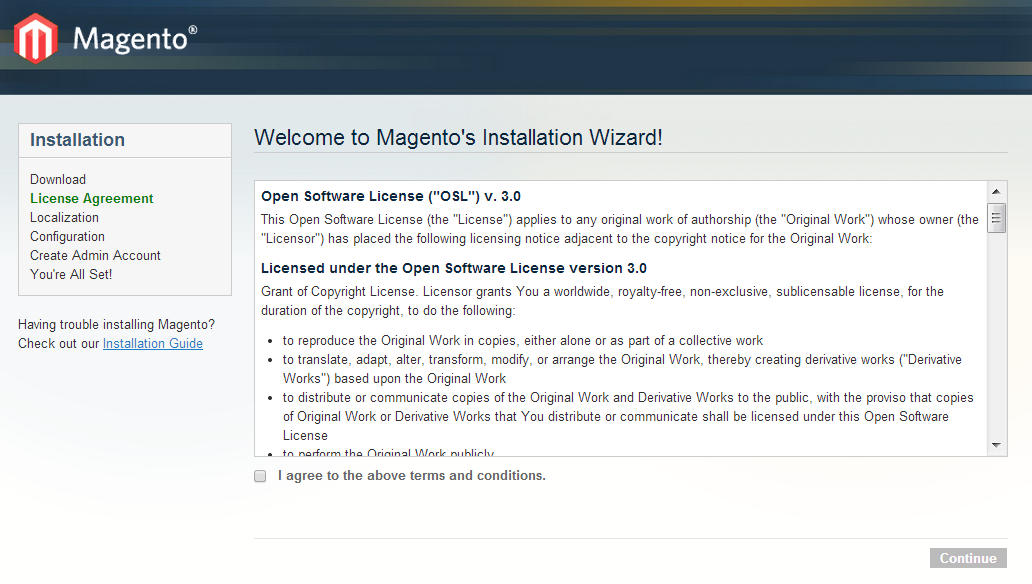
- Step 5: Finish installation
3.2 Install Magento Theme
The installation of our theme is quite simple. You just need follow steps below to get our theme ready for your Magento store:
-
Step 1: Upload folders skin and app from our download package to your Web server’s document root (from here on, referenced as {docroot}). You should see a directory layout like this:
{docroot} /magento/
app/
index.php js/
lib/
LICENSE.txt media/
pear/
skin/
var/ - Step 2: Login your Magento Admin area (ex: Access Magento Admin area: https://yourdomain/index.php/admin/)
- Step 3: Navigate to System => Configuration => Design as screen shot below.
- Step 4: Fill all theme information as screen shot below:
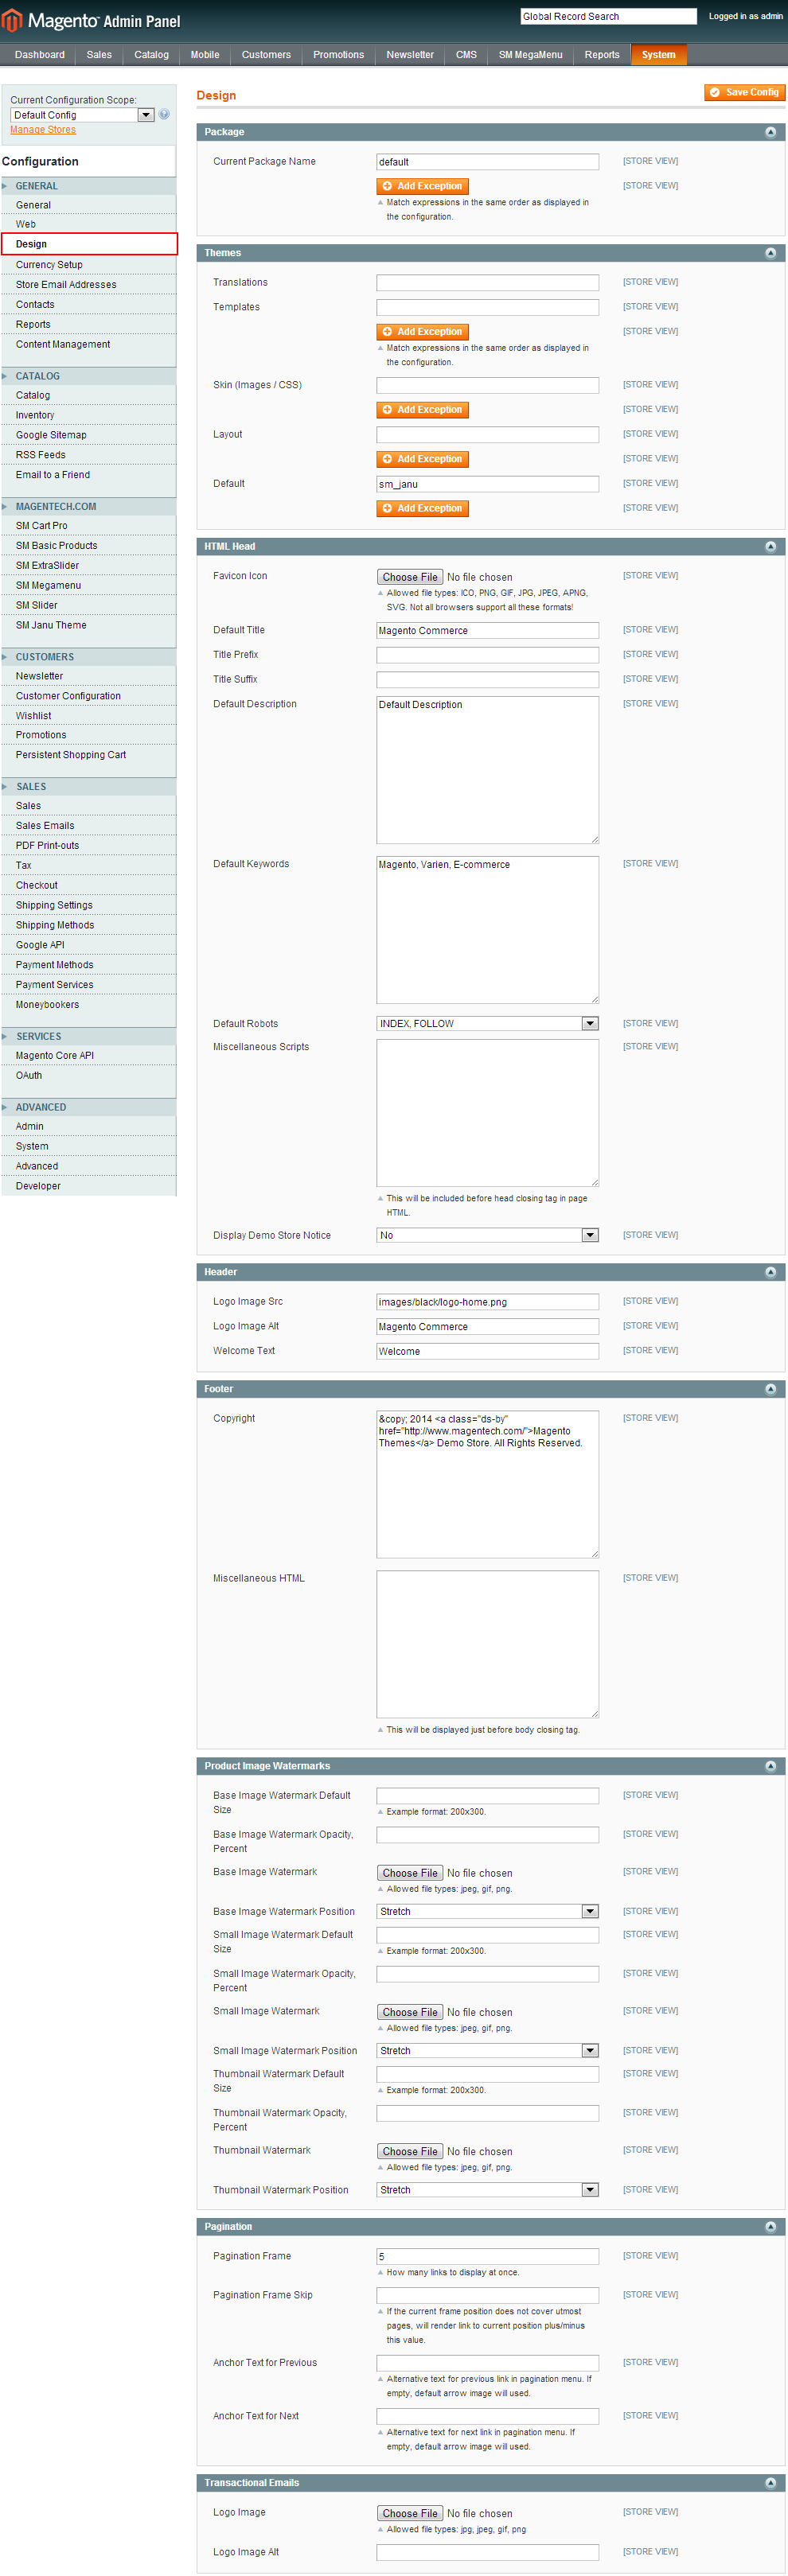
- Step 5: Finally, Click button “Save Config” to save your configuration
Configure theme using admin back end
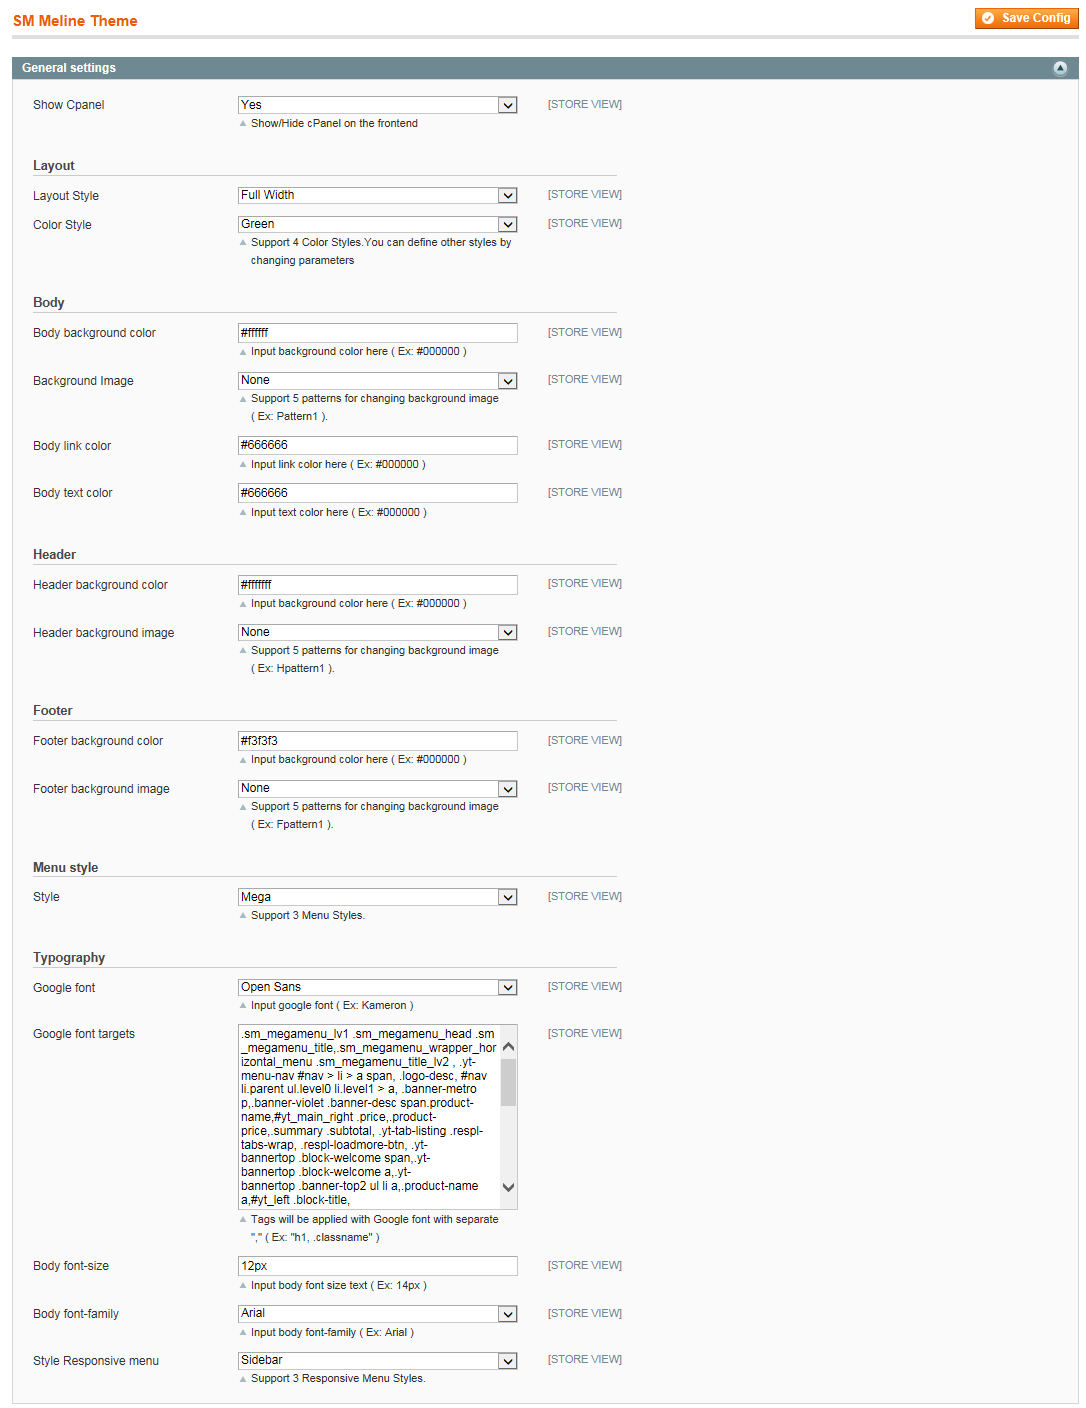
For easing the theme configuration, we has been created Cpanel in both backend and frontend, this is SM Meline configuration in backend:
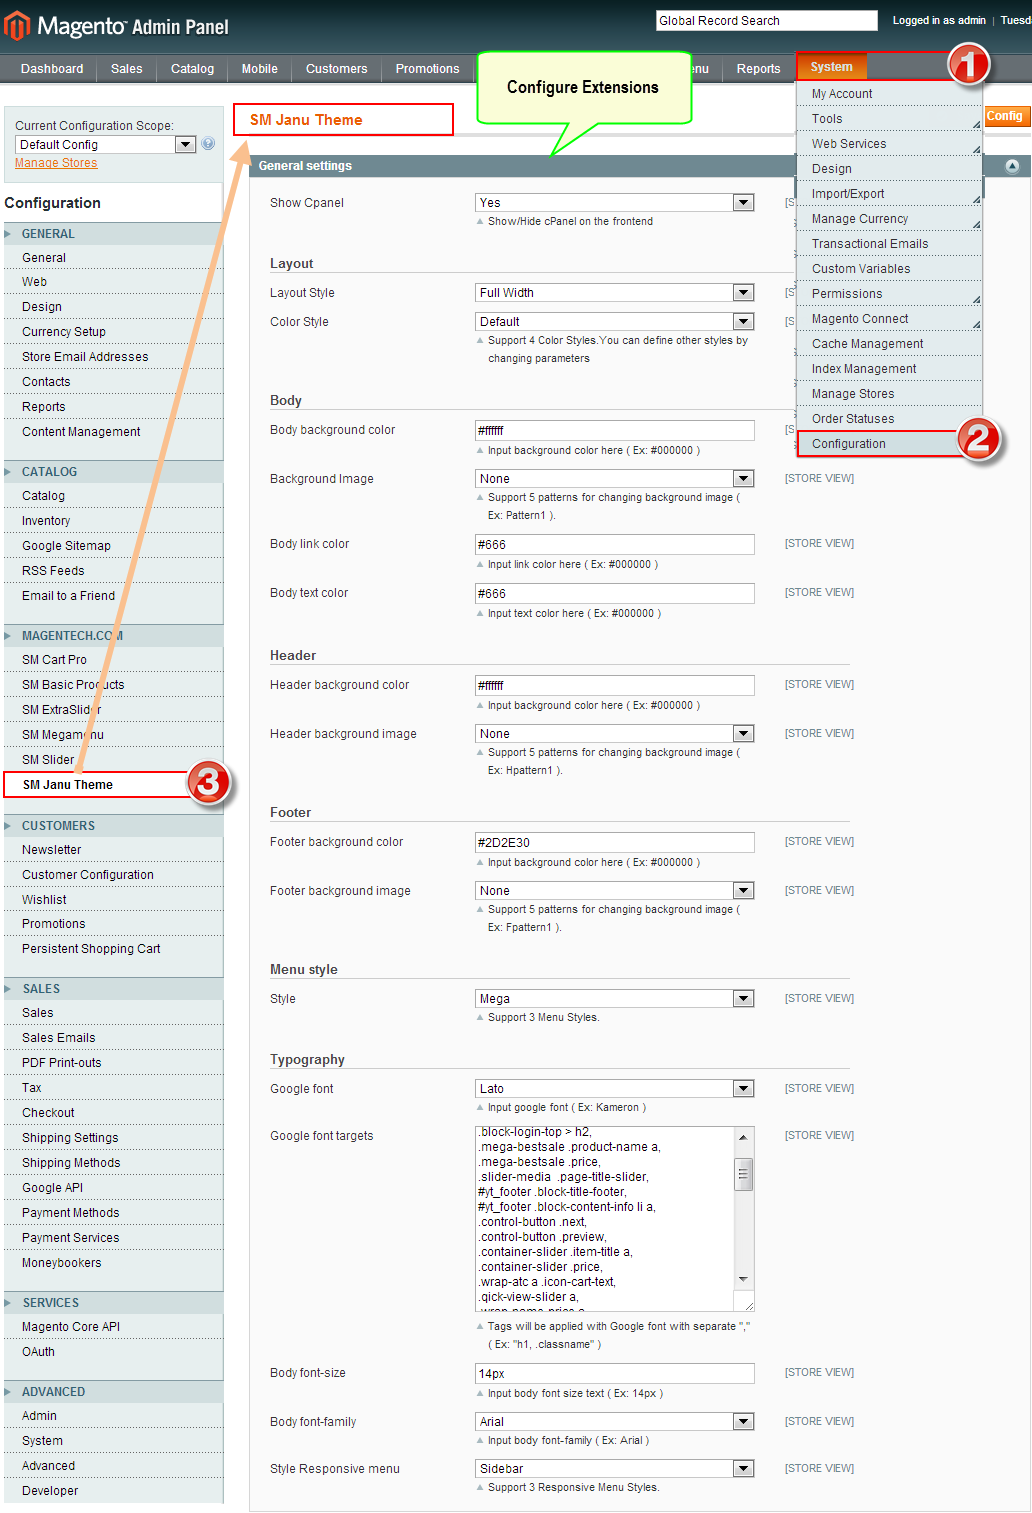
1. Under Magento admin panel, go to System >> Configuration
2. Select SM Meline theme on the left-hand menu
3. Tweak the theme as you want
3.3 Install Magento Extension
You just need following steps below to get our extensions ready for your Magento store:
-
Step 1: Upload folders skin and app from our download package to your Web server’s document root (from here on, referenced as {docroot}). These files will overwrite default folders skin and app in your Magento folder, you should see a directory layout like this:
{docroot} /magento/
app/
index.php
js/
lib/
LICENSE.txt
media/
pear/
skin/
var/ - Step 2: Login your Magento Admin area (ex: access Magento Admin area: https://yourdomain/magento/index.php/admin/)
- Step 3: Navigate to System =>Configuration => Extensions Configuration
- Step 4: You will see installed extension, click extension’s name tab to go to extension configuration page.
4CONFIGURATION - Back to top
4.1 General Configuration
Configure theme using Cpanel front end
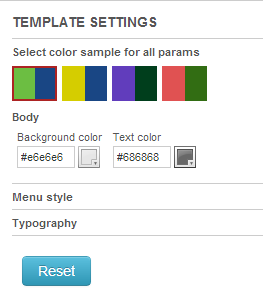
- Theme Color: support 4 presets to be chosen
- Layout Style: Full width and Boxed
- Body: Background; link color; Text color; Background image
- Header: Background color and Background image
- Footer: Background color and Background image
- Menu Style: Mega; Css; Split
- Typography: Body font-size, Google Font
4.2 Configure Mega Menu
To configure General settings, module parameters, Advance, login your administrator, go to SM Mega Menu >> Configuration
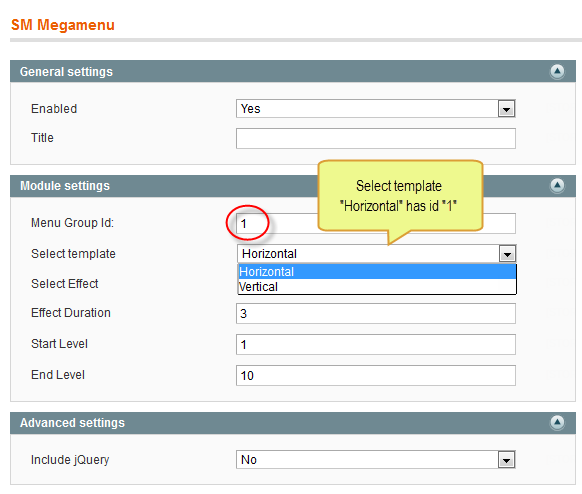
To view more guide about how to install, set up and configure SM Mega Menu as you want, please click HERE
Mega Menu Items Configuration
In order to add menu items, Go to SM Mega Menu >> Menu items Manager
HOME MENU
Frontend
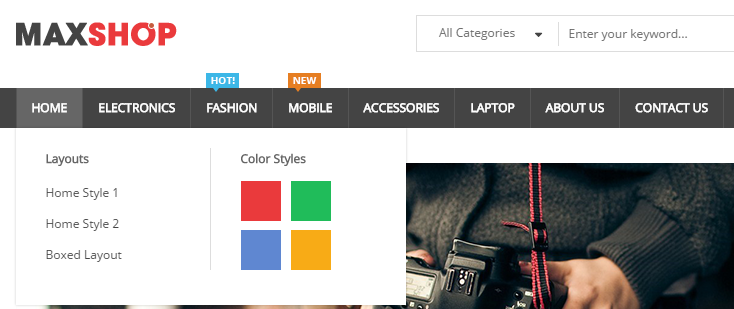
Tree of Home Menu:

- Default Home: backend
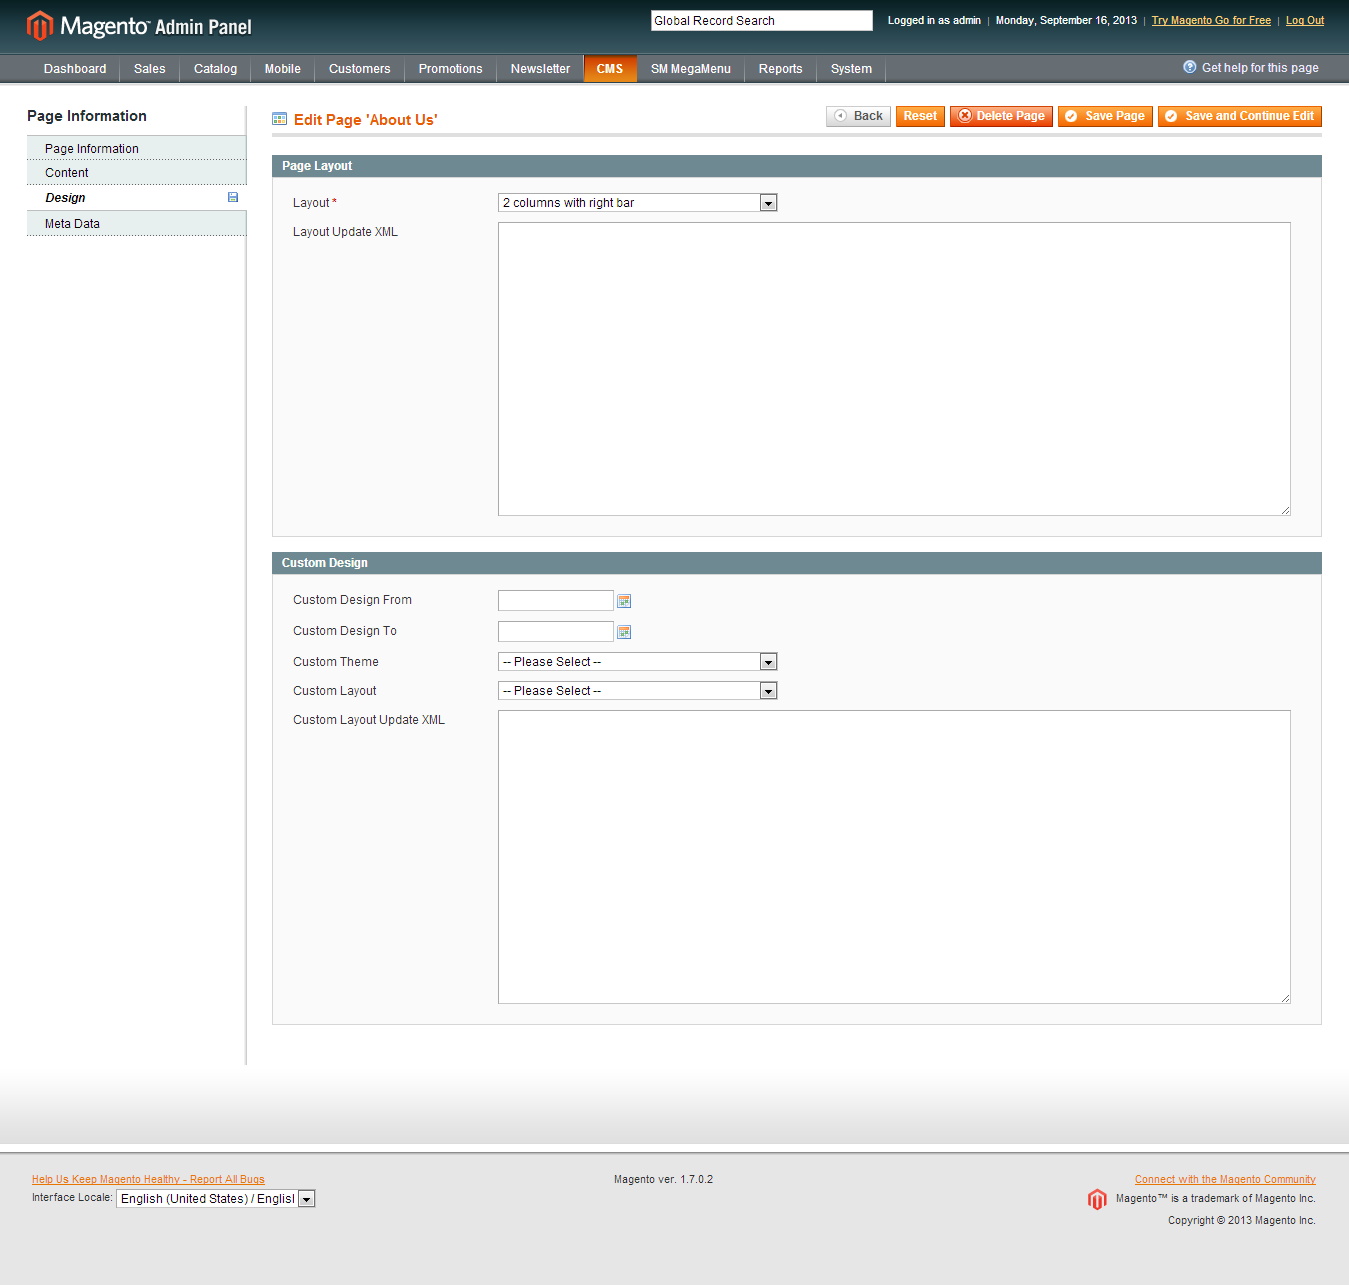
To config this page, please navigate to CMS >> Pages, create
Home page, navigate to Design tab and update with the following settings:
- Layout: select 1 column
- Layout update XML: paste the code as below
|
1
2
3
4
5
6
7
8
9
10
11
12
13
14
15
16
17
18
19
20
21
22
23
24
25
26
27
28
29
30
31
32
33
34
35
36
37
38
39
40
41
42
43
44
45
46
47
48
49
50
51
52
53
54
55
56
57
58
59
|
<remove name="breadcrumbs" />
<reference name="slideshow">
<block type="dynamicslideshow/list" name="dynamicslideshow.list.default"></block>
</reference>
<reference name="banner-top">
<block type="cms/block" name="banner-top1">
<action method="setBlockId"><block_id>banner-top1</block_id></action>
</block>
<block type="cms/block" name="banner-top2">
<action method="setBlockId"><block_id>banner-top2</block_id></action>
</block>
</reference>
<reference name="content">
<block type="tablisting/list" name="tablisting">
<action method="setConfig"></action>
</block>
</reference>
<reference name="banner-bottom">
<block type="cms/block" name="banner-violet">
<action method="setBlockId"><block_id>banner-violet</block_id></action>
</block>
<block type="cms/block" name="banner-metro">
<action method="setBlockId"><block_id>banner-metro</block_id></action>
</block>
</reference>
<reference name="content-bottom">
<block type="basicproducts/home" name="toprated" template="sm/basicproducts/toprated.phtml">
</block>
<block type="cms/block" name="customer-say">
<action method="setBlockId"><block_id>customer-say</block_id></action>
</block>
<block type="cms/block" name="slide-promotion">
<action method="setBlockId"><block_id>slide-promotion</block_id></action>
</block>
</reference>
<reference name="slider">
<block type="slider/list" name="slider.list.default" template="sm/slider/default.phtml">
<action method="setConfig">
<values>
<product_source>catalog</product_source>
<block_title></block_title>
<slider_title_text>Best smartphone 2014</slider_title_text>
<product_category>326</product_category>
<product_image_height>270</product_image_height>
<product_image_width >270</product_image_width>
<product_limitation>10</product_limitation>
<product_order_dir>ASC</product_order_dir>
<product_order_by>name</product_order_by>
<anchor>top</anchor>
<scroll>1</scroll>
<deviceclass_sfx>preset01-4 preset02-3 preset03-3 preset04-2 preset05-1</deviceclass_sfx>
<duration>500</duration>
</values>
</action>
</block>
</reference>
<reference name="slider-logo">
<block type="slider/list" name="img-slider" template="sm/slider/default2.phtml"></block>
</reference>
|
- Home with right column: backend
To config this page, please navigate to CMS >> Pages, create Home with right column, navigate to Design tab and update with the following settings:
- Layout: select “2 columns with right bar“
- Layout update XML: paste the code as below
|
1
2
3
4
5
6
7
8
9
10
11
12
13
14
15
16
17
18
19
20
21
22
23
24
25
26
27
28
29
30
31
32
33
34
35
36
37
38
39
40
41
42
43
44
45
46
47
48
49
50
51
52
53
54
55
56
57
58
59
60
61
62
63
64
65
66
67
68
69
70
71
72
73
74
75
|
<remove name="breadcrumbs" />
<reference name="slideshow">
<block type="dynamicslideshow/list" name="dynamicslideshow.list.default"></block>
</reference>
<reference name="banner-top">
<block type="cms/block" name="banner-top1">
<action method="setBlockId"><block_id>banner-top1</block_id></action>
</block>
<block type="cms/block" name="banner-top2">
<action method="setBlockId"><block_id>banner-top2</block_id></action>
</block>
</reference>
<reference name="content">
<block type="tablisting/list" name="tablisting">
<action method="setConfig">
<values>
<nb_column0>3</nb_column0>
<nb_column1>3</nb_column1>
<nb_column2>2</nb_column2>
<nb_column3>2</nb_column3>
<nb_column4>1</nb_column4>
<product_limitation>6</product_limitation>
</values>
</action>
</block>
</reference>
<reference name="banner-bottom">
<block type="cms/block" name="banner-violet">
<action method="setBlockId"><block_id>banner-violet</block_id></action>
</block>
<block type="cms/block" name="banner-metro">
<action method="setBlockId"><block_id>banner-metro</block_id></action>
</block>
</reference>
<reference name="content-bottom">
<block type="basicproducts/home" name="toprated" template="sm/basicproducts/toprated.phtml">
</block>
<block type="cms/block" name="customer-say">
<action method="setBlockId"><block_id>customer-say</block_id></action>
</block>
<block type="cms/block" name="slide-promotion">
<action method="setBlockId"><block_id>slide-promotion</block_id></action>
</block>
</reference>
<reference name="slider">
<block type="slider/list" name="slider.list.default" template="sm/slider/default.phtml">
<action method="setConfig">
<values>
<product_source>catalog</product_source>
<block_title></block_title>
<slider_title_text>Best smartphone 2014</slider_title_text>
<product_category>326</product_category>
<product_image_height>270</product_image_height>
<product_image_width >270</product_image_width>
<product_limitation>10</product_limitation>
<product_order_dir>ASC</product_order_dir>
<product_order_by>name</product_order_by>
<anchor>top</anchor>
<scroll>1</scroll>
<deviceclass_sfx>preset01-4 preset02-3 preset03-3 preset04-2 preset05-1</deviceclass_sfx>
<duration>500</duration>
</values>
</action>
</block>
</reference>
<reference name="slider-logo">
<block type="slider/list" name="img-slider" template="sm/slider/default2.phtml"></block>
</reference>
<reference name="home-col-right">
<block type="catalog/navigation" name="catalog.leftcat" template="catalog/navigation/sidenav.phtml" ifvalue="1"/>
<block type="cms/block" name="banner-opening-hours">
<action method="setBlockId"><block_id>banner-opening-hours</block_id></action>
</block>
</reference>
|
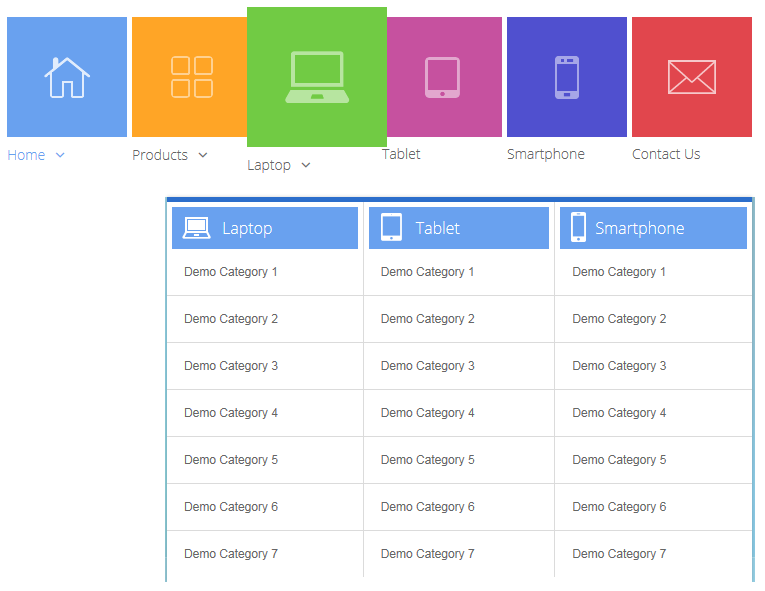
- Store icon: backend
To config this page, please navigate to CMS >> Pages, create Store icon, navigate to Content tab and paste Content Code into editor as below:
|
1
2
3
4
5
6
7
8
9
10
11
12
13
14
15
16
17
18
19
20
21
22
23
24
25
26
27
28
29
30
31
32
33
34
35
36
37
38
39
40
41
42
43
44
45
46
47
48
49
50
51
52
53
54
55
56
57
58
59
60
61
62
63
64
65
66
67
68
69
70
71
72
73
74
75
76
77
78
79
80
81
82
83
84
85
86
87
88
89
90
91
92
93
94
95
96
97
98
99
100
101
102
103
104
105
106
107
108
109
110
111
112
113
114
115
116
117
118
119
120
121
122
123
124
125
126
127
128
129
130
131
132
133
134
135
136
137
138
139
140
141
142
143
144
145
146
|
<div id="stores-icon">
<div class="store-icon-1 store-icon">
<div class="store-title">
<h1>Digital Stores</h1>
</div>
<div class="store-content">
<ul>
<li><img src="{{media url="wysiwyg/stores-icon/digital1.png"}}" alt="" />
<p>Laptop</p>
</li>
<li><img src="{{media url="wysiwyg/stores-icon/digital2.png"}}" alt="" />
<p>Tablet</p>
</li>
<li><img src="{{media url="wysiwyg/stores-icon/digital3.png"}}" alt="" />
<p>Smartphone</p>
</li>
<li><img src="{{media url="wysiwyg/stores-icon/digital4.png"}}" alt="" />
<p>Camera</p>
</li>
<li><img src="{{media url="wysiwyg/stores-icon/digital5.png"}}" alt="" />
<p>Speaker</p>
</li>
<li><img src="{{media url="wysiwyg/stores-icon/digital6.png"}}" alt="" />
<p>Headphone</p>
</li>
<li><img src="{{media url="wysiwyg/stores-icon/digital7.png"}}" alt="" />
<p>Microphone</p>
</li>
</ul>
</div>
</div>
<div class="store-icon-2 store-icon">
<div class="store-title">
<h1>Food Stores</h1>
</div>
<div class="store-content">
<ul>
<li><img src="{{media url="wysiwyg/stores-icon/food1.png"}}" alt="" />
<p>Coffee</p>
</li>
<li><img src="{{media url="wysiwyg/stores-icon/food2.png"}}" alt="" />
<p>Cake</p>
</li>
<li><img src="{{media url="wysiwyg/stores-icon/food3.png"}}" alt="" />
<p>Pizza</p>
</li>
<li><img src="{{media url="wysiwyg/stores-icon/food4.png"}}" alt="" />
<p>Beer</p>
</li>
<li><img src="{{media url="wysiwyg/stores-icon/food5.png"}}" alt="" />
<p>Fast Food</p>
</li>
<li><img src="{{media url="wysiwyg/stores-icon/food6.png"}}" alt="" />
<p>Plate fork / knife</p>
</li>
<li><img src="{{media url="wysiwyg/stores-icon/food7.png"}}" alt="" />
<p>Ice Cream</p>
</li>
</ul>
</div>
</div>
<div class="store-icon-3 store-icon">
<div class="store-title">
<h1>Fashion Stores ( Female )</h1>
</div>
<div class="store-content">
<ul>
<li><img src="{{media url="wysiwyg/stores-icon/wfashion1.png"}}" alt="" />
<p>Dress</p>
</li>
<li><img src="{{media url="wysiwyg/stores-icon/wfashion2.png"}}" alt="" />
<p>Heels</p>
</li>
<li><img src="{{media url="wysiwyg/stores-icon/wfashion3.png"}}" alt="" />
<p>Shoulder bag</p>
</li>
<li><img src="{{media url="wysiwyg/stores-icon/wfashion4.png"}}" alt="" />
<p>Bikini</p>
</li>
<li><img src="{{media url="wysiwyg/stores-icon/wfashion5.png"}}" alt="" />
<p>Sandals</p>
</li>
<li><img src="{{media url="wysiwyg/stores-icon/wfashion6.png"}}" alt="" />
<p>T-shirt</p>
</li>
<li><img src="{{media url="wysiwyg/stores-icon/wfashion7.png"}}" alt="" />
<p>Long pants</p>
</li>
</ul>
</div>
</div>
<div class="store-icon-4 store-icon">
<div class="store-title">
<h1>Fashion Stores ( Male )</h1>
</div>
<div class="store-content">
<ul>
<li><img src="{{media url="wysiwyg/stores-icon/mfashion1.png"}}" alt="" />
<p>Briefcase bag</p>
</li>
<li><img src="{{media url="wysiwyg/stores-icon/mfashion2.png"}}" alt="" />
<p>Jacket coat</p>
</li>
<li><img src="{{media url="wysiwyg/stores-icon/mfashion3.png"}}" alt="" />
<p>Short shape</p>
</li>
<li><img src="{{media url="wysiwyg/stores-icon/mfashion4.png"}}" alt="" />
<p>Sports clothes</p>
</li>
<li><img src="{{media url="wysiwyg/stores-icon/mfashion5.png"}}" alt="" />
<p>Sneaker shoes</p>
</li>
<li><img src="{{media url="wysiwyg/stores-icon/mfashion6.png"}}" alt="" />
<p>Tie</p>
</li>
<li><img src="{{media url="wysiwyg/stores-icon/mfashion7.png"}}" alt="" />
<p>Underwear</p>
</li>
</ul>
</div>
</div>
<div class="store-icon-5 store-icon">
<div class="store-title">
<h1>Music Stores</h1>
</div>
<div class="store-content">
<ul>
<li><img src="{{media url="wysiwyg/stores-icon/music1.png"}}" alt="" />
<p>Acoustic Guitar</p>
</li>
<li><img src="{{media url="wysiwyg/stores-icon/music2.png"}}" alt="" />
<p>Saxophone</p>
</li>
<li><img src="{{media url="wysiwyg/stores-icon/music3.png"}}" alt="" />
<p>Electric Guitar</p>
</li>
<li><img src="{{media url="wysiwyg/stores-icon/music4.png"}}" alt="" />
<p>Drum</p>
</li>
<li><img src="{{media url="wysiwyg/stores-icon/music5.png"}}" alt="" />
<p>Piano</p>
</li>
</ul>
</div>
</div>
</div>
|
And then, navigate to Design tab and select layout “1 column”.
PRODUCTS MENU
Frontend
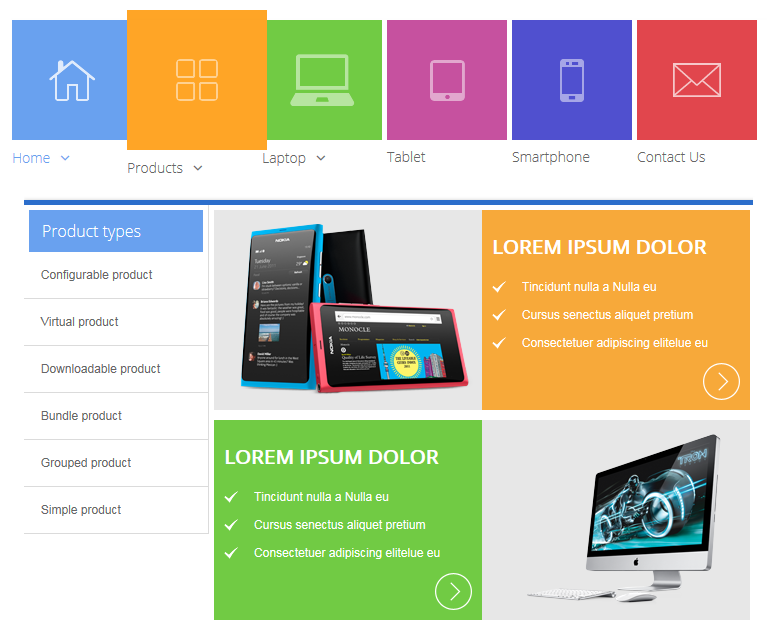
To config: Go to Catalog >> Manager Categories > Basic > Display Settings > Display Mode = “Products Only”.
Tree of Products Menu:
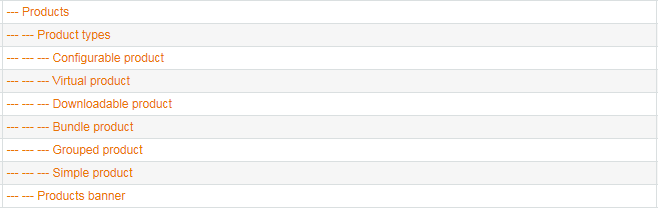
Note: Child product of “Product Types” below configure the same.
- Products banner: Backend
To config: Go to CMS >> Static Block >> Meline banner metro and paste content code of Meline banner metro as below:
|
1
2
3
4
5
6
7
8
9
10
11
12
13
14
15
16
17
18
19
20
21
22
23
24
25
26
|
<div class="banner-metro">
<div class="banner-metro-inner">
<div class="banner banner1">
<div class="banner-content banner-img"><img src="{{media url="wysiwyg/banner/banner1.png"}}" alt="" /></div>
<div class="banner-content banner-desc">
<p>Lorem ipsum dolor</p>
<ul>
<li>Tincidunt nulla a Nulla eu</li>
<li>Cursus senectus aliquet pretium</li>
<li>Consectetuer adipiscing elitelue eu</li>
</ul>
<a class="detail" href="#">Go to detail</a></div>
</div>
<div class="banner banner2 clearfix">
<div class="banner-content banner-desc">
<p>Lorem ipsum dolor</p>
<ul>
<li>Tincidunt nulla a Nulla eu</li>
<li>Cursus senectus aliquet pretium</li>
<li>Consectetuer adipiscing elitelue eu</li>
</ul>
<a class="detail" href="#">Go to detail</a></div>
<div class="banner-content banner-img"><img src="{{media url="wysiwyg/banner/banner2.png"}}" alt="" /></div>
</div>
</div>
</div>
|
LAPTOP MENU
Frontend
To config: Go to Catalog >> Manager Categories > Basic > Display Settings > Display Mode = “Products Only”
Tree of laptop Menu:

TABLET MENU
Frontend

To config: Go to Catalog >> Manager Categories > Basic > Display Settings > Display Mode = “Products Only”
SMARTPHONE MENU
Frontend

To config: Go to Catalog >> Manager Categories > Basic > Display Settings > Display Mode = “Products Only”
CONTACT US MENU
Frontend

To config this page, please navigate to Catalog >> Manager Categories >> Contact Us category:
|
1
2
3
|
<reference name="content">
<block type="core/template" name="contactForm" template="contacts/form.phtml"/>
</reference>
|
4.3 Configure Extensions
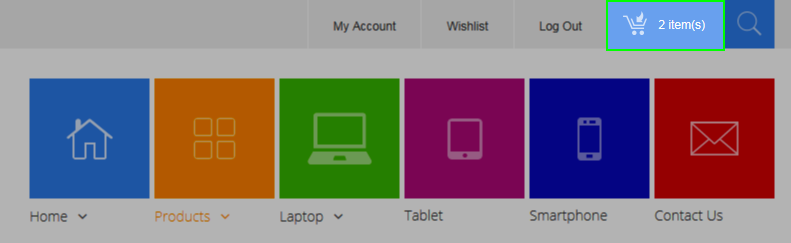
I. SM Cart Pro
- Position: SM Cartpro
- Frontend
- Backend
- To view more guide about how to install, set up and configure SM Cart Pro as you want, please click here
II. SM Dynamic Slideshow
- Position: SM Dynamic slideshow
- Frontend
/module/sm-dynamic-slideshow.png)
- Backend
- To view more guide about how to install, set up and configure SM Dynamic Slideshow as you want, please click here
III. SM Tab Listing
- Position: SM Tab listing
- Frontend
- Backend
- To view more guide about how to install, set up and configure SM Tab listing as you want, please click here
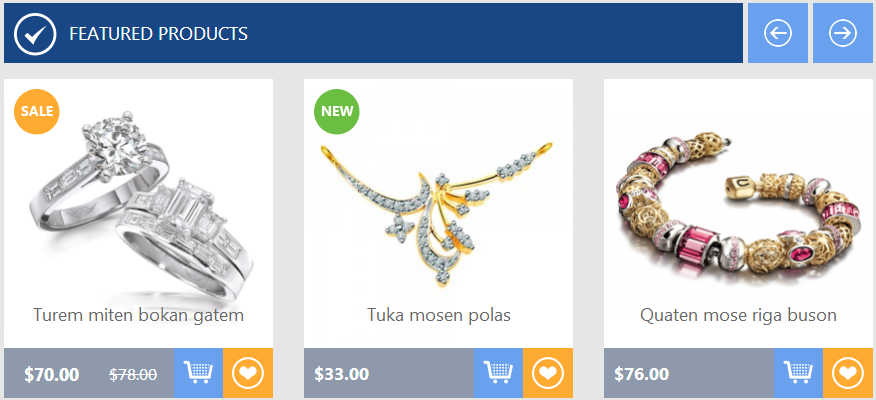
IV. SM Slider
- Position: SM Slider
- Frontend
To config this position, please navigate to CMS >> Pages >>Home page, navigate to Design tab and find code rows as following:
|
1
2
3
4
5
6
7
8
9
10
11
12
13
14
15
16
17
18
19
20
21
|
<reference name="slider">
<block type="slider/list" name="slider.list.default" template="sm/slider/default.phtml">
<action method="setConfig">
<values>
<product_source>catalog</product_source>
<block_title></block_title>
<slider_title_text>Best smartphone 2014</slider_title_text>
<product_category>326</product_category>
<product_image_height>270</product_image_height>
<product_image_width >270</product_image_width>
<product_limitation>10</product_limitation>
<product_order_dir>ASC</product_order_dir>
<product_order_by>name</product_order_by>
<anchor>top</anchor>
<scroll>1</scroll>
<deviceclass_sfx>preset01-4 preset02-3 preset03-2 preset04-2 preset05-1</deviceclass_sfx>
<duration>500</duration>
</values>
</action>
</block>
</reference>
|
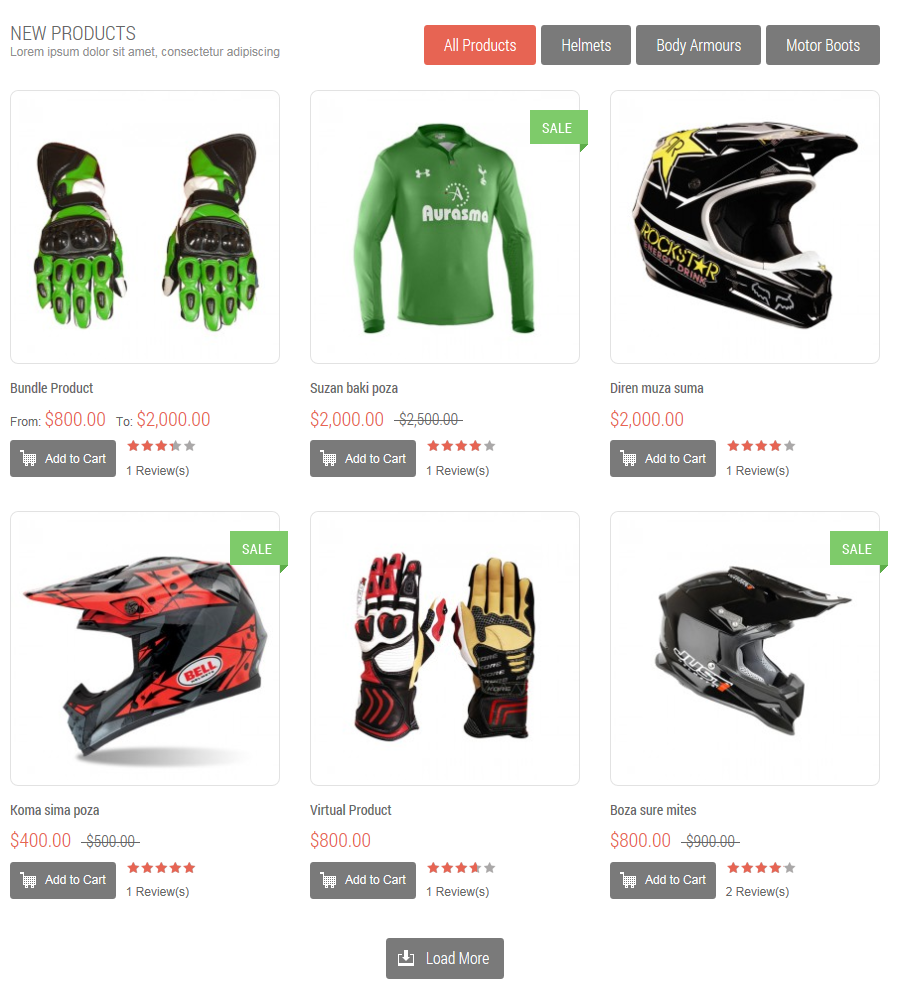
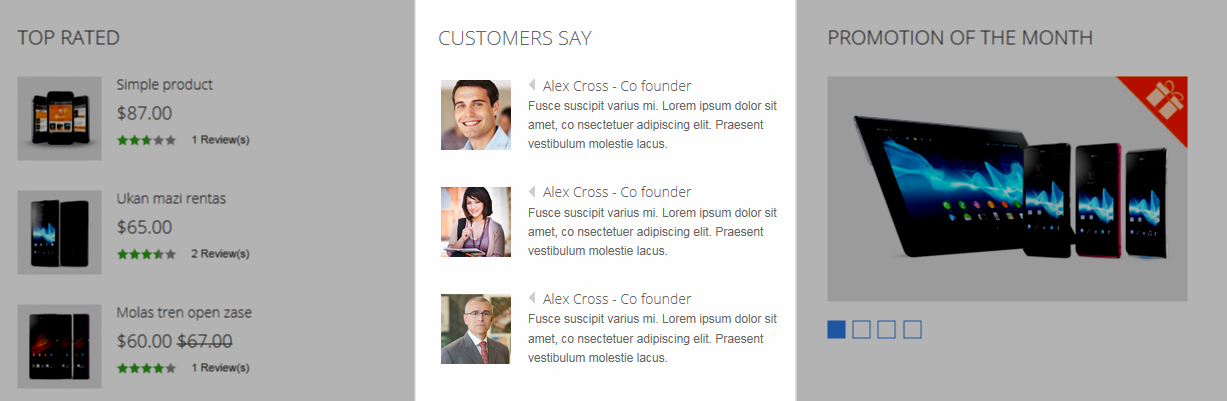
V. SM Basic Products
- Position: SM Basic products
- Frontend
VI. SM Slider
- Position: SM slider
- Frontend

- Backend
- To view more guide about how to install, set up and configure SM Slider as you want, please click here
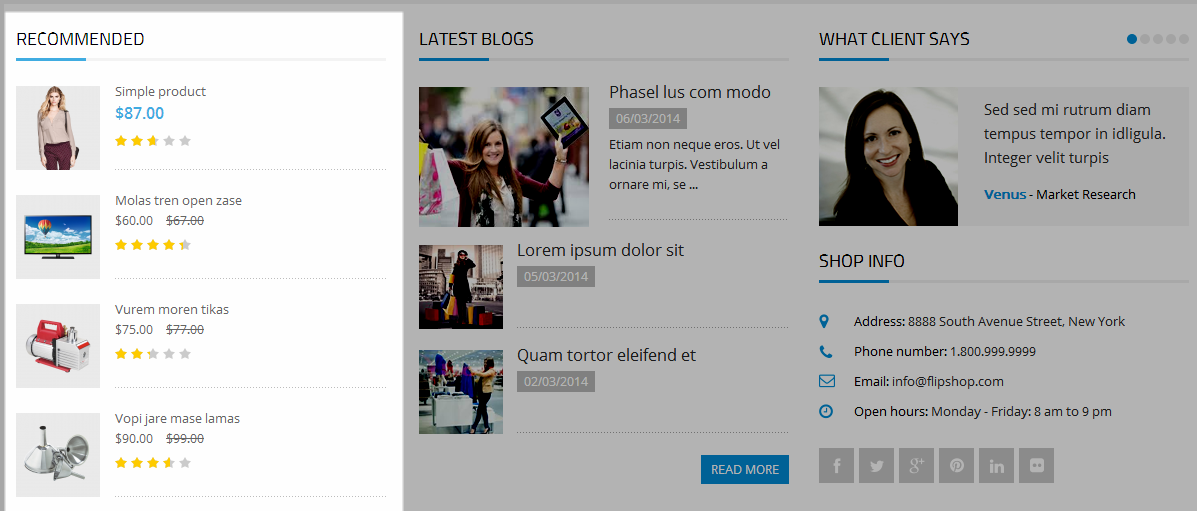
4.4 Configure blocks
The SM Meline front-page has static blocks in the Theme:
- banner-top2
- banner-bottom
- customer-say
- slide-promotion
- spotlight-1
- spotlight-2
- spotlight-3
- spotlight-4
- under-spotlight
- footer
To create static blocks, go to CMS >> Static Blocks >> Add new block
banner-top2
Frontend

Backend
- Code Code of banner-top2:
|
1
2
3
4
5
6
7
8
9
10
11
12
13
14
15
16
17
18
19
|
<div class="banner-top2">
<ul>
<li class="li-1 col-lg-4 col-md-4 col-sm-4 col-xs-12"><a class="banner-top2-img" href="#"><img src="{{media url="wysiwyg/banner/ico1-banner-top2.jpg"}}" alt="" /></a>
<div class="li1-content"><a href="#">Free Shipping Item</a>
<p>Lorem ipsum dolor sit amet, consectetur adipis icing elit, sed do eiusmod tempor</p>
</div>
</li>
<li class="li-2 col-lg-4 col-md-4 col-sm-4 col-xs-12"><a class="banner-top2-img" href="#"><img src="{{media url="wysiwyg/banner/ico2-banner-top2.jpg"}}" alt="" /></a>
<div class="li2-content"><a href="#">30 Day Return Policy</a>
<p>Lorem ipsum dolor sit amet, consectetur adipis icing elit, sed do eiusmod tempor</p>
</div>
</li>
<li class="li-3 col-lg-4 col-md-4 col-sm-4 col-xs-12"><a class="banner-top2-img" href="#"><img src="{{media url="wysiwyg/banner/ico3-banner-top2.jpg"}}" alt="" /></a>
<div class="li3-content"><a href="#">Accepting orders 24/7</a>
<p>Lorem ipsum dolor sit amet, consectetur adipis icing elit, sed do eiusmod tempor</p>
</div>
</li>
</ul>
</div>
|
banner-bottom
Frontend

Backend
- Code Code of banner-bottom:
|
1
2
3
4
5
6
|
<ul class="banner-bottom">
<li class="banner-bottom1 col-lg-3 col-md-3 col-sm-3 col-xs-12"><a href="#"><img src="{{media url="wysiwyg/banner/banner-bottom1.jpg"}}" alt="" /></a></li>
<li class="banner-bottom2 col-lg-3 col-md-3 col-sm-3 col-xs-12"><a href="#"><img src="{{media url="wysiwyg/banner/banner-bottom2.jpg"}}" alt="" /></a></li>
<li class="banner-bottom3 col-lg-3 col-md-3 col-sm-3 col-xs-12"><a href="#"><img src="{{media url="wysiwyg/banner/banner-bottom3.jpg"}}" alt="" /></a></li>
<li class="banner-bottom4 col-lg-3 col-md-3 col-sm-3 col-xs-12"><a href="#"><img src="{{media url="wysiwyg/banner/banner-bottom4.jpg"}}" alt="" /></a></li>
</ul>
|
customer-say
Frontend
Backend
- Code Code of customer-say:
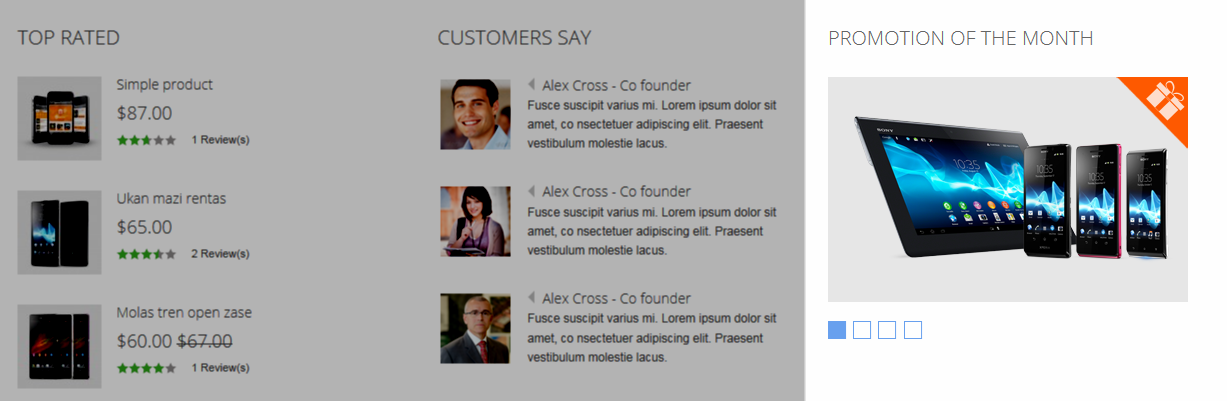
slide-promotion
Frontend
Backend
- Code Code of slide-promotion:
|
1
2
3
4
5
6
7
8
9
10
11
12
13
14
15
16
17
18
19
|
<div class="block-promotion col-lg-4 col-md-4 col-sm-12 col-xs-12">
<div class="block-title">Promotion of the month</div>
<div class="block-content">
<div id="carousel-generic" class="carousel slide" data-interval="0" data-ride="carousel"><ol class="carousel-indicators">
<li class="active" data-slide-to="0" data-target="#carousel-generic"></li>
<li data-slide-to="1" data-target="#carousel-generic"></li>
<li data-slide-to="2" data-target="#carousel-generic"></li>
<li data-slide-to="3" data-target="#carousel-generic"></li>
</ol>
<div class="carousel-inner">
<div class="item active"><a href="#"><img src="{{media url="wysiwyg/promotion1.png"}}" alt="" /></a></div>
<div class="item"><a href="#"><img src="{{media url="wysiwyg/promotion2.jpg"}}" alt="" /></a></div>
<div class="item"><a href="#"><img src="{{media url="wysiwyg/promotion3.jpg"}}" alt="" /></a></div>
<div class="item"><a href="#"><img src="{{media url="wysiwyg/promotion4.jpg"}}" alt="" /></a></div>
</div>
<div class="promotion-ico">Sale</div>
</div>
</div>
</div>
|
spotlight-1
Frontend
Backend
- Code Code of spotlight-1:
|
1
2
3
4
5
6
7
8
9
10
11
12
|
<div class="col-lg-3 col-md-3 col-sm-6 col-xs-12 spotlight spotlight1">
<div class="block-title">More information</div>
<div class="block-content">
<ul>
<li><a href="{{config path="web/secure/base_url"}}about-magento-demo-store">About Us</a></li>
<li><a href="#">Customer Service</a></li>
<li><a href="#">Privacy Policy</a></li>
<li><a href="#">Advance Search</a></li>
<li><a href="#">Orders and Returns</a></li>
</ul>
</div>
</div>
|
spotlight-2
Frontend
Backend
- Code Code of spotlight-2:
spotlight-3
Frontend
Backend
- Code Code of spotlight-3:
|
1
2
3
4
5
6
7
|
<div class="col-lg-3 col-md-3 col-sm-6 col-xs-12 spotlight spotlight3">
<div class="block-title">Newsletter</div>
<div class="block-content"><form id="newsletter-validate-detail" action="newsletter/subscriber/new/" method="post">
<p>Fusce suscipit varius mi. Lorem ipsum dolor sit amet, co nsectetuer adipiscing elit.</p>
<div class="input-box"><input id="newsletter" class="input-text required-entry validate-email" title="Sign up for our newsletter" onfocus="if(this.value=='Enter your email address....') this.value='';" onblur="if(this.value=='') this.value='Enter your email address....';" type="text" name="email" value="Enter your email address...." /> <button type="submit"><span>Send</span></button></div>
</form></div>
</div>
|
spotlight-4
Frontend
Backend
- Code Code of spotlight-4:
under-spotlight
Frontend

Backend
- Code Code of under-spotlight:
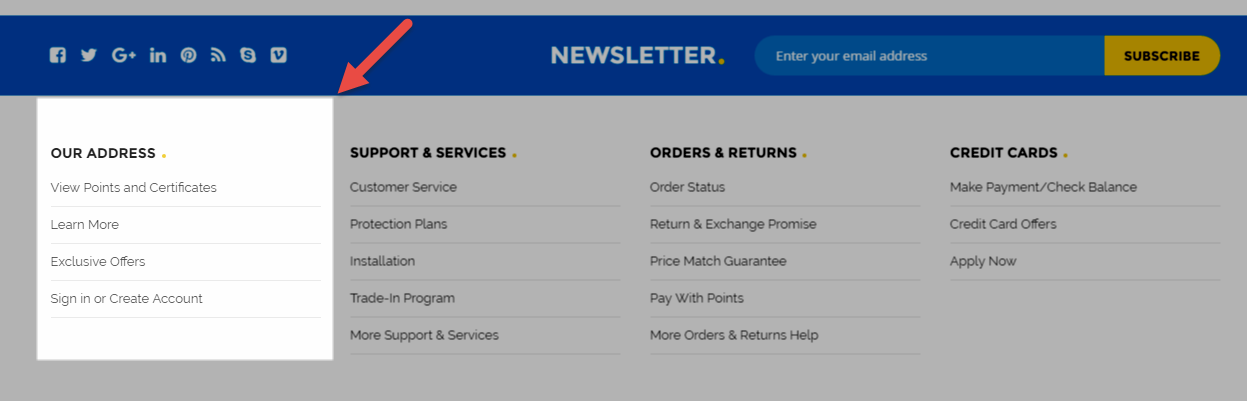
footer
Frontend
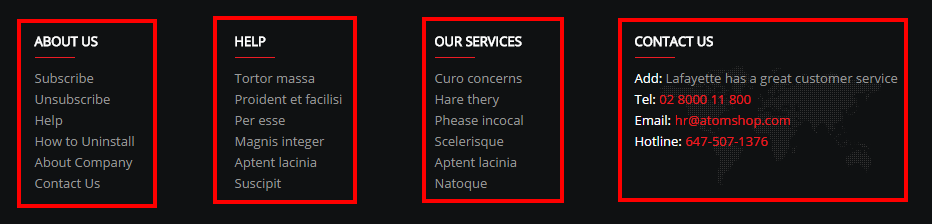
Backend
- Code Code of footer:
4.5 How To Set Default Language and Currency in Magento
Please click HERE to see how to set default language and currency in Magento.
5SUPPORT - Back to top
Thank you so much for purchasing this theme. If you have any questions that are beyond the scope of this help file, please send us via: Support Tickets System
Thanks so much!