Table of content as following:
1 SYSTEM REQUIREMENT - Back to top
At the basic level, this theme will require the following conditions:
- Compatible with Magento Community Edition 1.8.x
2LAYOUT POSITION - Back to top
3INSTALLATION - Back to top
There are two ways to install a Magento Theme:
- Install quickstart: By using this package, you will set the theme exactly as our Demo with sample data.
- Install Theme and Extensions: You will need only be using the zipped files in “Extensions” and “Theme” folders.
3.1 Install with Quickstart Package:
Magentech provides SM Quickstart package for each theme which aims to ease the installation for users. It will help you save much time of installing and configuring if you plan to start your site from the beginning.
Please following steps below:
- Step 1: Download the quickstart package
- Step 2: Extract and Upload the whole Quickstart package to your server. In Quickstart folder you will see the extracted folder that include all sample data
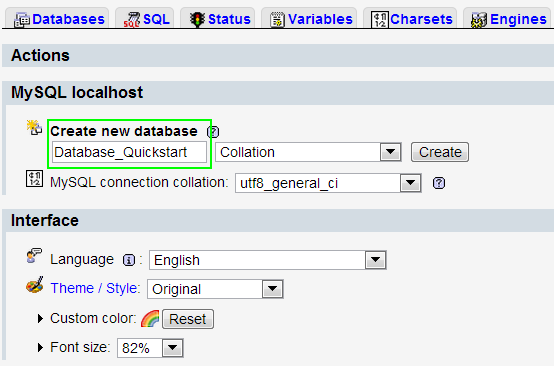
- Step 3: Create a database for your Magento
-
Step 4: Start installation by opening browser and navigate to your url (where the quickstart uploaded) to load default Magento installer.
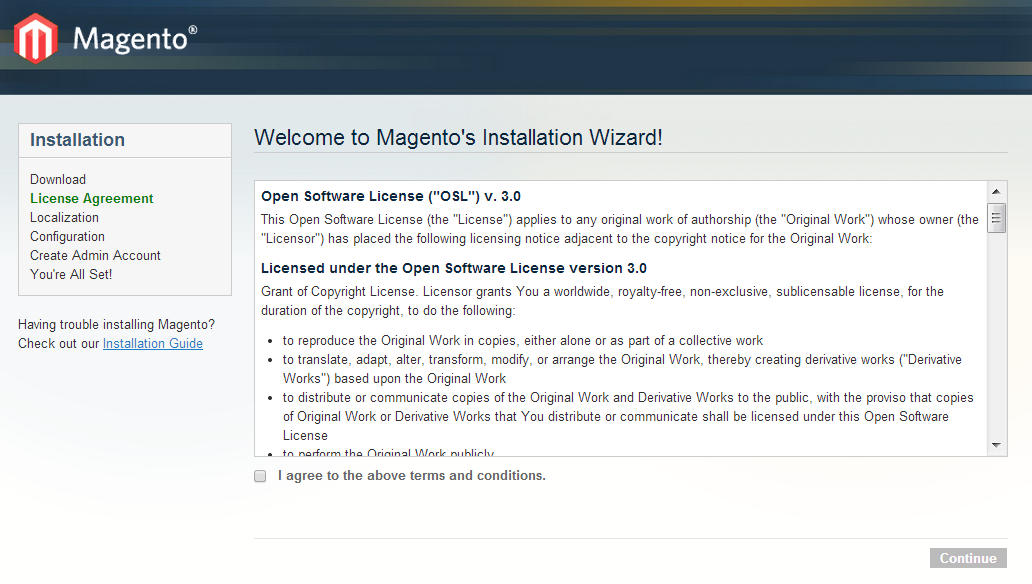
- Step 5: Finish installation
3.2 Install Magento Theme
The installation of our theme is quite simple. You just need follow steps below to get our theme ready for your Magento store:
-
Step 1: Upload folders skin and app from our download package to your Web server’s document root (from here on, referenced as {docroot}). You should see a directory layout like this:
{docroot} /magento/
app/
index.php js/
lib/
LICENSE.txt media/
pear/
skin/
var/ - Step 2: Login your Magento Admin area (ex: Access Magento Admin area: https://yourdomain/index.php/admin/)
-
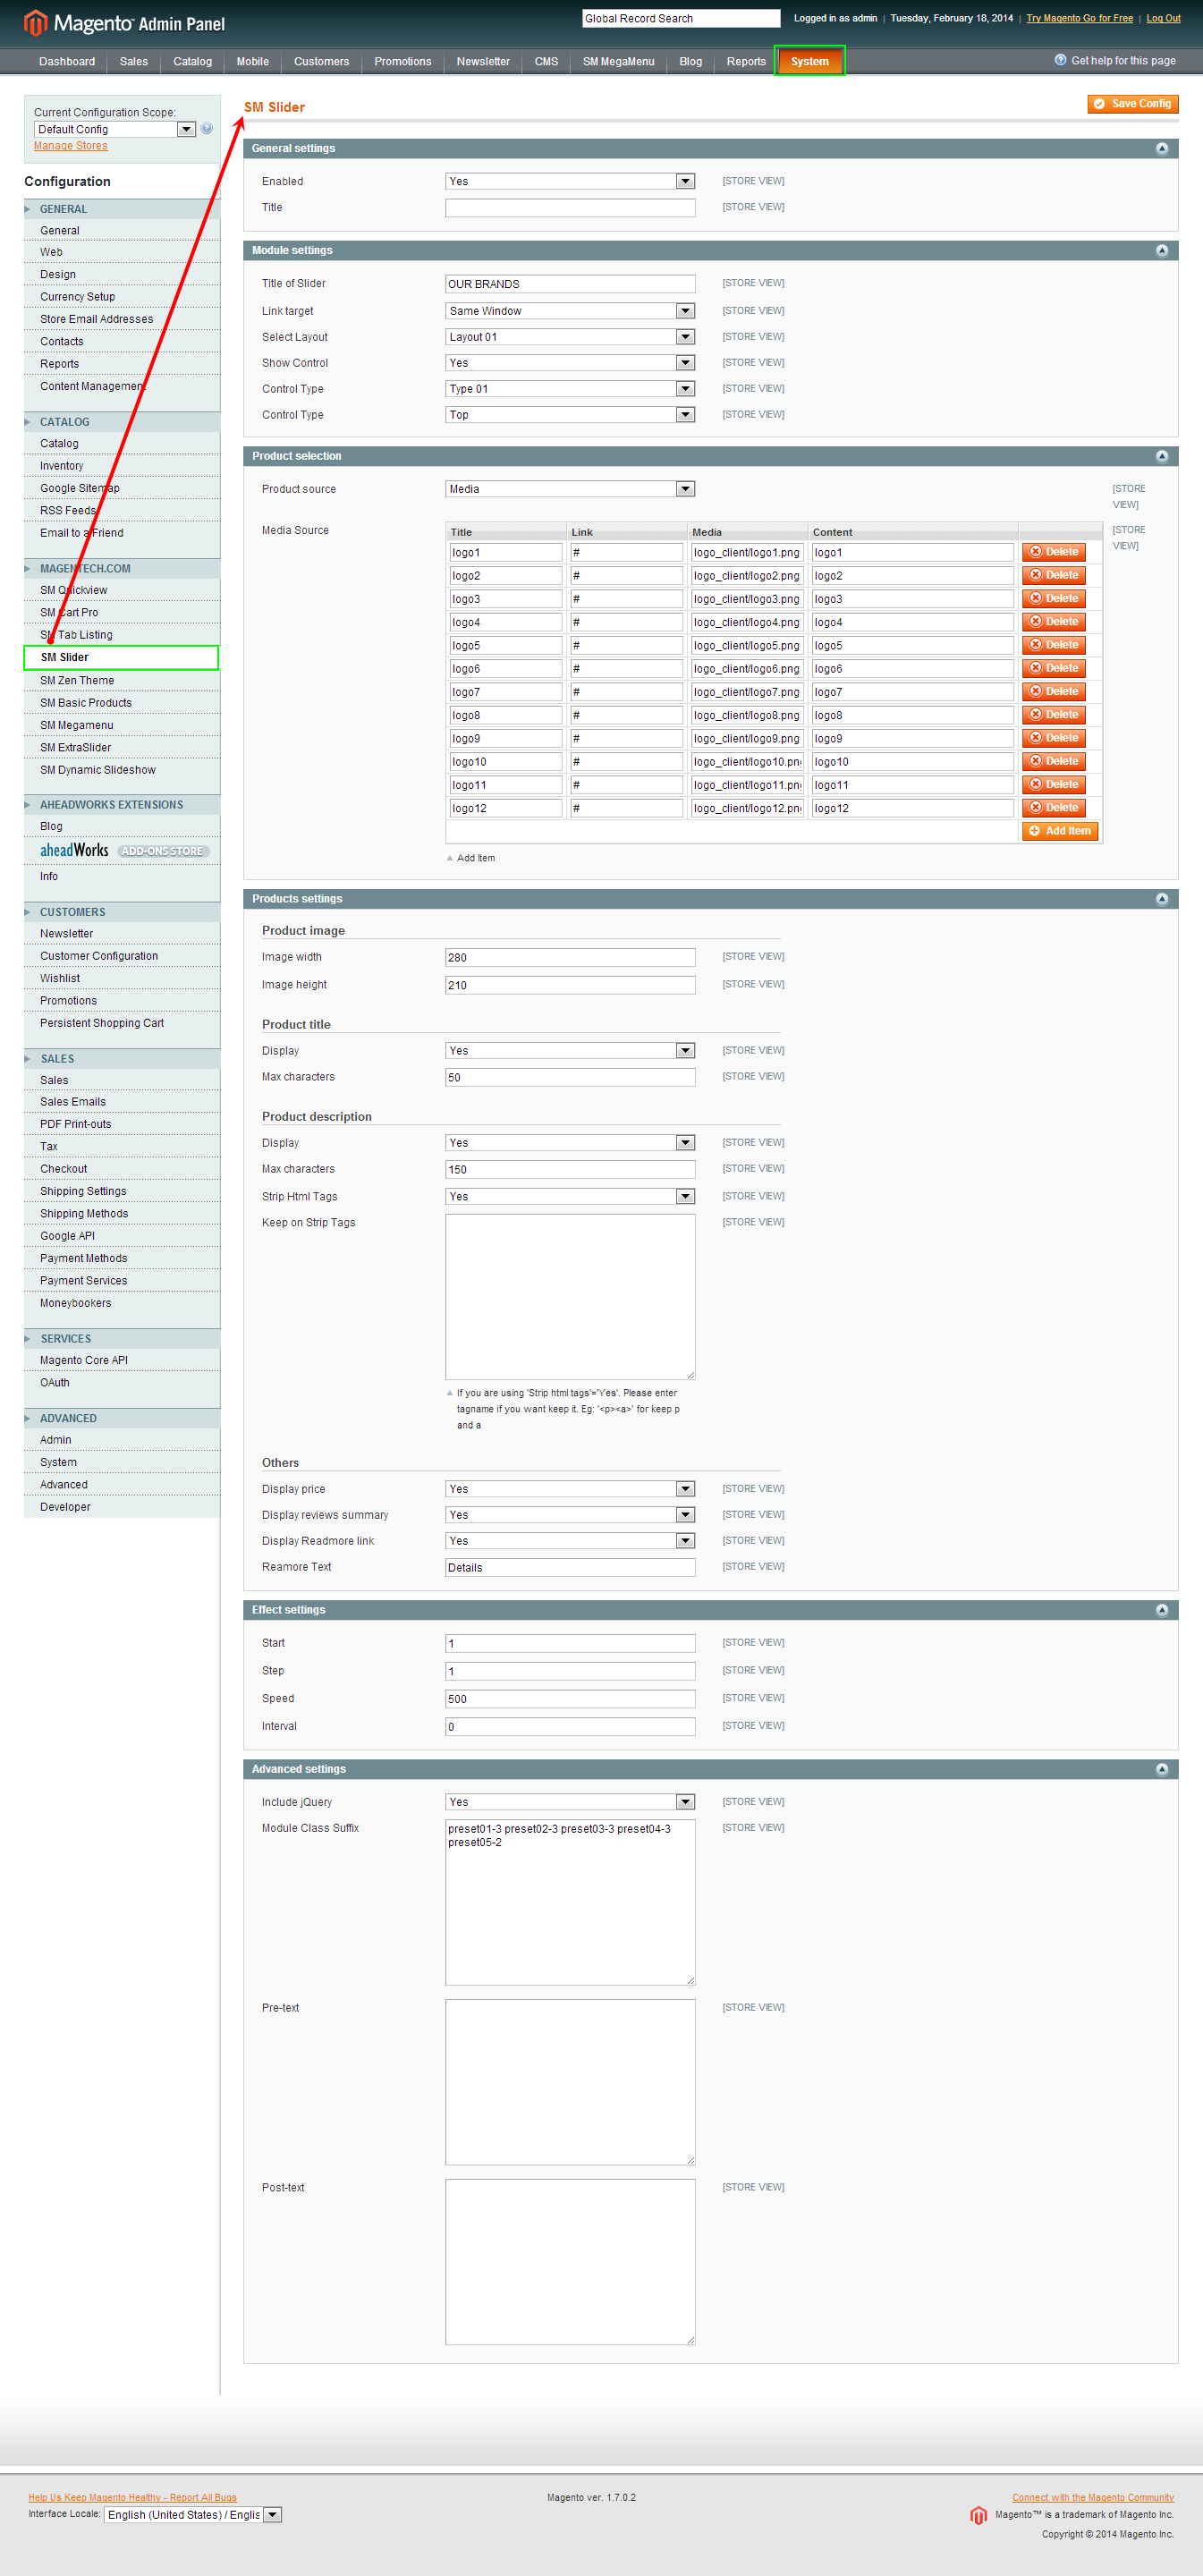
Step 3: Navigate to System => Configuration => Design as screen shot below
-
Step 4: Fill all theme information as screen shot below:
- Step 5: Finally, Click button “Save Config” to save your configuration
Configure theme using admin back end
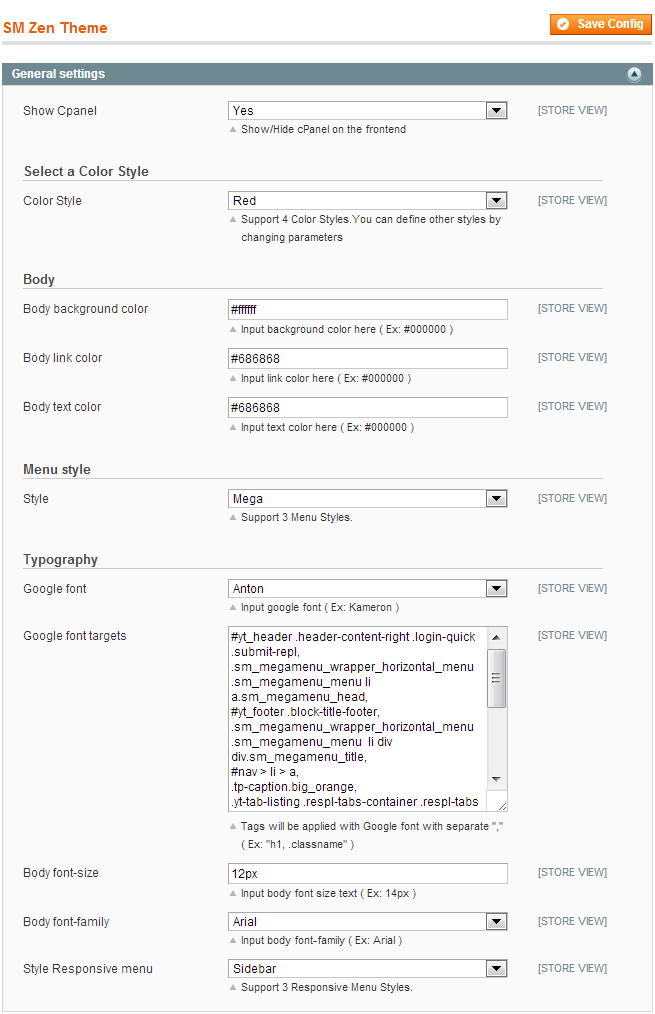
For easing the theme configuration, we has been created Cpanel in both backend and frontend, this is SM Zen configuration in backend:
1. Under Magento admin panel, go to System >> Configuration
2. Select SM Zen theme on the left-hand menu
3. Tweak the theme as you want
3.3 Install Magento Extension
You just need following steps below to get our extensions ready for your Magento store:
-
Step 1: Upload folders skin and app from our download package to your Web server’s document root (from here on, referenced as {docroot}). These files will overwrite default folders skin and app in your Magento folder, you should see a directory layout like this:
{docroot} /magento/
app/
index.php
js/
lib/
LICENSE.txt
media/
pear/
skin/
var/ - Step 2: Login your Magento Admin area (ex: access Magento Admin area: https://yourdomain/magento/index.php/admin/)
- Step 3: Navigate to System =>Configuration => Extensions Configuration
/module/theme.png)
- Step 4: You will see installed extension, click extension’s name tab to go to extension configuration page.
4.1 General Configuration
4.1.1 Configure homepage
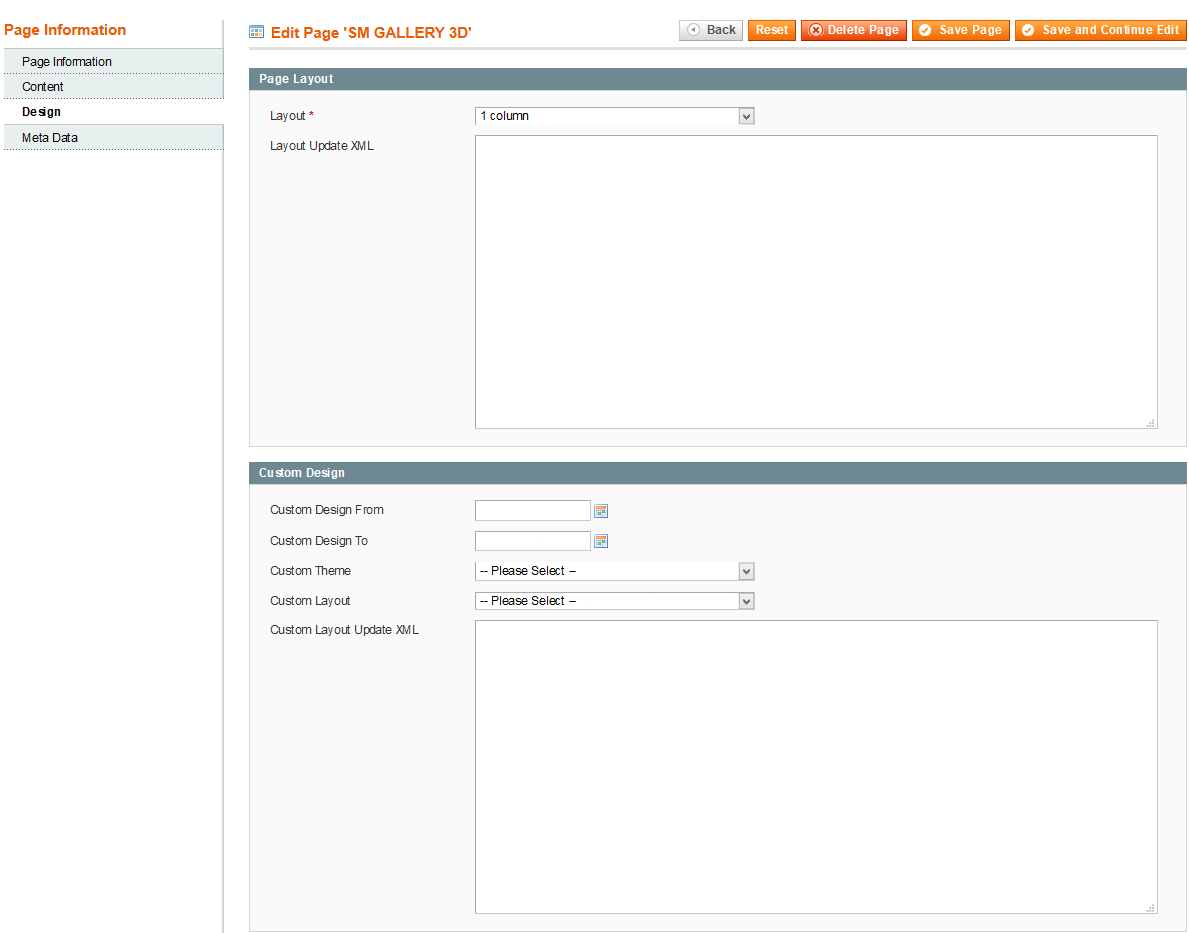
1. Select the homepage from CMS Pages
2. Select Homepage >> Design on the left-hand menu.
3. In the Layout Update XML box, add the code as you want, this is our demo homepage:
|
1
2
3
4
5
6
7
8
9
10
11
12
13
14
15
16
17
18
19
|
<reference name="slideshow">
<block type="dynamicslideshow/list" name="dinamicslideshow"></block>
</reference>
<reference name="content-tab">
<block type="tablisting/list" name="tablisting">
<action method="setConfig"></action>
</block>
</reference>
<reference name="latestblog">
<block type="blog/blog" name="latest-blog" template="aw_blog/latest-blog.phtml"></block>
</reference>
<reference name="slider">
<block type="slider/list" name="img-slider" template="sm/slider/default.phtml"></block>
</reference>
<reference name="home-under">
<block type="cms/block" name="block-home-under" >
<action method="setBlockId"><block_id>block-home-under</block_id></action>
</block>
</reference>
|
4. Click the Save Page button.
4.1.2 Configure theme using Cpanel front end
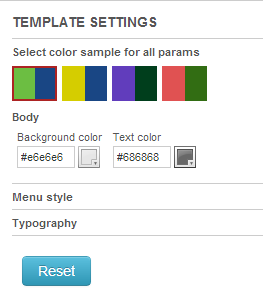
- Color sample: 6 presets to be chosen
- Body: Background and Text color
- Menu style: Mega, CSS or Split
- Typography: Google Font, various font-size and font-family
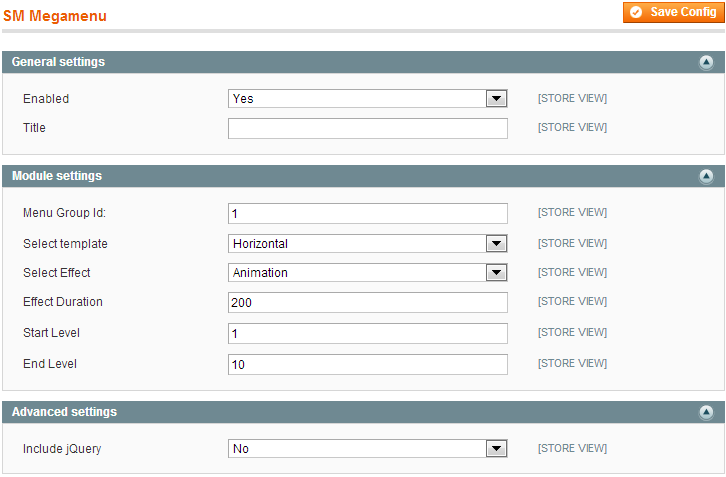
4.2 Configure Mega Menu
To configure General settings, module parameters, Advance, login your administrator, go to SM Mega Menu >> Configuration
To view more guide about how to install, set up and configure SM Mega Menu as you want, please click HERE
Mega Menu Items Configuration
In order to add menu items, Go to SM Mega Menu >> Menu items Manager
You must create add new Menu Group.
The settings below belong to SM Zen group. Other group has similar settings menu item
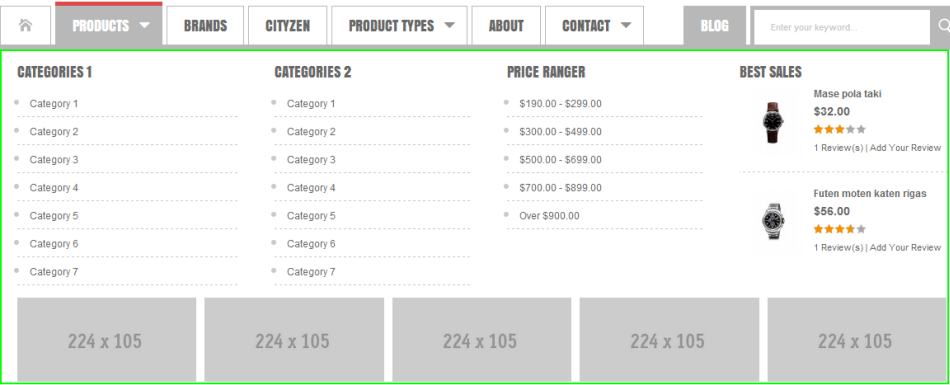
1. Product Menu:
Frontend
Backend: Product Menu
Tree of Product Menu:
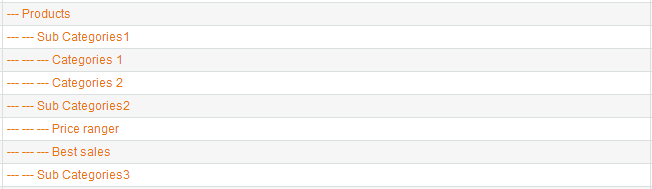
As you can see in “Product Menu Tree”, Product menu divides into 3 columns:
- “Sub Categories1″ includes “Categories 1″ & “Categories 2″
Content Code of Categories 1 & Categories 2:
|
1
2
3
4
5
6
7
8
9
10
11
12
13
14
15
16
17
18
19
20
21
22
23
24
25
26
27
28
29
30
31
32
33
34
35
36
37
|
<ul class="list-sub-custom">
<li>
<a href="{{config path="web/unsecure/base_url"}}accessories/category1.html" class="">
<span>Category 1</span>
</a>
</li>
<li>
<a href="{{config path="web/unsecure/base_url"}}accessories/category2.html" class="">
<span>Category 2</span>
</a>
</li>
<li>
<a href="{{config path="web/unsecure/base_url"}}accessories/category3.html" class="">
<span>Category 3</span>
</a>
</li>
<li>
<a href="{{config path="web/unsecure/base_url"}}accessories/category4.html" class="">
<span>Category 4</span>
</a>
</li>
<li>
<a href="{{config path="web/unsecure/base_url"}}accessories/category5.html" class="">
<span>Category 5</span>
</a>
</li>
<li>
<a href="{{config path="web/unsecure/base_url"}}accessories/category-6.html" class="">
<span>Category 6</span>
</a>
</li>
<li>
<a href="{{config path="web/unsecure/base_url"}}accessories/category-7.html" class="">
<span>Category 7</span>
</a>
</li>
</ul>
|
- “Sub Categories2″ includes “Price ranger” & “Best sales”
Content Code of Price ranger:
|
1
2
3
4
5
6
7
8
9
10
11
12
13
14
15
16
17
18
19
20
21
22
23
24
25
26
27
|
<ul class="list-sub-custom">
<li>
<a href="#">
<span>$190.00 - $299.00</span>
</a>
</li>
<li>
<a href="#">
<span>$300.00 - $499.00</span>
</a>
</li>
<li>
<a href="#">
<span>$500.00 - $699.00</span>
</a>
</li>
<li>
<a href="#">
<span>$700.00 - $899.00</span>
</a>
</li>
<li>
<a href="#">
<span>Over $900.00</span>
</a>
</li>
</ul>
|
Content Code of Best sales:
|
1
2
3
4
|
<div class="mega-bestsale">
{{block type="basicproducts/home" name="topmost" template="sm/basicproducts/bestseller.phtml"
title="" product_source="product" product_ids="444,445" product_order_by="price" num_columns="1" product_limitation="2" product_image_width="80" product_image_height="80" product_title_max_length="20" product_title_disp="1" product_rating_summary="1" product_description_disp="0"}}
</div>
|
Content Code of Sub Categories3:
|
1
2
3
4
5
6
7
8
9
10
11
12
13
14
15
16
17
18
19
20
21
22
23
24
25
26
27
|
<div class="mg-menu-image">
<div class="mg-menu-image-item">
<a href="#">
<img src=
"{{
skin url="images/menu/image.png}}" alt="image" />
</a>
</div>
<div class="mg-menu-image-item">
<a href="#">
<img src="{{skin url="images/menu/image.png}}" alt="image" />
</a>
</div>
<div class="mg-menu-image-item">
<a href="#">
<img src="{{skin url="images/menu/image.png}}" alt="image" />
</a>
</div>
<div class="mg-menu-image-item">
<a href="#">
<img src="{{skin url="images/menu/image.png}}" alt="image" />
</a>
</div>
<div class="mg-menu-image-item">
<a href="#">
<img src="{{skin url="images/menu/image.png}}" alt="image" />
</a>
</div>
</div> |
2. Brands Menu:
Frontend

Backend: Brands Menu
- “category/74″: (To config: Go to Catalog >> Manager Categories > Product Types > Display Settings > Display Mode = “Products Only”)
3. Cityzen Menu:
Frontend

Backend: Cityzen Menu
- “category/137″: (To config: Go to Catalog >> Manager Categories > Product Types > Display Settings > Display Mode = “Products Only”)
4. Product Types Menu
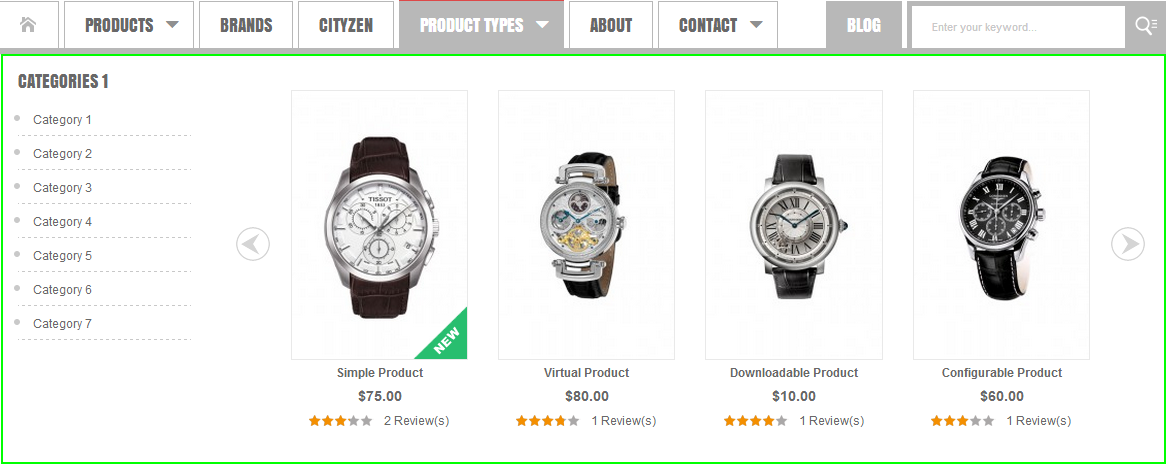
Frontend
Backend: Product Types Menu
- category/281: (To config: Go to Catalog >> Manager Categories > Product Types > Display Settings > Display Mode = “Products Only”)
Tree of Product Types Menu

As you can see in “Product Types Menu Tree”, Product Types menu divides into 2 columns:
Content Code of Categories 1:
|
1
2
3
4
5
6
7
8
9
10
11
12
13
14
15
16
17
18
19
20
21
22
23
24
25
26
27
28
29
30
31
32
33
34
35
36
37
|
lt;ul class="list-sub-custom">
<li>
<a href="{{config path="web/unsecure/base_url"}}accessories/category1.html" class="">
<span>Category 1</span>
</a>
</li>
<li>
<a href="{{config path="web/unsecure/base_url"}}accessories/category2.html" class="">
<span>Category 2</span>
</a>
</li>
<li>
<a href="{{config path="web/unsecure/base_url"}}accessories/category3.html" class="">
<span>Category 3</span>
</a>
</li>
<li>
<a href="{{config path="web/unsecure/base_url"}}accessories/category4.html" class="">
<span>Category 4</span>
</a>
</li>
<li>
<a href="{{config path="web/unsecure/base_url"}}accessories/category5.html" class="">
<span>Category 5</span>
</a>
</li>
<li>
<a href="{{config path="web/unsecure/base_url"}}accessories/category-6.html" class="">
<span>Category 6</span>
</a>
</li>
<li>
<a href="{{config path="web/unsecure/base_url"}}accessories/category-7.html" class="">
<span>Category 7</span>
</a>
</li>
</ul>
|
Content Code of Slider:
|
1
|
{{block type="slider/list" name="slidermega" template="sm/slider/slider-mega.phtml" product_source="catalog" block_title="" slider_title_text="" product_category="281" product_image_height="260" product_image_width="170" anchor="middle" product_limitation="10" deviceclass_sfx="preset01-4 preset02-3 preset03-3 preset04-1 preset05-1" duration="500"}}
|
5. About Menu
Frontend

Backend: About Menu
- “category/282″: (To config: Go to Catalog >> Manager Categories > Product Types > Display Settings > Display Mode = “Products Only”)
6. Contact Menu
Frontend
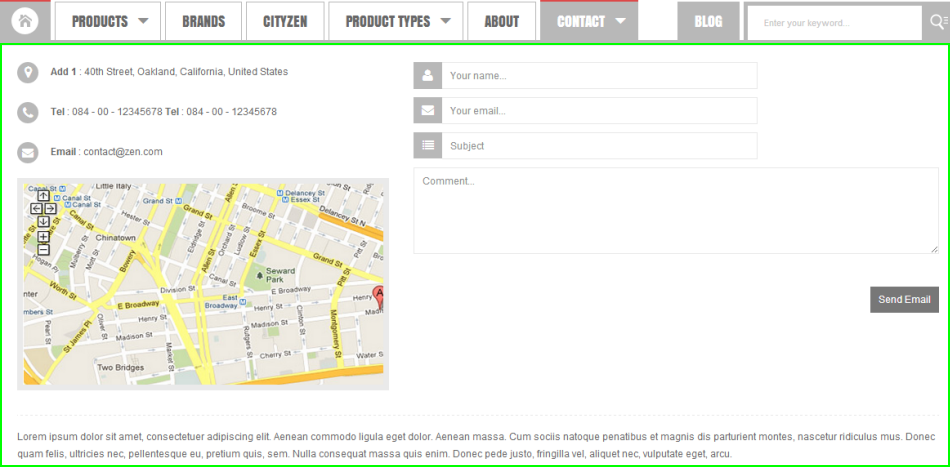
Backend: Contact Menu
Content Code of Contact:
|
1
|
{{block type="core/template" name="contactForm" template="contacts/form.phtml"/}}
|
7. Blog Menu
Frontend

Backend: Blog Menu
- “category/283″: (To config: Go to Catalog >> Manager Categories > Product Types > Display Settings > Display Mode = “Products Only”)
For getting more information about product types, please refer HERE
4.3 Configure Extensions
I. SM Cart Pro
- Position: sm-cartpro
- Frontend
- Backend
To view more guide about how to install, set up and configure SM Cart Pro as you want, please click HERE
II. SM Dynamic Slideshow
- Position: sm-dynamicslideshow
- Frontend
- Backend
To view more guide about how to install, set up and configure SM Dynamic Slideshow as you want, please click HERE
III. SM Tab Listing
- Position: sm-tablisting
- Frontend

- Backend
To view more guide about how to install, set up and configure SM Tab Listing as you want, please click HERE
IV. SM Slider
- Position: sm-slider
- Frontend
- Backend
To view more guide about how to install, set up and configure SM Slider as you want, please click HERE
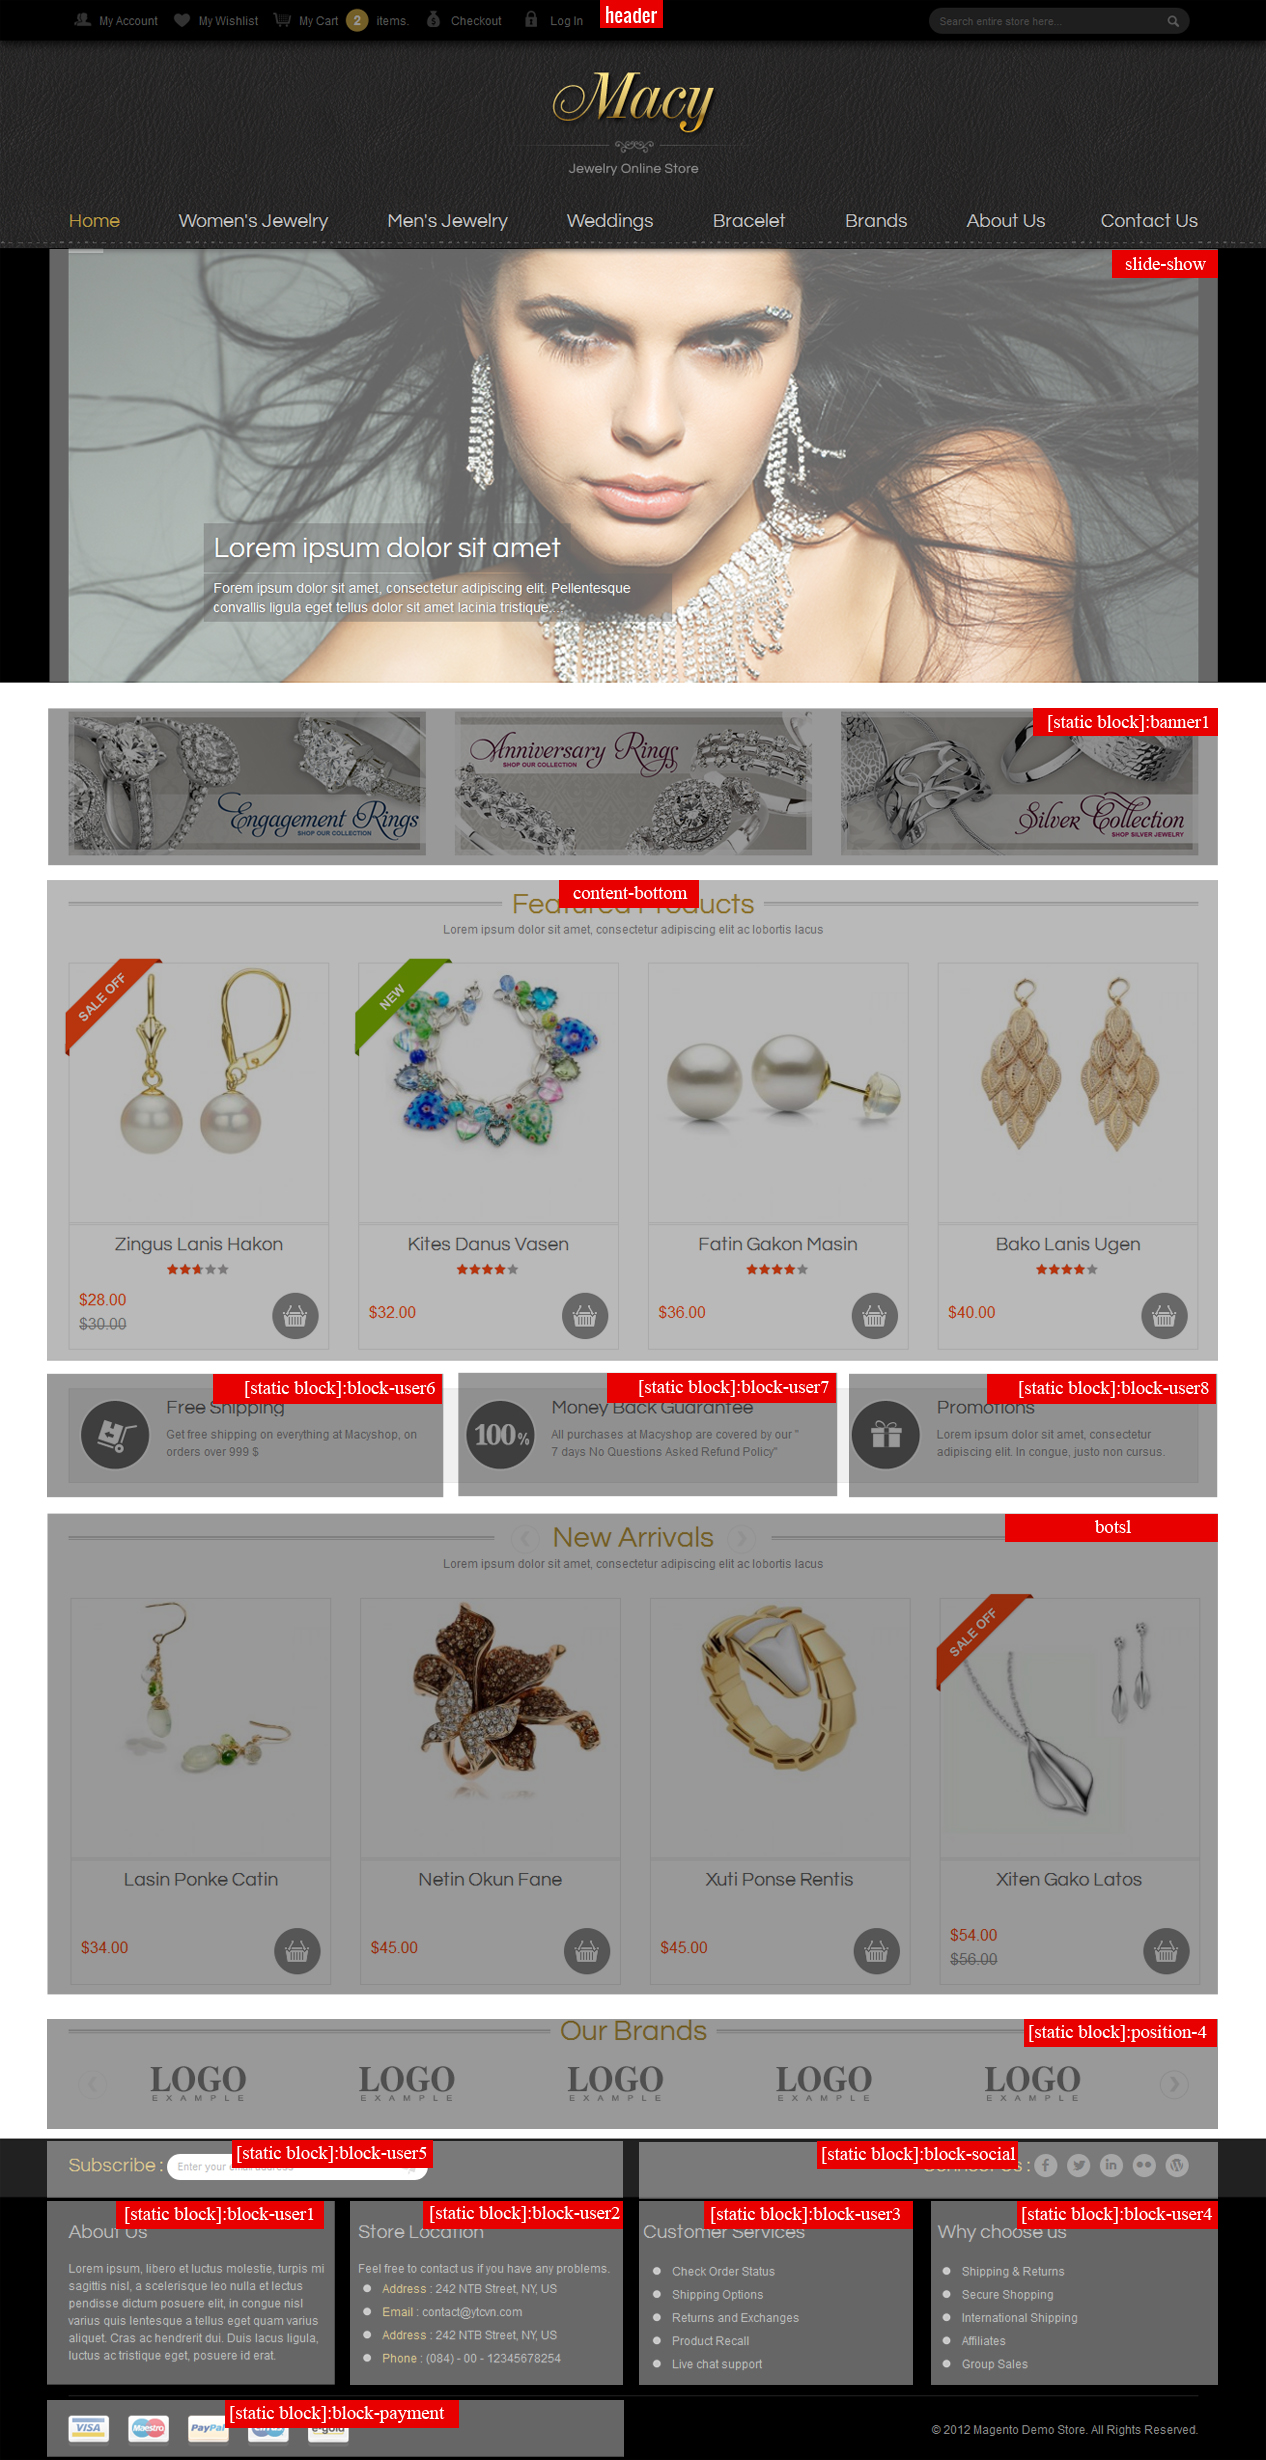
4.4 Configure blocks
The SM Zen front-page has static blocks in the Theme:
- block-slogan
- block-header-service
- block-home-under
- block-store-location
- block-other-information
- block-why-choose-us
- block-newsletter
- block-payment
To create static blocks, go to CMS >> Static Blocks >> Add new block
Block - Slogan
Frontend
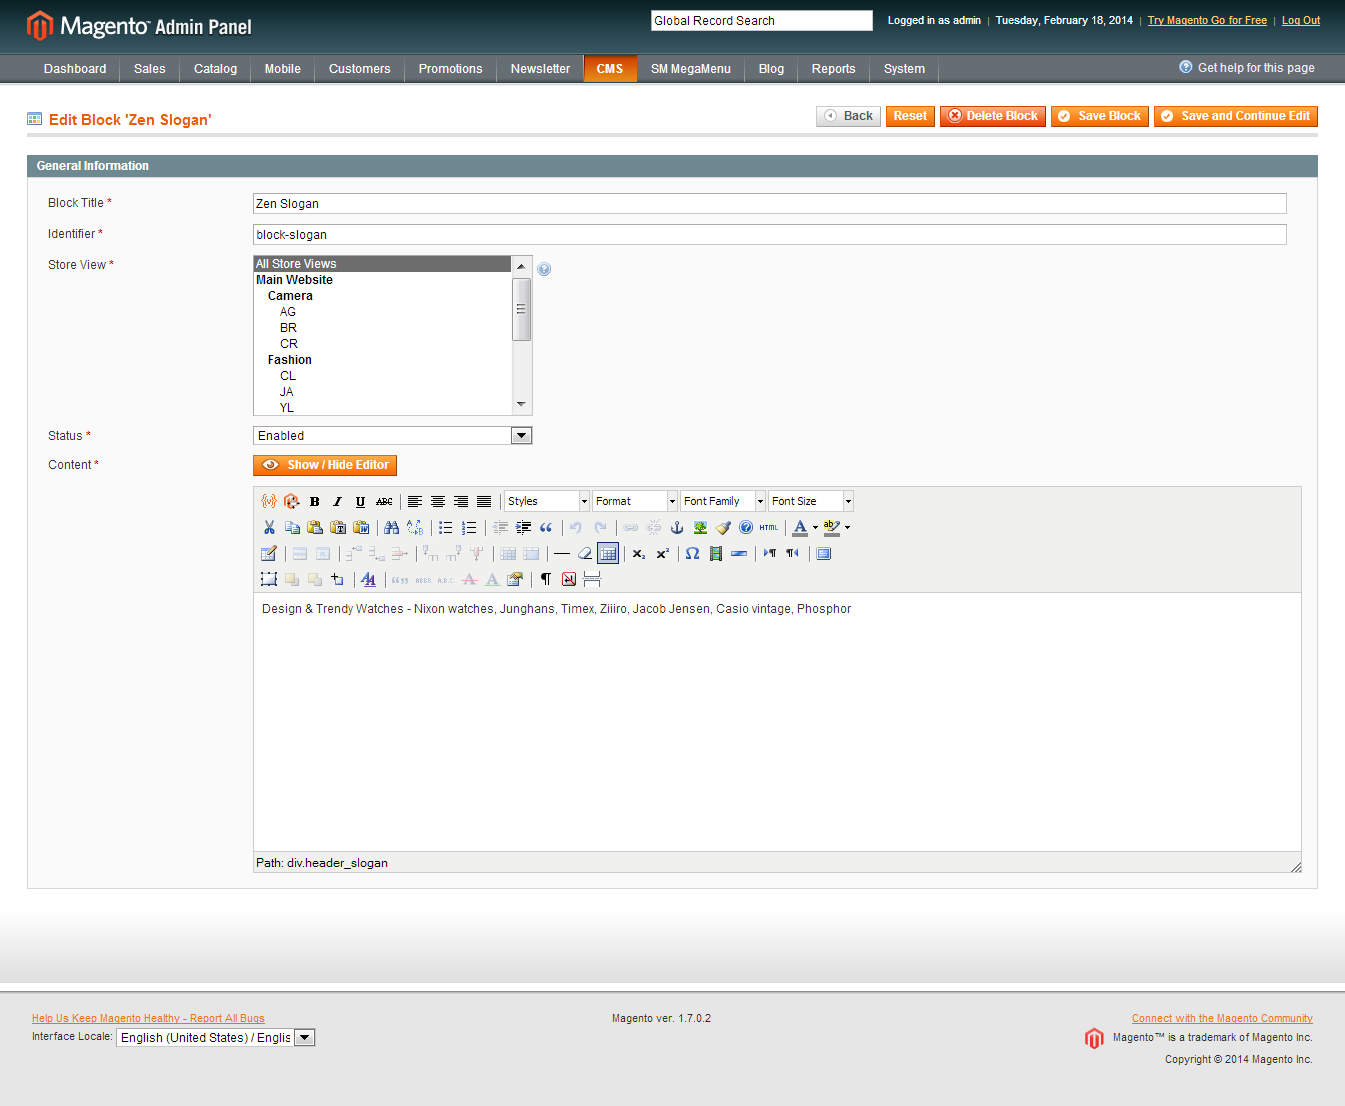
Content Code of Zen Slogan:
|
1
|
<div class="header_slogan">Design & Trendy Watches - Nixon watches, Junghans, Timex, Ziiiro, Jacob Jensen, Casio vintage, Phosphor</div>
|
Block - Header - Service
Frontend

Content Code of Zen Header Service:
|
1
2
3
4
5
6
7
8
9
10
11
12
13
14
|
<ul class="header-service-content">
<li class="first">
<div class="header-service-title">30 days returns</div>
<div class="header-service-info">For a smooth shopping</div>
</li>
<li>
<div class="header-service-title">Shipping Worldwide, UPS</div>
<div class="header-service-info">See all conditions</div>
</li>
<li class="last">
<div class="header-service-title">(+00) 911222333</div>
<div class="header-service-info">Call us Monday - Saturday</div>
</li>
</ul>
|
Block - Home - Under
Frontend
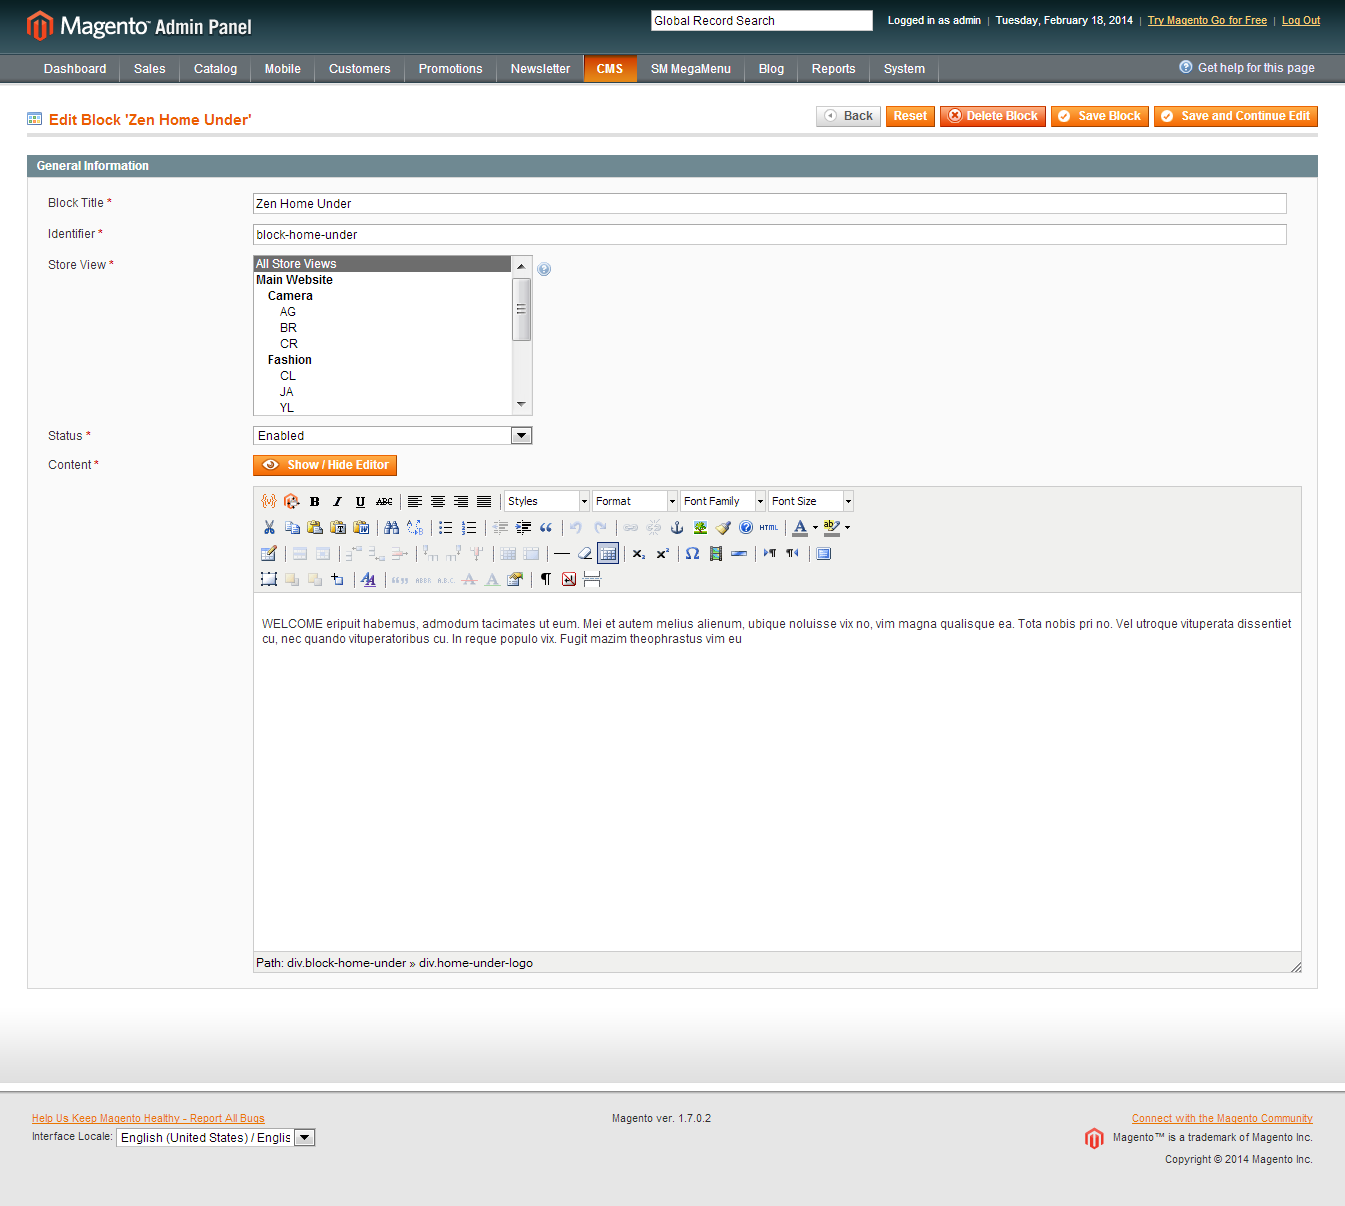
Content Code of Zen Home Under:
|
1
2
3
4
|
<div class="block-home-under">
<div class="home-under-logo"> </div>
<div class="home-under-content">WELCOME eripuit habemus, admodum tacimates ut eum. Mei et autem melius alienum, ubique noluisse vix no, vim magna qualisque ea. Tota nobis pri no. Vel utroque vituperata dissentiet cu, nec quando vituperatoribus cu. In reque populo vix. Fugit mazim theophrastus vim eu</div>
</div>
|
Block - Store - Location
Frontend
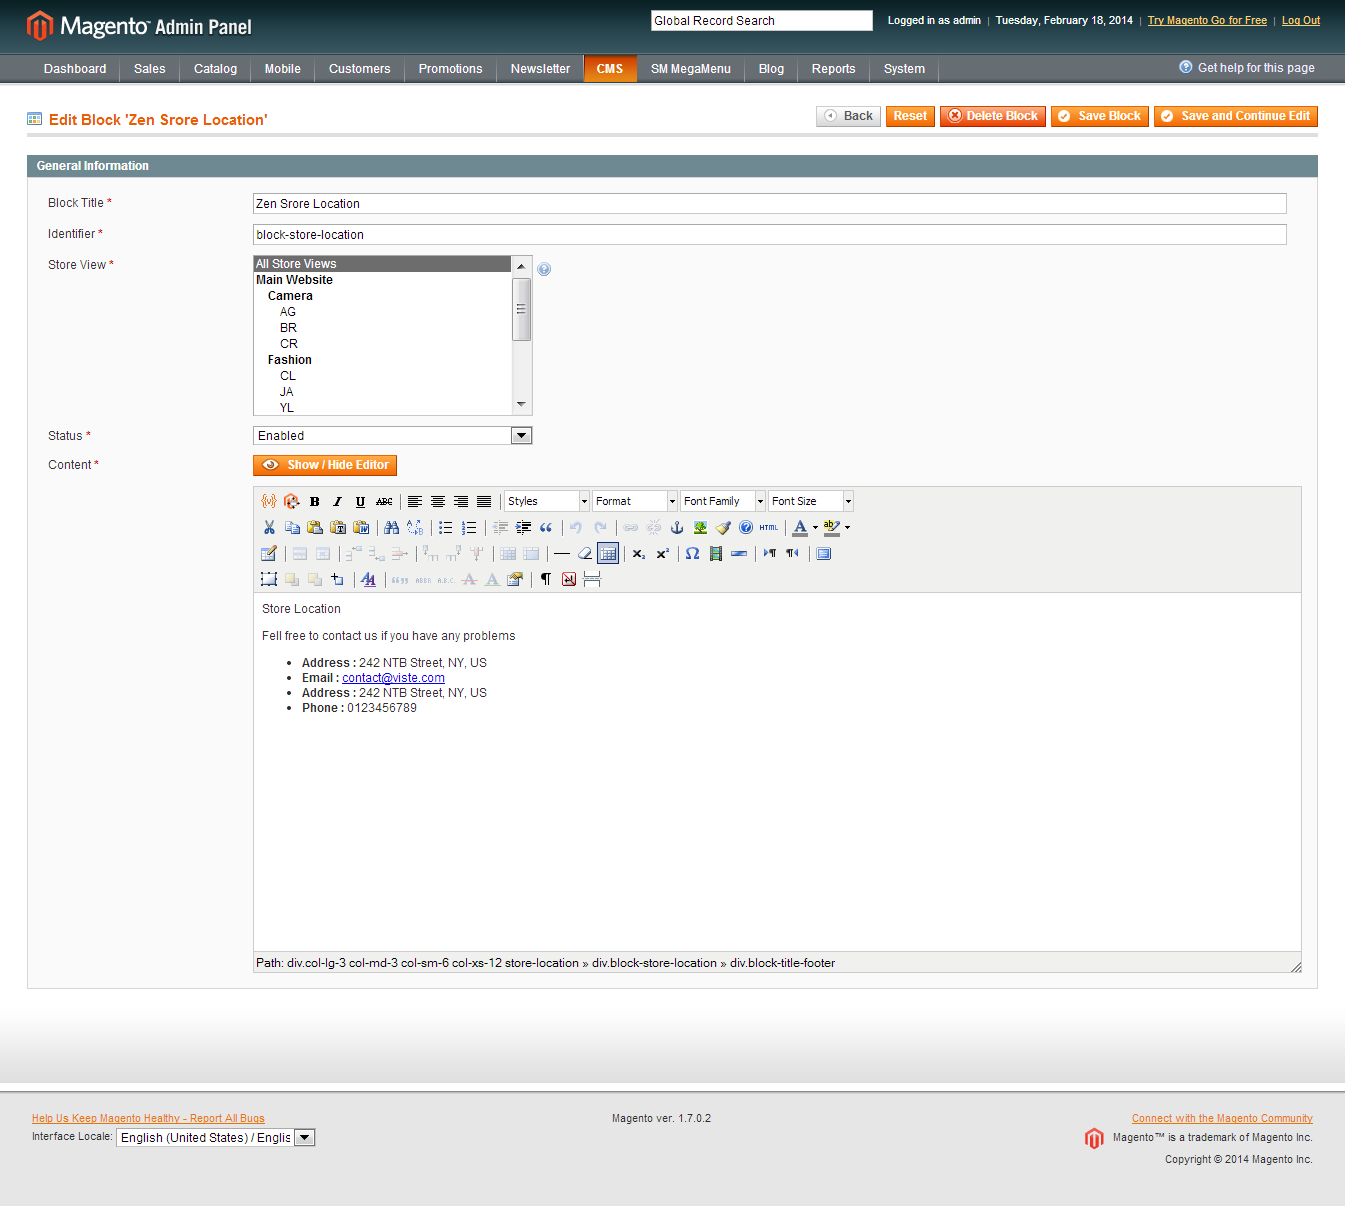
Content Code of Zen Store Location:
Block - Other - Information
Frontend

Content Code of Zen Other Information:
|
1
2
3
4
5
6
7
8
9
10
11
12
13
14
15
|
<div class="col-lg-3 col-md-3 col-sm-6 col-xs-12 other-information">
<div class="block-other-information">
<div class="block-title-footer">Other Information</div>
<div class="block-content-info">
<ul>
<li class="nav-item"><a href="# ">Bracelet adjustments</a></li>
<li class="nav-item"><a href="#">Watch buying guide</a></li>
<li class="nav-item"><a href="#">Watch news</a></li>
<li class="nav-item"><a href="#">Watch reviews</a></li>
<li class="nav-item"><a href="#">0% Finance</a></li>
<li class="nav-item"><a href="#">Competition</a></li>
</ul>
</div>
</div>
</div>
|
Block - Why - Choose - Us
Frontend
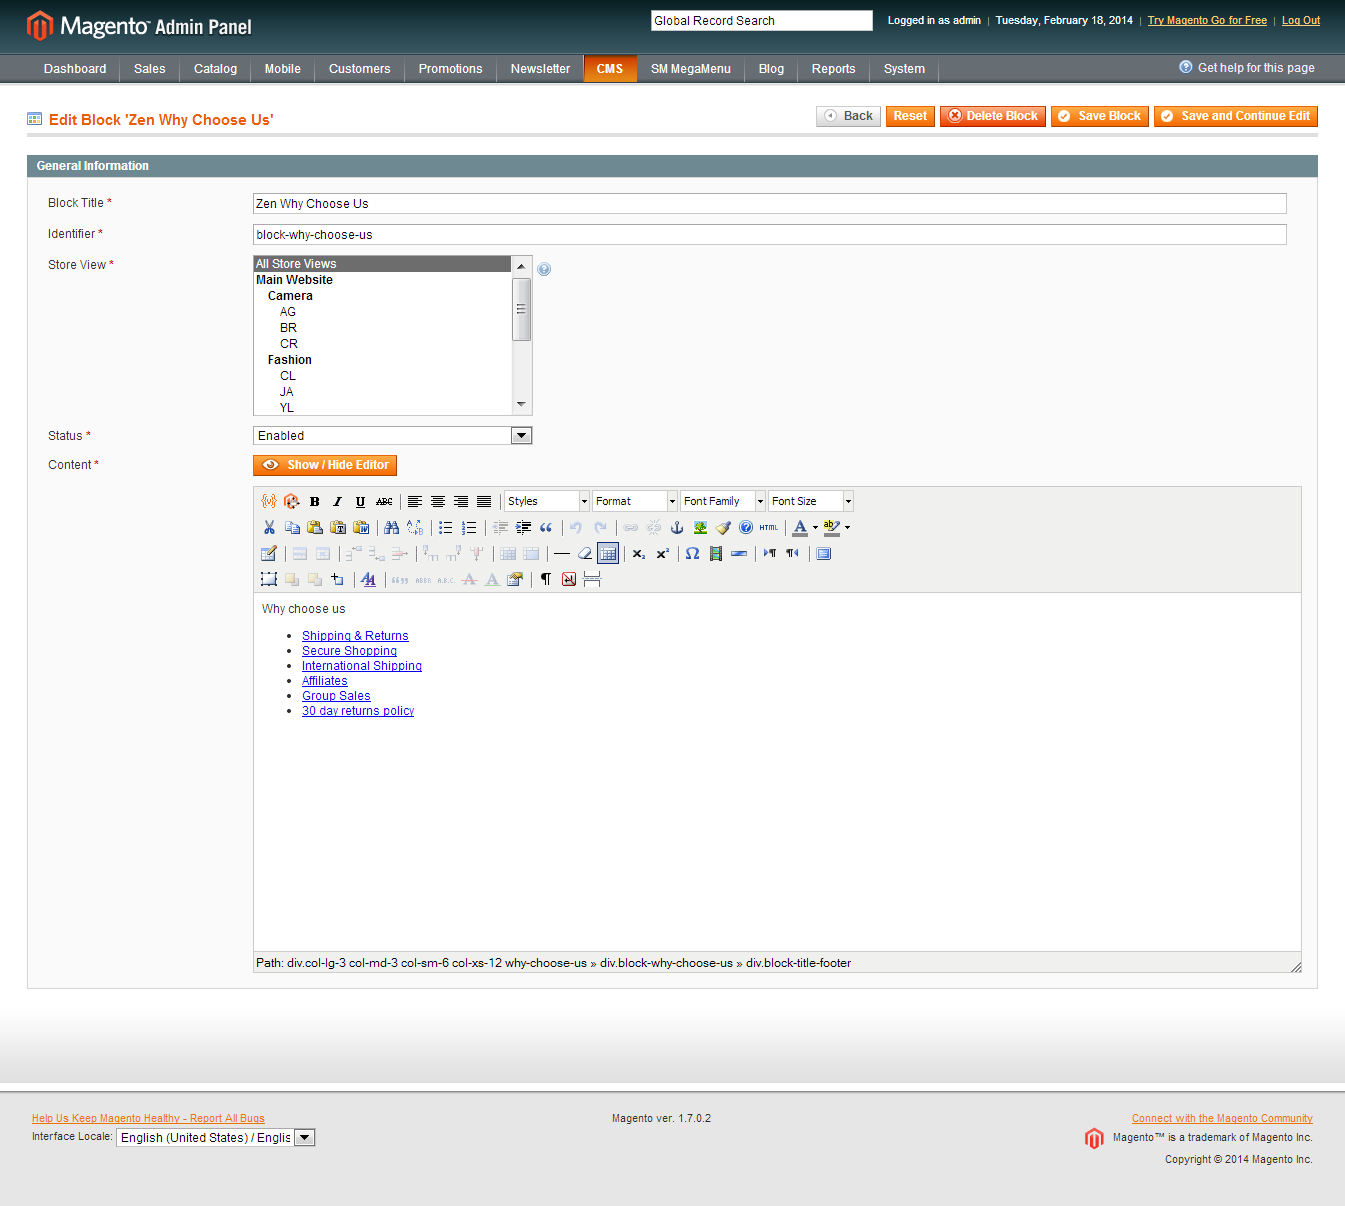
Content Code of Zen Why Choose Us:
|
1
2
3
4
5
6
7
8
9
10
11
12
13
14
15
|
<div class="col-lg-3 col-md-3 col-sm-6 col-xs-12 why-choose-us">
<div class="block-why-choose-us">
<div class="block-title-footer">Why choose us</div>
<div class="block-content-info">
<ul>
<li class="nav-item"><a href="# ">Shipping & Returns</a></li>
<li class="nav-item"><a href="#">Secure Shopping</a></li>
<li class="nav-item"><a href="#">International Shipping</a></li>
<li class="nav-item"><a href="#">Affiliates</a></li>
<li class="nav-item"><a href="#">Group Sales</a></li>
<li class="nav-item"><a href="#">30 day returns policy</a></li>
</ul>
</div>
</div>
</div>
|
Block - Newsletter
Frontend
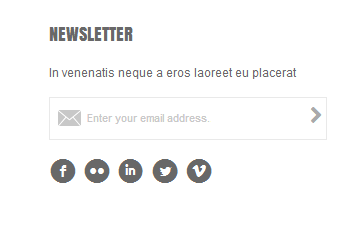
Content Code of Zen Newsletter:
4.5 Configure pages
1. Home Page
To config this page, please navigate to CMS >> Pages, create Home page, navigate to tab Design and update with the following settings:
- Layout : select 1 column
- Layout Update XML: Paste the code below
PHP Code:
|
1
2
3
4
5
6
7
8
9
10
11
12
13
14
15
16
17
18
19
|
<reference name="slideshow">
<block type="dynamicslideshow/list" name="dinamicslideshow"></block>
</reference>
<reference name="content-tab">
<block type="tablisting/list" name="tablisting">
<action method="setConfig"></action>
</block>
</reference>
<reference name="latestblog">
<block type="blog/blog" name="latest-blog" template="aw_blog/latest-blog.phtml"></block>
</reference>
<reference name="slider">
<block type="slider/list" name="img-slider" template="sm/slider/default.phtml"></block>
</reference>
<reference name="home-under">
<block type="cms/block" name="block-home-under" >
<action method="setBlockId"><block_id>block-home-under</block_id></action>
</block>
</reference>
|
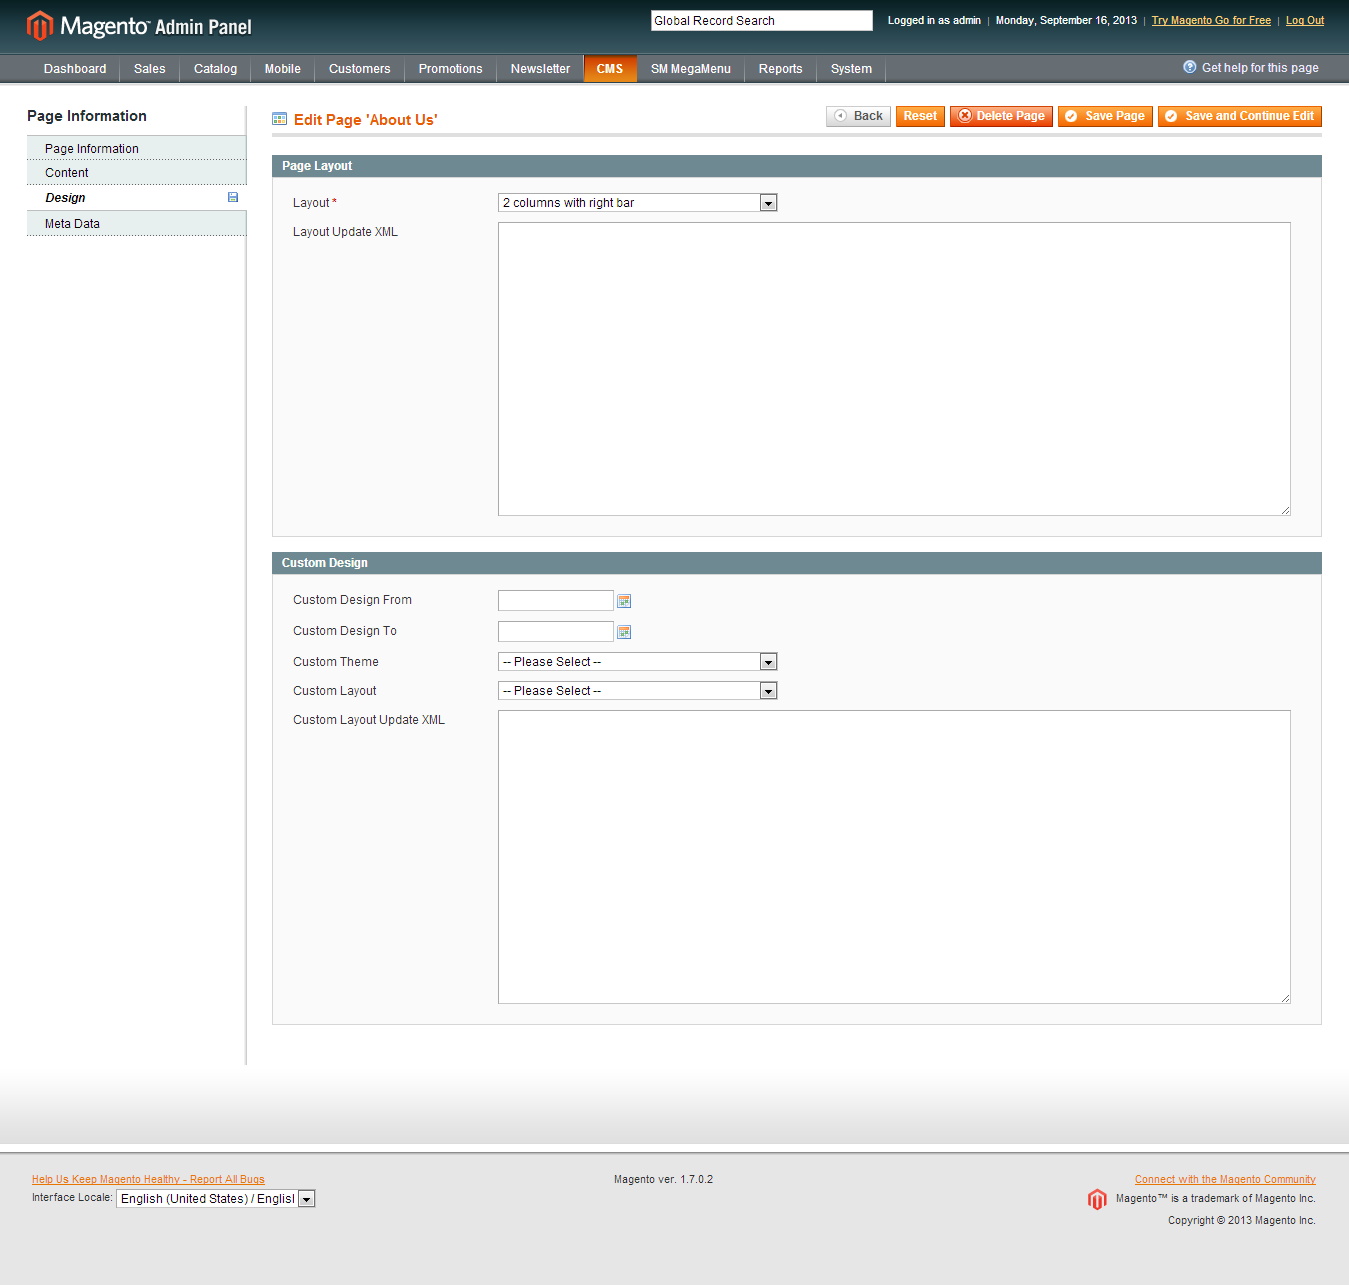
2. About Us
To config this page, please navigate to Catalog >> Manager Categories >> About Us category:
- General Information: Backend
- Display Setting: Backend
- Custom Design: Backend
- CMS Block: About us (To config >> Go to CMS >> Statics Block): click here
- Content Code used in About Us page:
To config this page, please navigate to Catalog >> Manager Categories >> Contact Us category:
- General Information: Backend
- Display Setting: Backend
- Custom Design: Backend
- Custom Layout Update:
|
1
2
3
|
&<reference name="content">
<block type="core/template" name="contactForm" template="contacts/form.phtml"/>
</reference>
|
CMS Block: Contact Us (To config: Go to CMS >> Statics Block:)
-
3.1. Block contact us: click here
|
1
|
{{block type="core/template" name="contactForm" form_action="/contacts/index/post" template="contacts/form.phtml"}}
|
-
3.2. Block contact map: click here
-
3.3. Block Contact Under: click here
|
1
|
<p>Lorem ipsum dolor sit amet, consectetuer adipiscing elit. Aenean commodo ligula eget dolor. Aenean massa. Cum sociis natoque penatibus et magnis dis parturient montes, nascetur ridiculus mus. Donec quam felis, ultricies nec, pellentesque eu, pretium quis, sem. Nulla consequat massa quis enim. Donec pede justo, fringilla vel, aliquet nec, vulputate eget, arcu.</p>
|
4. Blog page
To config this page, please navigate to Catalog >> Manager Categories >> Blog category:
|
1
2
3
4
5
6
7
|
<reference name="content">
<block type="blog/blog" name="blog" as= "blog-list" template="aw_blog/blog.phtml">
<block type="blog/product_toolbar" name="aw_blog_list_toolbar" template="catalog/product/list/toolbar.phtml">
<block type="page/html_pager" name="product_list_toolbar_pager"/>
</block>
</block>
</reference>
|
Thank you so much for purchasing this theme. If you have any questions that are beyond the scope of this help file, please send us via: Support Tickets System
Thanks so much!