1GETTING STARTED
1.1 Introduction
First of all, I would like to thank you for purchasing this theme. We’ve put in lots of love in developing this wordpress theme and are excited that you’ve chosen this theme for your website. We hope you find it easy to use our theme. This documentation guides you through the main features of the theme and guides you how to use and customize the theme.
1.2 System Requirements
At the basic level, this theme will require the following conditions:
- Apache 2.x or Microsoft IIS 7
- PHP 5.3.x
- MySQL 5.0.4 or higher
- WordPress 3.9+, 4.0+
Recommended PHP Configuration Limits: Many issues you may run into such as; white screen, demo content fails when importing, empty page content and other similar issues are all related to low PHP configuration limits. The solution is to increase the PHP limits. You can contact with your web host and ask them to increase those limits to a minimum or You can do this on your own by finding php.ini file in your root directory as follows:
- max_execution_time 360
- memory_limit 128M
- post_max_size 32M
- upload_max_filesize 32M
2INSTALLATION
2.1 Files Structure
At first, you need to download the package about my computer and then unzip the package. The Main Files Gives You All The Content Listed Below
- Theme folder - Contains the sw_megashop_theme_v1.0.0.zip file and sw_megashop-child-theme.zip WordPress Theme. The child theme is only for users who make code changes.
- Data folder - Contains the sample_data.xml file and widget.wie file.
2.2 Theme Installation
You can install the theme in two ways: through WordPress, or via FTP.
Note: If the theme file size is larger than 8M, please upload to FTP (File Transfer Protocol).
2.2.1 Theme Via FTP Installation
- Extract themename_version.zip.
- Load your FTP client, such as FileZilla.
- Upload the themename_version folder to the /wp-content/themes directory.
- In the left menu sidebar, go to Appearance >> Themes.
- Click Activate underneath the theme’s named section.
2.2.2 Theme Via WordPress Admin Panel Installation
Step 1 - Open the wp-admin panel (navigate through web browser to the folder where you have installed the WordPress e.g (www.your_domain.com/wp-admin/).
Step 2 - Login to your WordPress Dashboard and navigate to Appearance >> Themes. At the top of the page click the Add New button.
Step 3 - Click the Upload Theme button >> Choose File in Import from your computer section. Navigate to previously zipped theme package and open theme installator folder: Select your “ sw_megashop_theme_v1.0.0.zip” file and click Install Now.
Step 4 - The uploading process will be started. You will see the message that Theme installed successfully.
Step 5 - After the installation you will be able to activate the theme to do this click the “blue” activation link.
Step 6 - Select “Create static front page = No” and press “Save Changes” to complete the theme activation.

Once theme is installed, you need to install Required Plugins to get full features working.
2.3 Required Plugins Installation
After installing and activating the theme you will see a yellow popup at the top of the page. Saying: “This theme requires the following plugins…” please click the ‘Begin Installing plugins’ link.

You will be redirected to ‘Install Required Plugins’ page, here you will find all of the theme required plugins. To install them just check all of them and from the drop down select install once installed do the same to activate them.

Note: If the plugins installation process could have a notice some plugins unsuccessful installation, please go to these plugins to install one by one. This case usually occurs as you select all plugins installation at once.
2.4 Sample Data Installation
Step 1 - In the Administrator page, please navigate to Tools >> Import.

Step 2 - Please choose “WordPress” to import.

Step 3 - In Import WordPress page, click “choose file” button to select file “sample_data.xml” to upload.
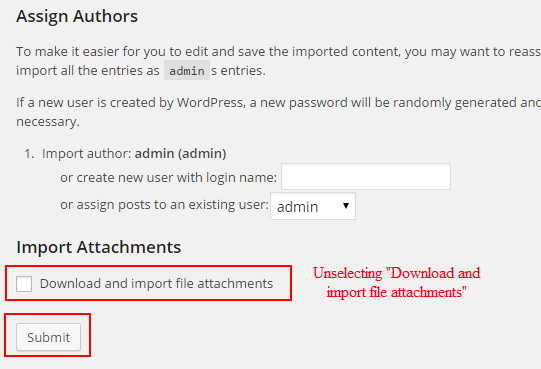
Note: You must import “sample_data.xml” file twice. The first time, In Import Attachments part, selecting “Download and import file attachments” and the second time, unselecting “Download and import file attachments“.

Step 4 - Assign Authors and Import Attachments with selecting “Download and import file attachments“ and then press “Submit” button.

Step 5 - You must import “sample_data.xml” more one again but note that in Import Attachments part with unselecting “Download and import file attachments“ and then press “Submit” button.
2.5 Widget Installation
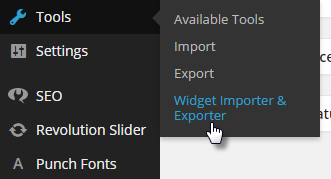
Step 1 - In the Administrator page, please navigate to Tools >> Widget Importer & Exporter.
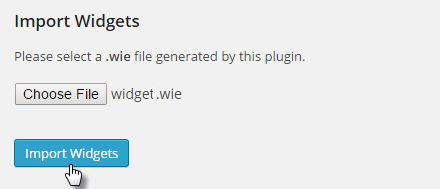
Step 2 - After that choose “widget_data.wie” file >> press Import Widgets button.
4PAGES
Pages are the backbone of your website, and most likely you will setup several of them. Pages are a blank canvas that allow you to add content with our shortcode elements. There are different page templates to choose from, each serving a purpose to help you build a finished site.
The following sections will cover these different topics that are listed below.
4.1 How To Create A New Page
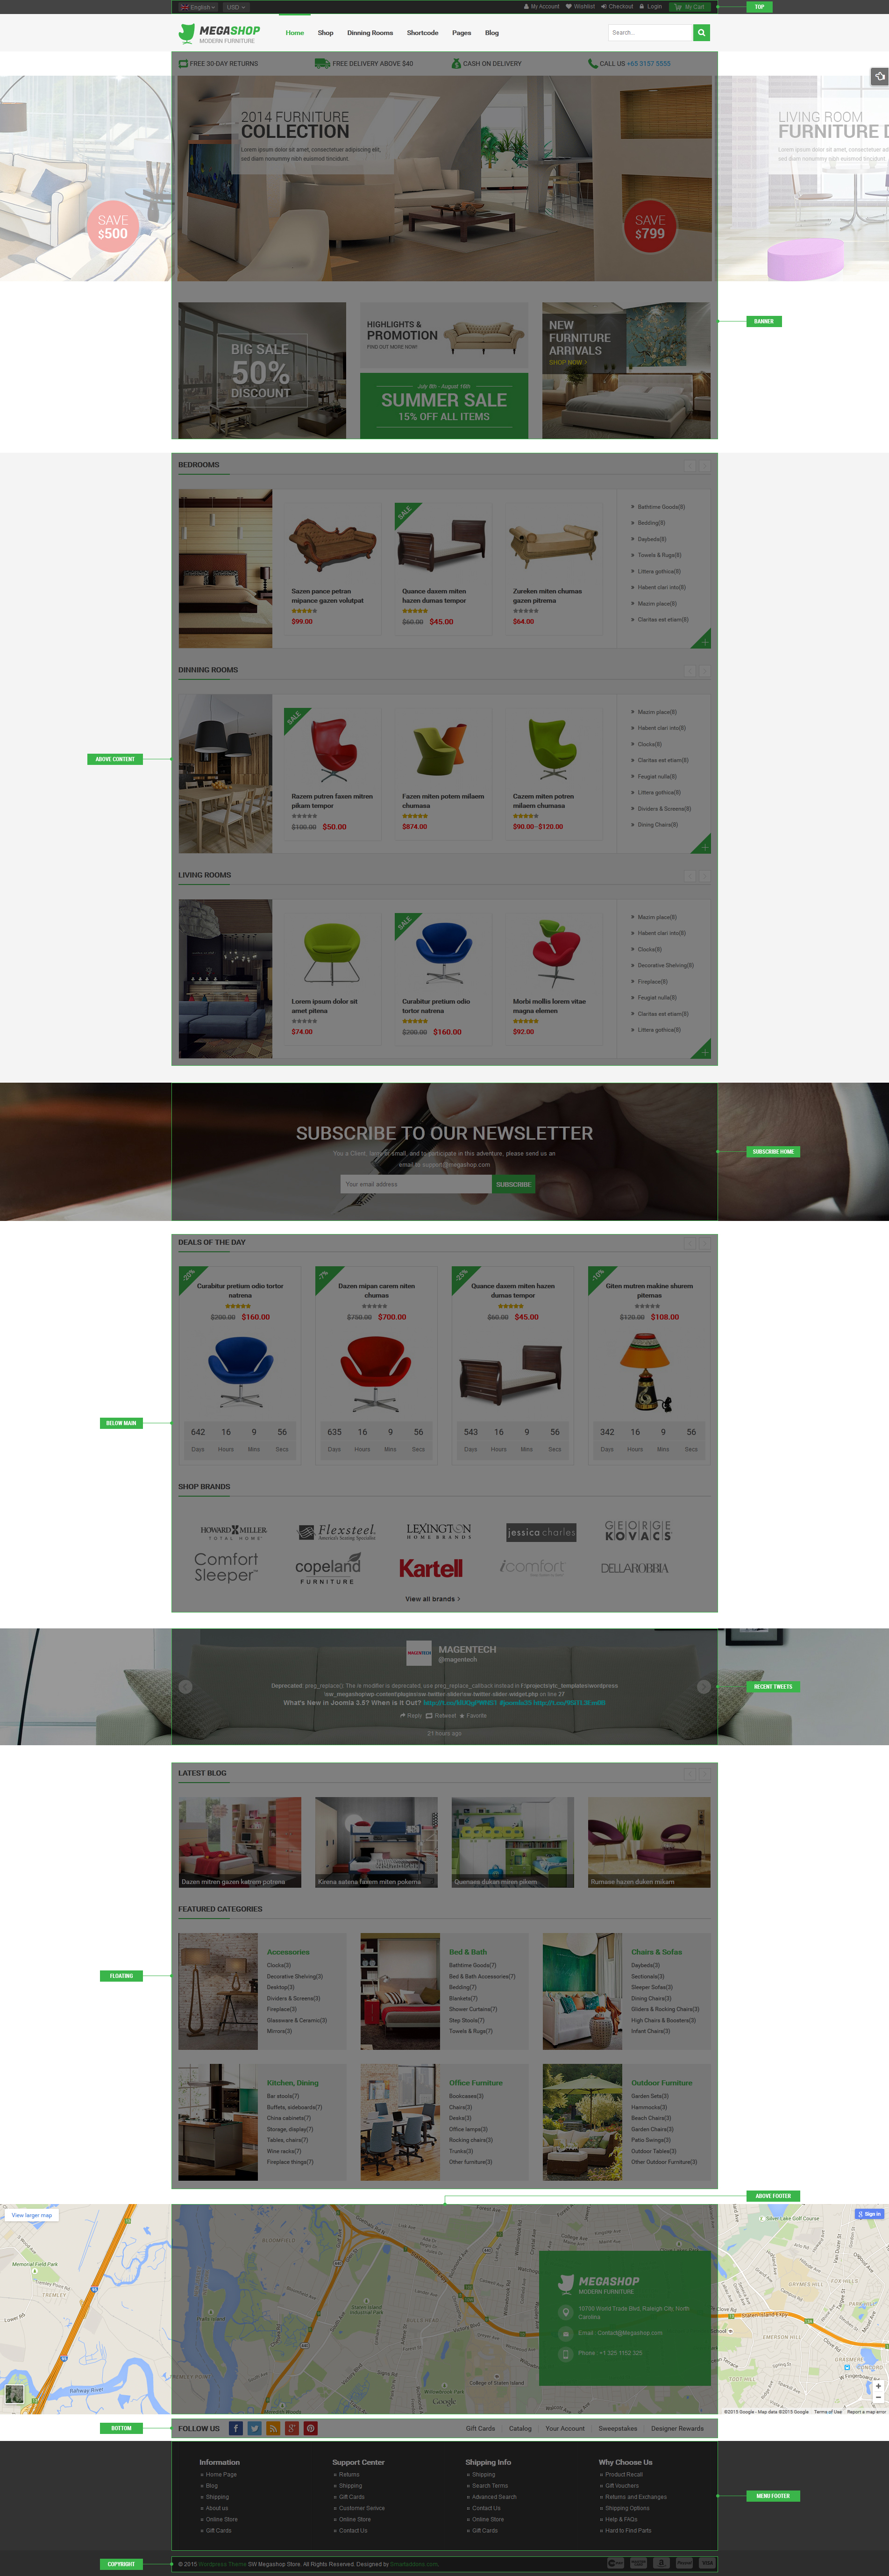
Here is a screenshot that shows you the various areas and descriptions of the page settings described above.

4.2 Setting Up Home Page
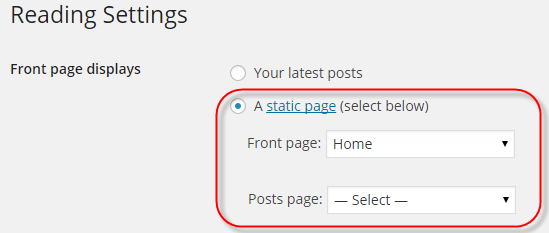
Setting up your home page is the same as setting up any other regular pages, except that you need to specify in the settings which page will be your Main Home Page.
How To Set Your Home Page
4.3 Setting Up About us Page
The Front-end of About Us Page

How To Create The About Us Page in Admin
Step 1 - Create a new page by clicking “Add New” button, and give it any name you wish.
Step 2 - Insert your content into the editor field, such as a heading and text.
Step 3 - In the Page Attributes box on the right hand side, set the Template option from the dropdown menu.
Copy & Paste the content code into the text editor
4.4 Setting Up FAQs Page
The Front-end of FAQs Page:

How To Create The FAQs Page in Admin
Step 1 - Create a new page by clicking “Add New” button, and give it any name you wish.
Step 2 - Insert your content into the editor field, such as a heading and text.
Step 3 - In the Page Attributes box on the right hand side, set the Template option from the dropdown menu.
Copy & Paste the content code into the text editor
4.5 Setting Up Contact us Page
The Front-end of Contact Us Page

How To Create The Contact Us Page in Admin
Step 1 - Create a new page by clicking “Add New” button, and give it any name you wish.
Step 2 - Insert your content into the editor field, such as a heading and text.
Step 3 - In the Page Attributes box on the right hand side, set the Template option from the dropdown menu.
The Back-end of Contact Us Page
Copy & Paste the content code into the text editor
4.6 Setting Up Our Service Page
The Front-end of Our Service Page

How To Create The Our Service Page in Admin
Step 1 - Create a new page by clicking “Add New” button, and give it any name you wish.
Step 2 - Insert your content into the editor field, such as a heading and text.
Step 3 - In the Page Attributes box on the right hand side, set the Template option from the dropdown menu.
The Back-end of Our Service Page
Copy & Paste the content code into the text editor
4.7 Setting Up Comming soon Page
The Front-end of Comming soon Page

How To Create The Comming soon Page in Admin
Step 1 - Create a new page by clicking “Add New” button, and give it with Title: “Comming soon”.
Step 2 - In the Page Attributes box on the right hand side, set the Template option from the dropdown menu.
The Back-end of Comming soon Page
Step 3 -
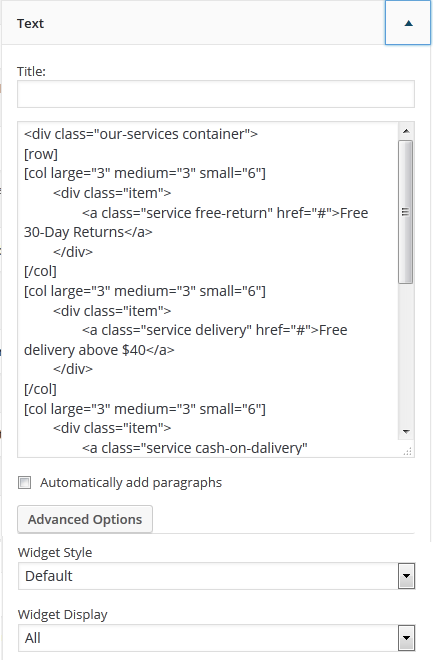
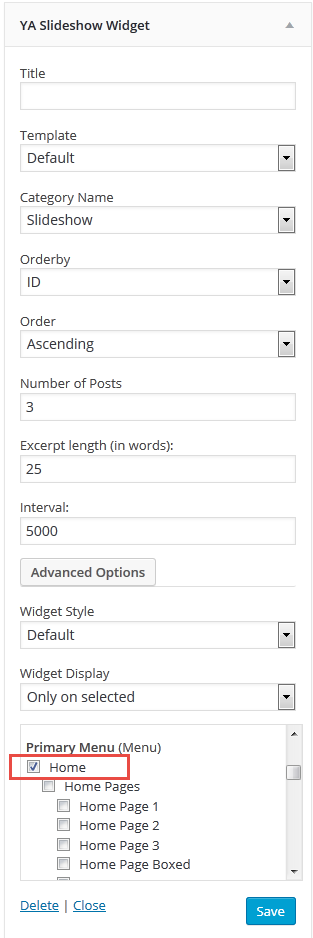
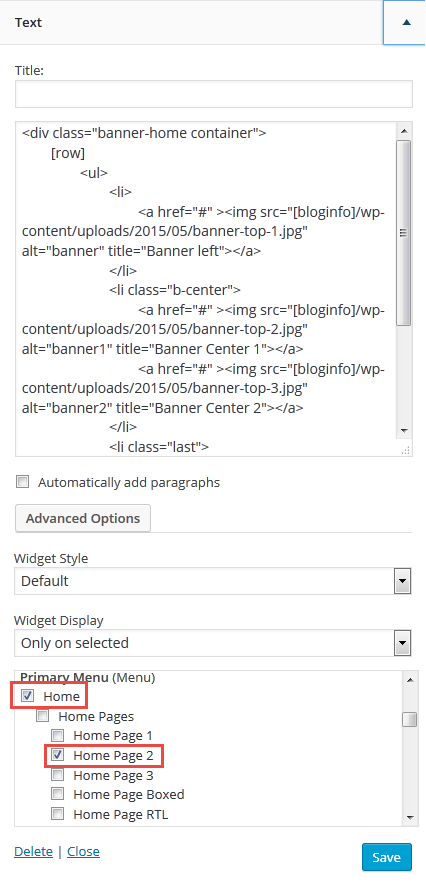
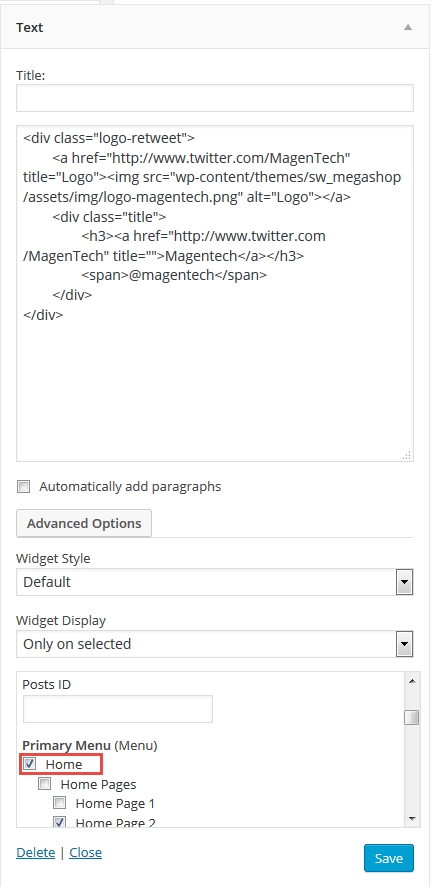
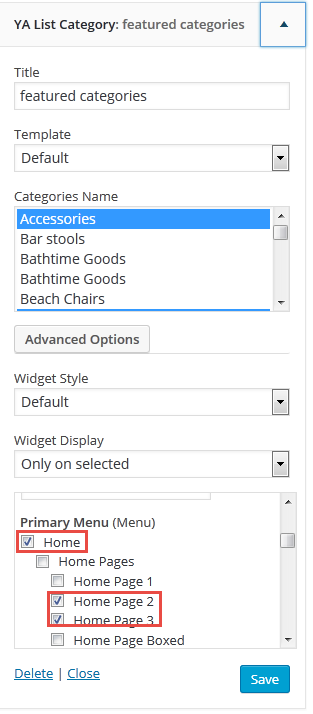
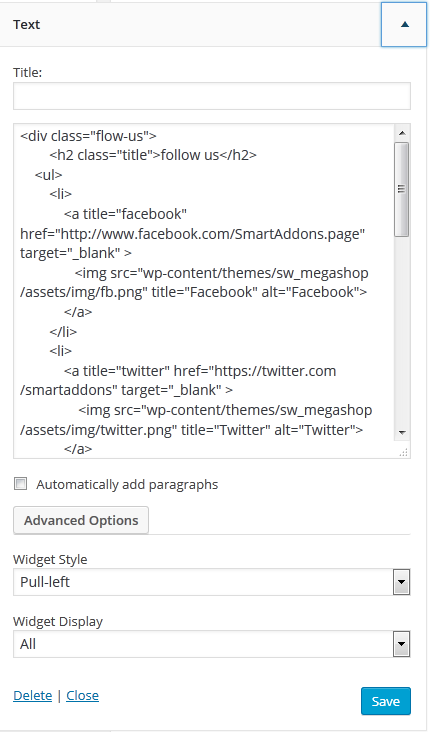
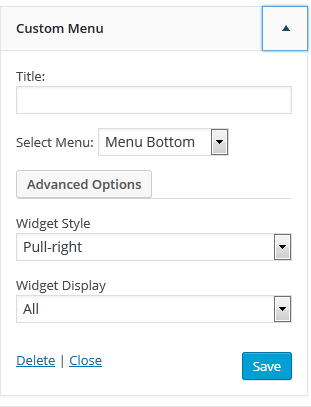
- Please go in “Appearance > Widgets” on admin sidebar.
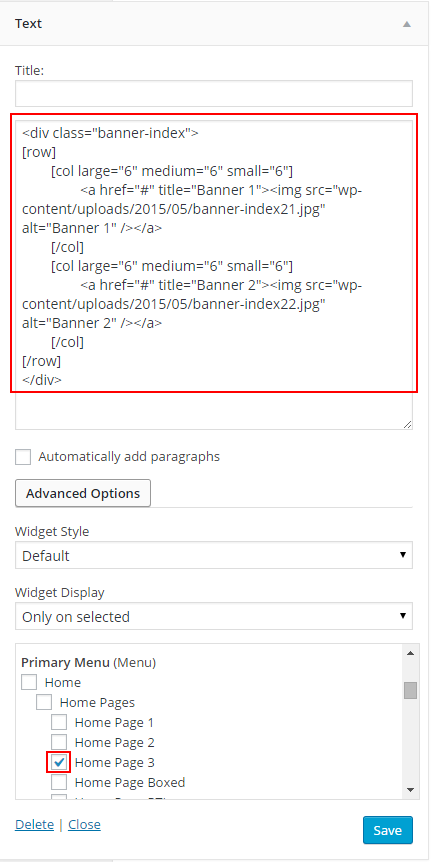
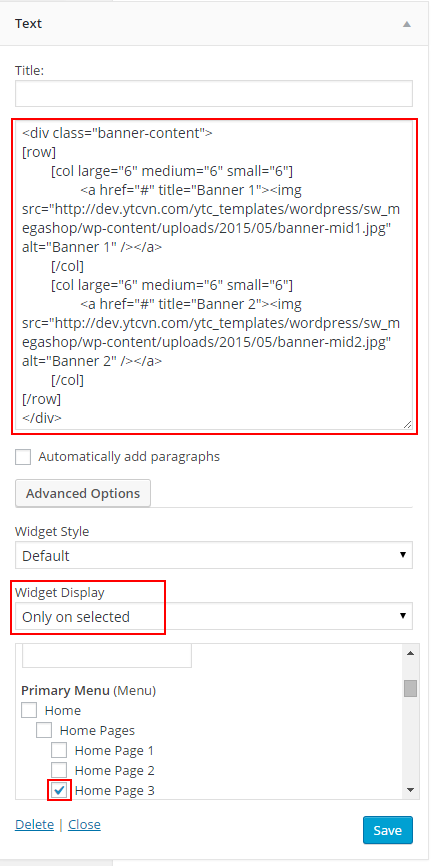
- You should add “Text Widget” in the sidebar.
- You should configure the fields and save.
Backend Settings

Copy & Paste the code into text editor:
|
1
2
3
4
5
6
7
8
9
|
<div class="content-comming-soon">
<div class="header-content">
<h2>We Will Be Back soon</h2>
<p>Consectetur adipisicing elit sed do eiusmod tempor incididunt ut labore et dolore magna aliqu
nostrud exercitation ullamco laboris.</p>
</div>
[contact-form-7 id="759" title="Comming Soon"]
[countdown startdate="2023/06/16 12:00:00" enddate="2024/01/01 12:00:00"]
</div>
|



























3.4 Social share