1 Installation – Back to top
- Firstly, you must install Prestashop version 1.6.x. Please Click Here to read more about How To Install Prestashop version 1.6.x
- Secondly, prepare for installing the SP Vertical Mega Menu. The installation contains 5 steps as following:
Step 1: Login to your Prestashop admin panel and Go to Back Office >> Modules >> Modules. At the top of the page, click the Add a new module button.

Step 2: Click “Choose a file” button to select your module .zip file “mod_sp_vertical_megamenu_p1.6-res_v1.0.1” that you have downloaded and then click “Upload this module” button.
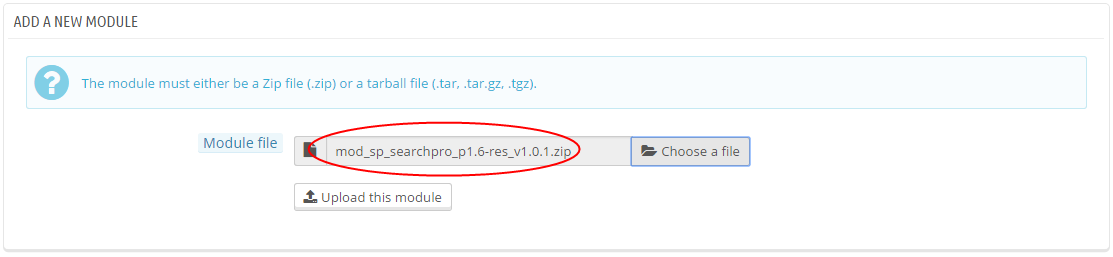
Step 3: The uploading process will be started. You will see the message “the module was successfully downloaded”.

Step 4: The new module will be located in the module list. Search the name of module and Click on the Install button to install the module.

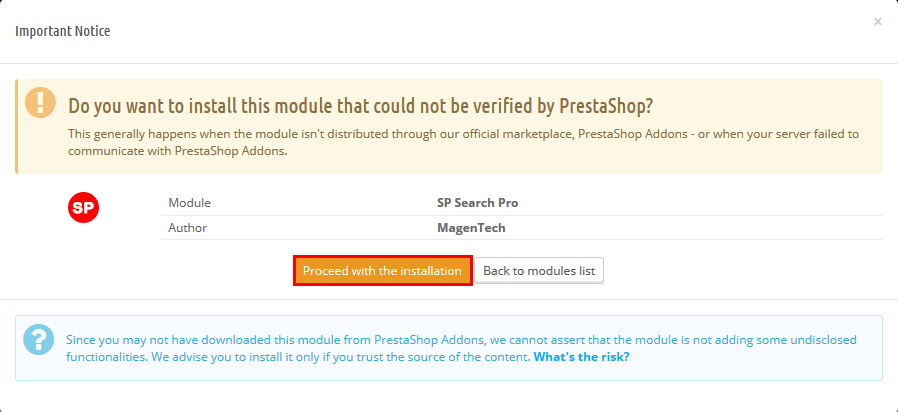
Step 5: Finally, you will see a notification messages, please click “Proceed with the installation” button to finish the installation process.
2 Configuration – Back to top
Below is a complete interface of SP Vertical Menu module
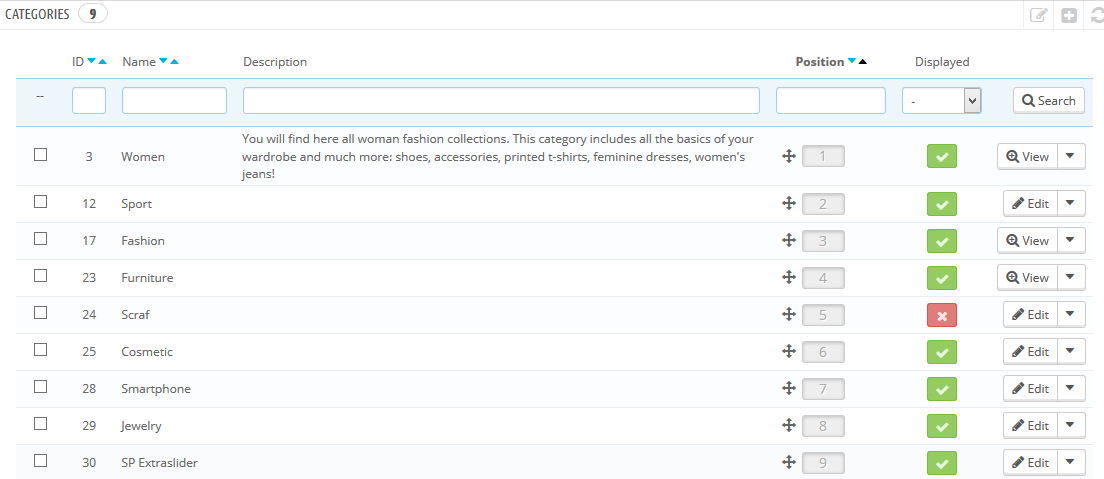
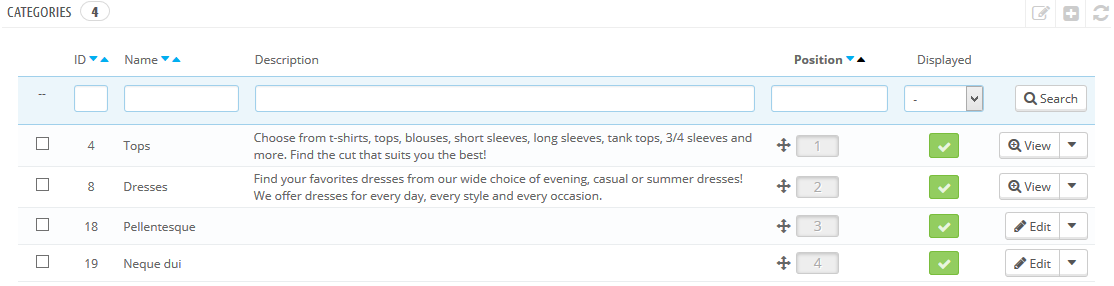
 To create SP Vertical Menu module, you need to create a tree of categories. Click Here to read more How To Create Categories in Prestashop
Each category can have or not have its sub categories. You can customize your category tree for your purpose
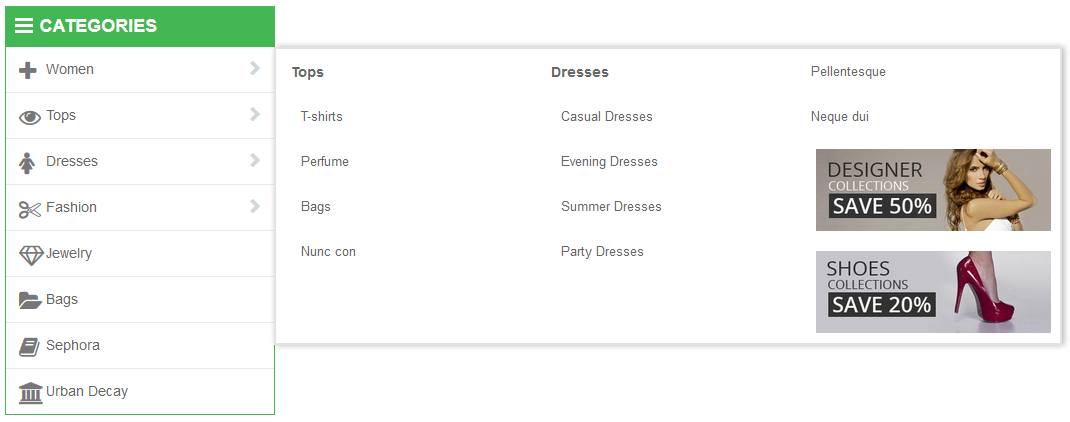
Pictures below illustrate the 3-level category tree
Category level 1
Category level 1 will contain category level 2. Below is example of subcategories of their parent named Women
Category level 2 will contain category level 3

This category tree will be used in the next steps
Next, we will configure module.
Find to the module that you have installed and click on Configure button to configure the module.
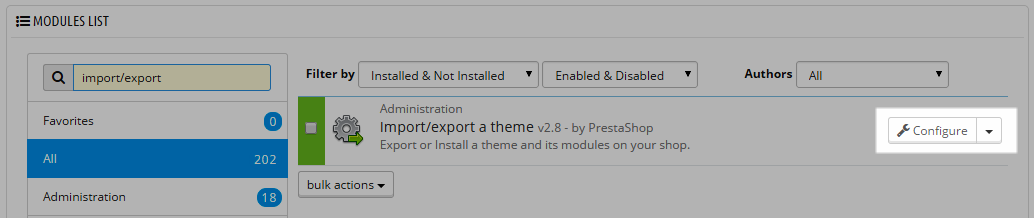
After clicking “Configure” button. It will display a page as the image below.
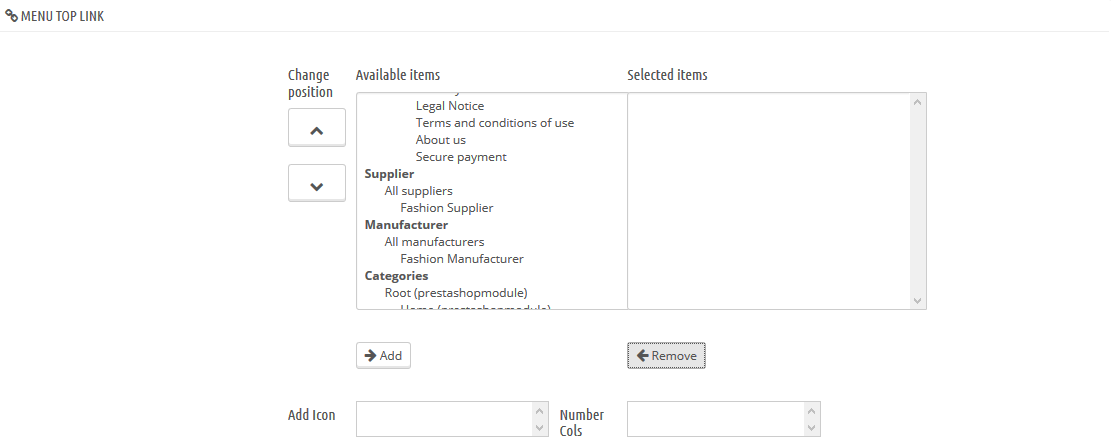
The parameters are divided into the following groups:
- Menu Top Link
- Add a new link
Let’s look at the parameters in details
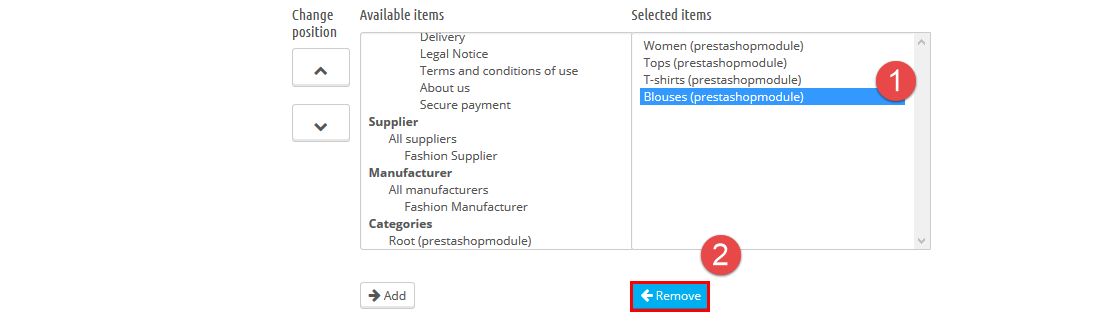
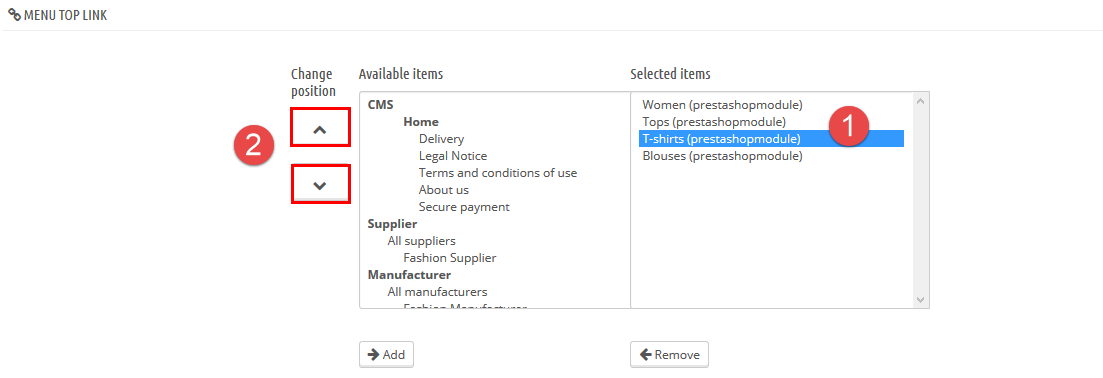
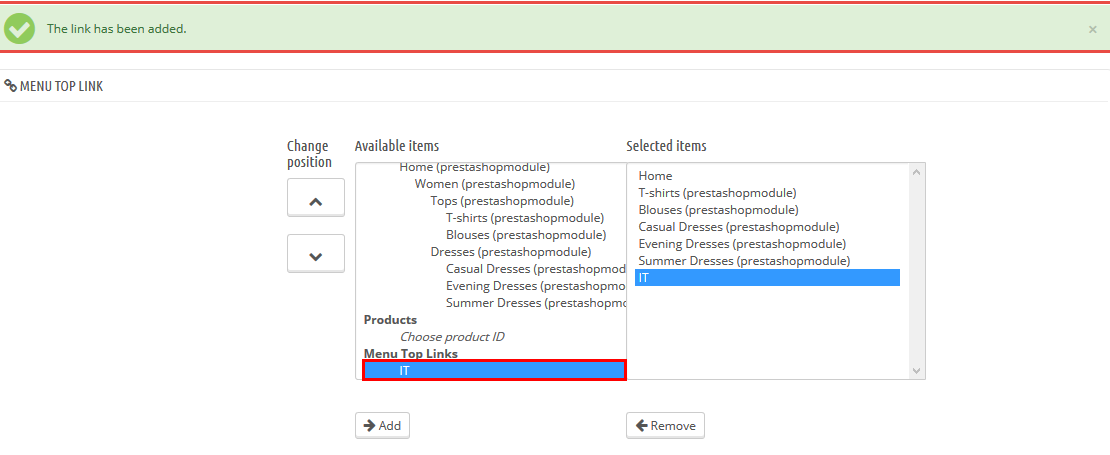
In Available Items, select categories then click the ADD button. ( Note: This is the category tree is created above). Selected categories will appear in Selected Items
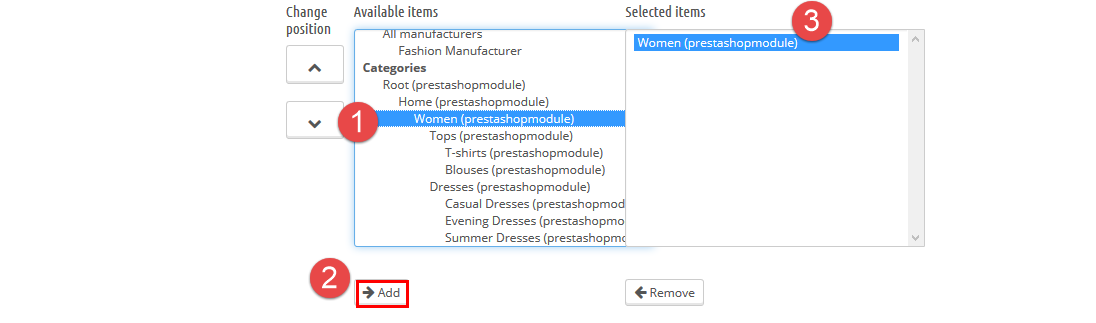
You can click Remove button to delete the selected category in Selected items.
You can use Change Position to change the position of item in Selected items.
You can configure other parameters as follows:
- Add icon – Input class icon .You can accept pages Here to get more reference icon. Ex: fa fa-anchor …
- Number Cols – Set number of sub categories. Note: If number of sub categories greater than 4, they will display in new line
- Title Vertical Mega Menu – Name of title Vertical Mega Menu
- Number Visible Categories – Number of visible categories (categories have to contain sub categories) in a vertical mega menu.
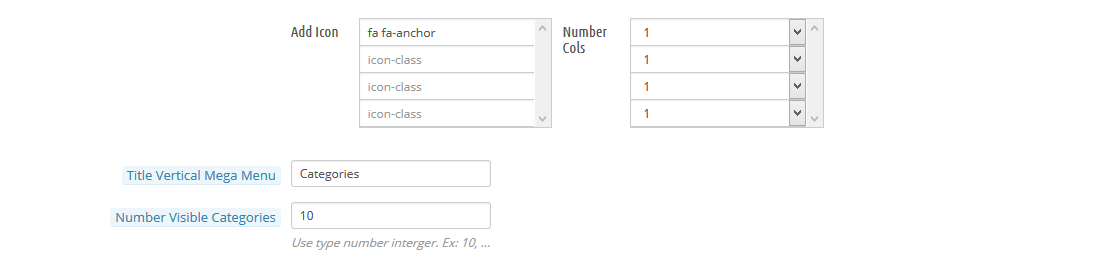
Click Save button to save information.
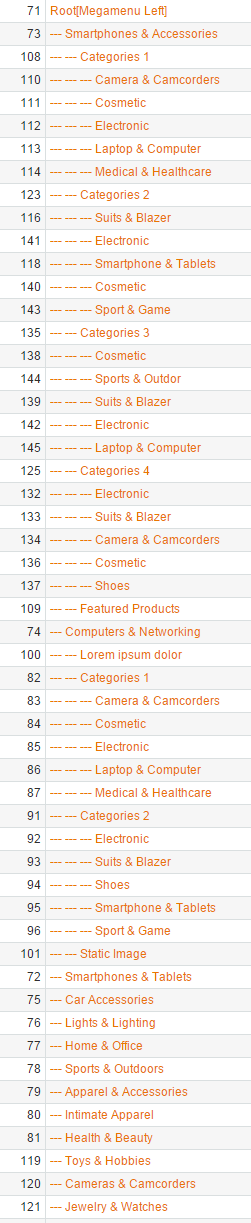
Note: In backend, you can configure as instruction/ description in the image below
You will get the results in the font-end look like image below:
Add a new link
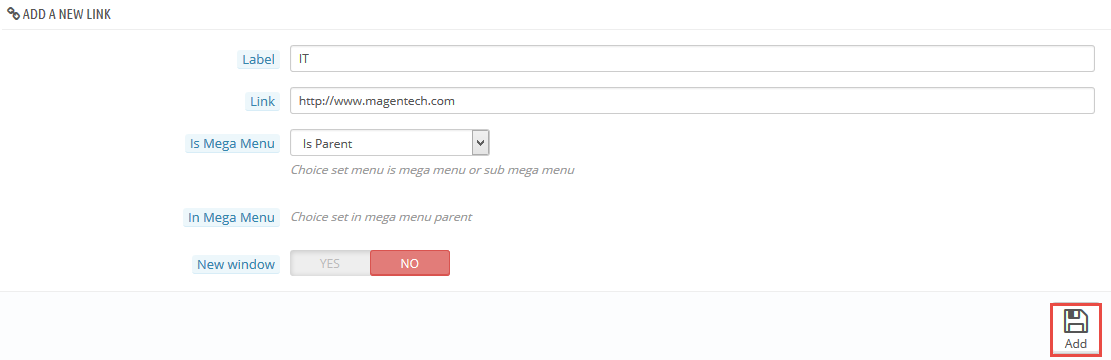
- Label – Input title a new mega menu.
- Link – Set link of mega menu. Note: Link can use full link.
- Is Mega Menu – Set Is parent or Is sub parent for new mega menu.
- In Mega Menu – Choose the new link in mega menu parent.
- New window – Set open link of mega menu with the new window.
Click Add button to save information.
You will see the message “The link has been added.” .New link will appear in Menu top link
3 HOW TO CREATE CATEGORIES – Back to top
Please go Here to readmore How To Create Categories in Prestashop.
4SUPPORT – Back to top
Thank you so much for purchasing this module. If you have any questions that are beyond the scope of this help file, please send us via: Support Tickets System
Thanks so much!