1 Installation
- Firstly, you must install Prestashop version 1.6.x. Please Click Here to read more about How To Install Prestashop version 1.6.x
- Secondly, prepare for installing the SP Vertical Menu. The installation contains 5 steps as following:
Step 1: Login to your Prestashop admin panel and Go to Back Office >> Modules >> Modules. At the top of the page, click the Add a new module button.

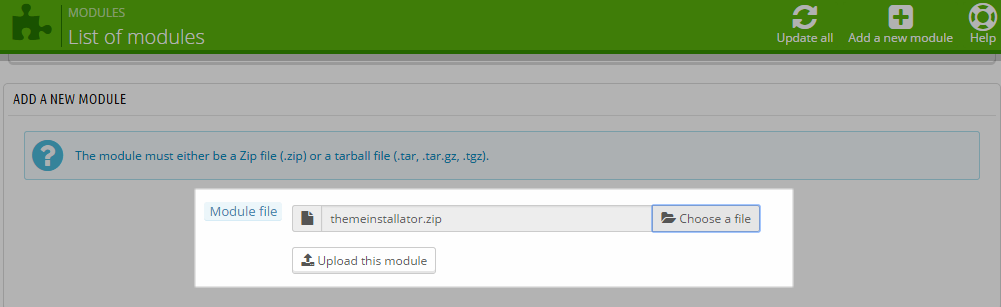
Step 2: Click “Choose a file” button to select your module .zip file “spverticalmenu.zip” that you have downloaded and then click “Upload this module” button.
Step 3: The new module will be located in the module list. Search the name of module and Click on the Install button to install the module.

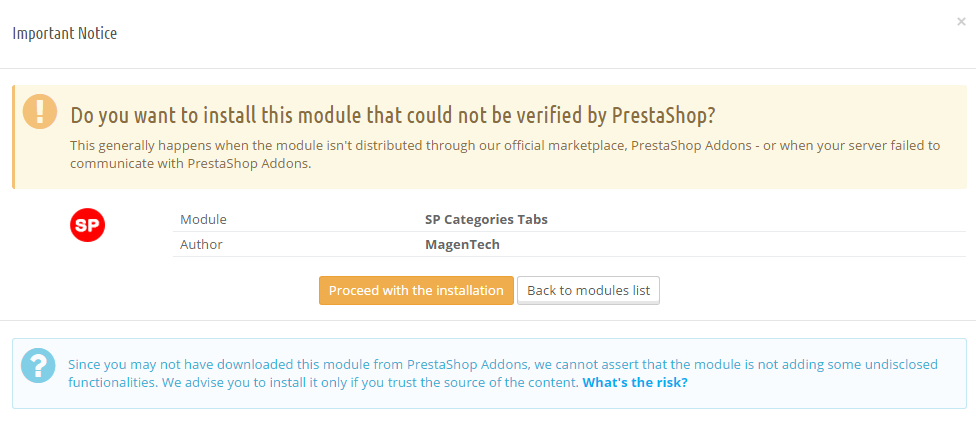
Step 4:You will see a notification messages, please click “Proceed with the installation” button to finish the installation process.
Step 5: The uploading process will be started. You will see the message “the module was successfully downloaded”.

2 Configuration
Below is a complete interface of SP Vertical Menu module
Please find to the module that you have completely installed to configure this module.
The parameters are divided into the following groups:
- MENU TOP LINK
- ADD A NEW LINK
- LINK LIST
Let’s look at the parameters in detail:
MENU TOP LINK
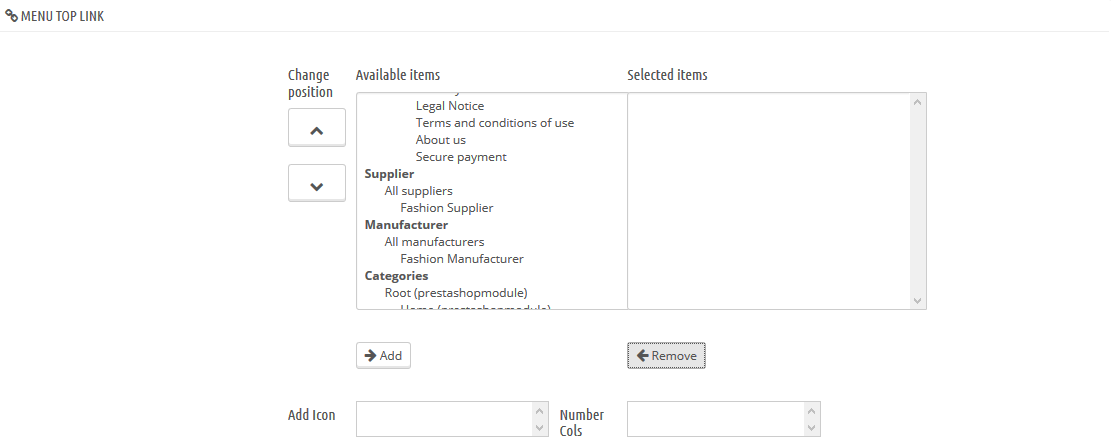
- Change position – Allow you to change the selected items .
- Available items – Allow to show the available items.
- Selected items – Display the selected items when you add from the available items.
- Add Icon – Allow to add icon with each selected items that you want. Please click Here to get icons that you like and add code of that icon into “icon-class”. For example: fa-train has class ”fa fa-train”
- Title Vertical Menu – Input title of Vertical Menu.
- Number Visible Categories – Allow to display the number of visible categories.
ADD A NEW LINK
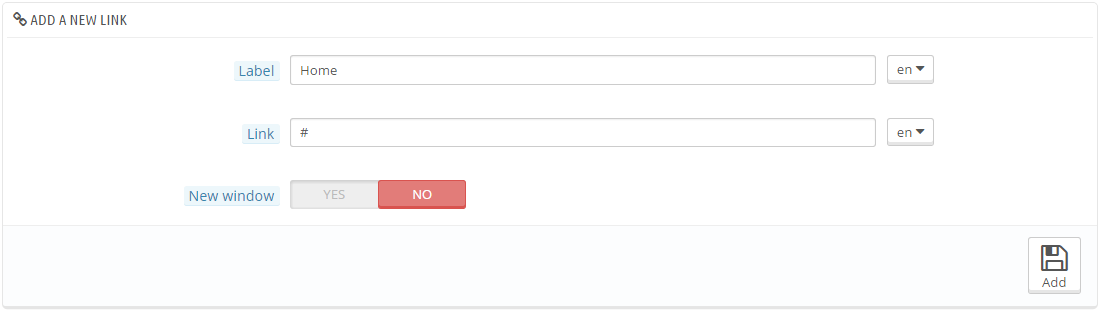
- Label – Enter the public title of your new custom link.
- Link – Set the URL of the new link.
- New window – Decide if browsers should open this new link in a new window or not.
- Click Add after you enter all data.
LINK LIST

- After you add Label, Link and Set browsers should open this new link in a new window or not. They will be displayed at below LINK LIST